The Complete Guide to Painting Bathroom Tiles: Refresh Your Bathroom on a Budget
Table of Contents
Are you tired of looking at old, faded bathroom tiles and dreading the cost of a complete renovation? Painting bathroom tiles offers an effective and economical solution to refresh your space without breaking the bank. This comprehensive guide will walk you through everything you need to know about repainting your bathroom tiles, from preparation to finishing touches.
Why Painting Bathroom Tiles Is a Radical Change to Your Design?
Bathroom renovations can easily cost thousands of dollars, and tile replacement is one of the most costly. However, painting bathroom tiles has emerged as a popular do-it-yourself solution, delivering stunning results at a low cost. Recent surveys show that homeowners can save up to 80% on bathroom renovation costs by choosing to paint over replacement.
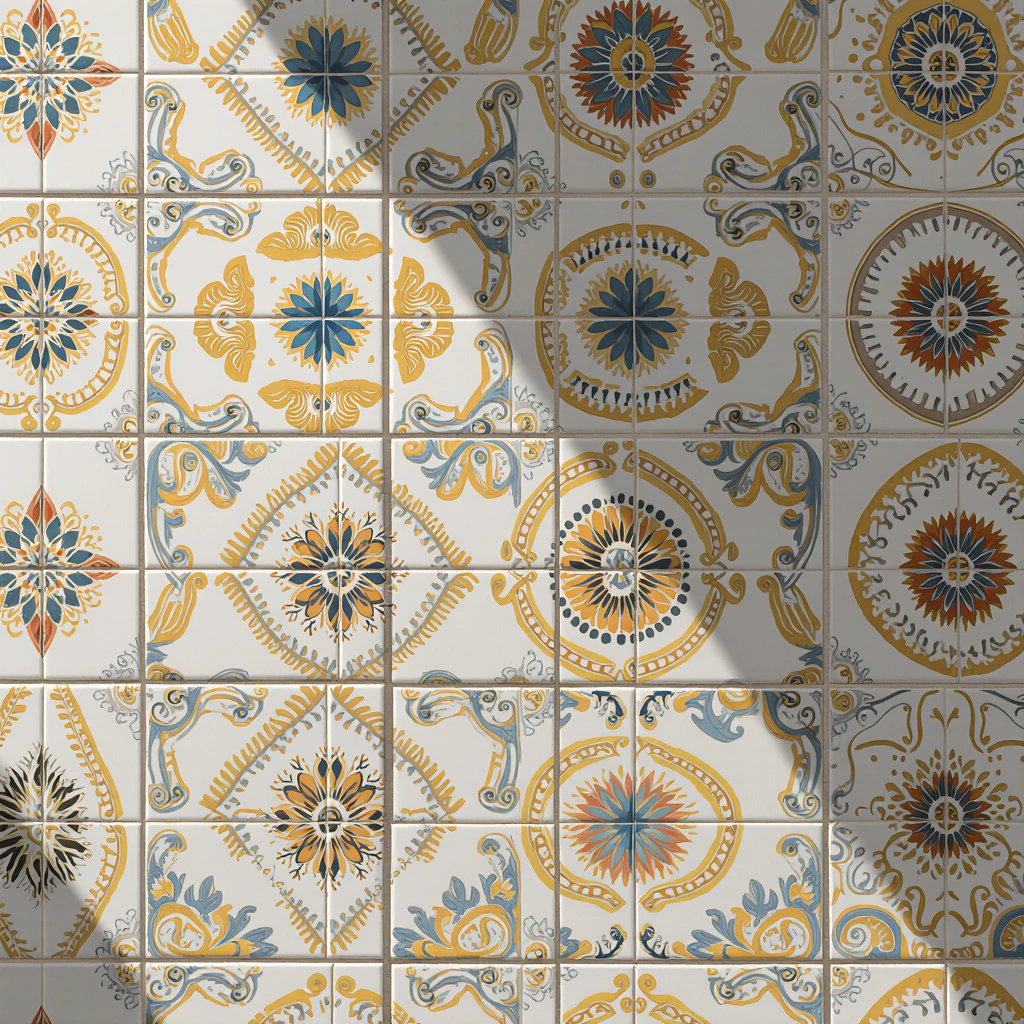
The benefits go beyond just cost savings; painted tiles allow you to fully customize the color, allowing you to keep up with the latest design trends or create a completely personalized aesthetic. Whether you’re using vintage ceramic tiles from the 1980s or simply want to refresh your space, painting tiles offers flexibility unmatched by traditional renovation methods.
Understanding Your Bathroom Design: Small vs. Large Spaces
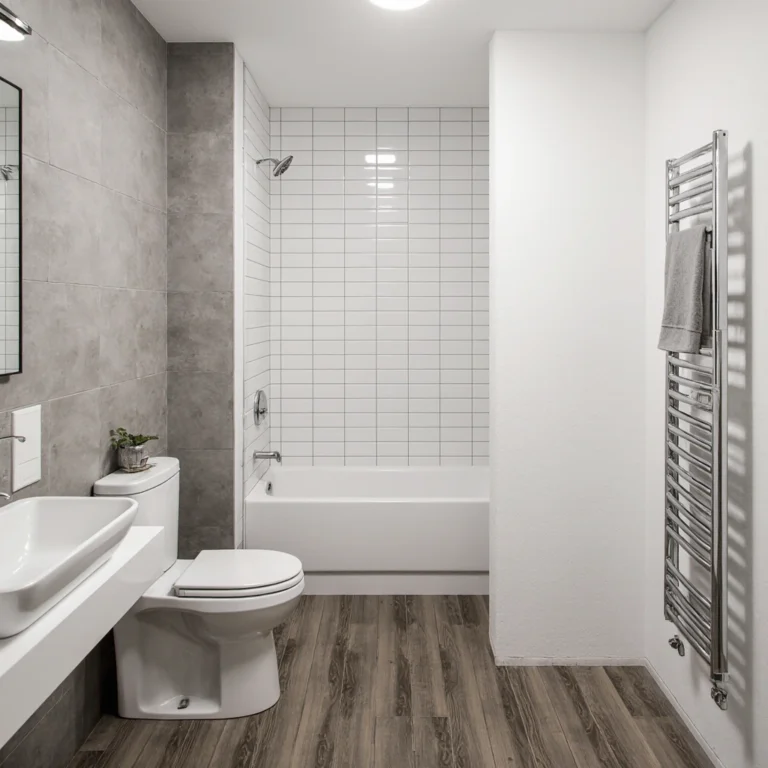
Making the Most of Small Bathrooms
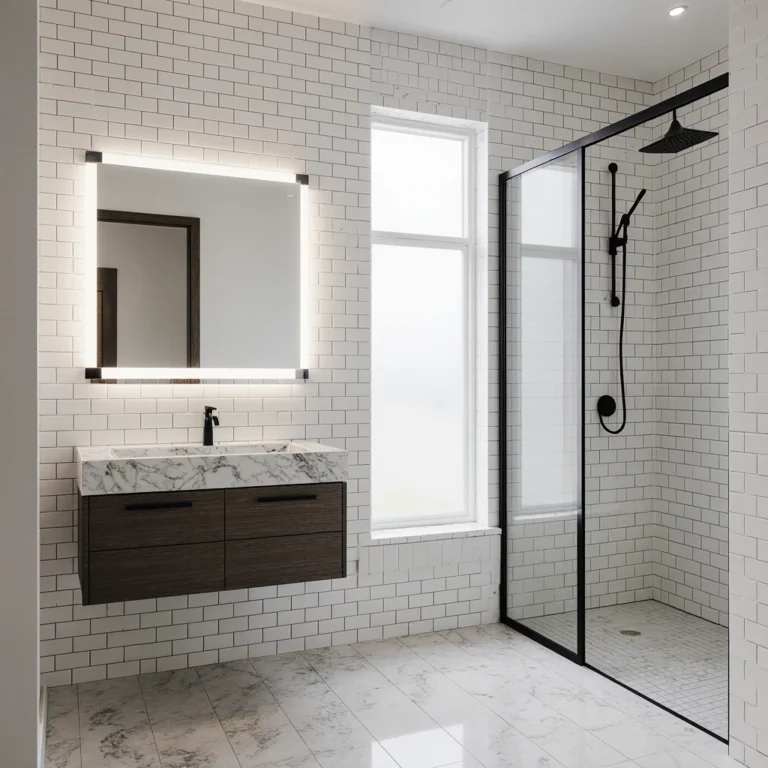
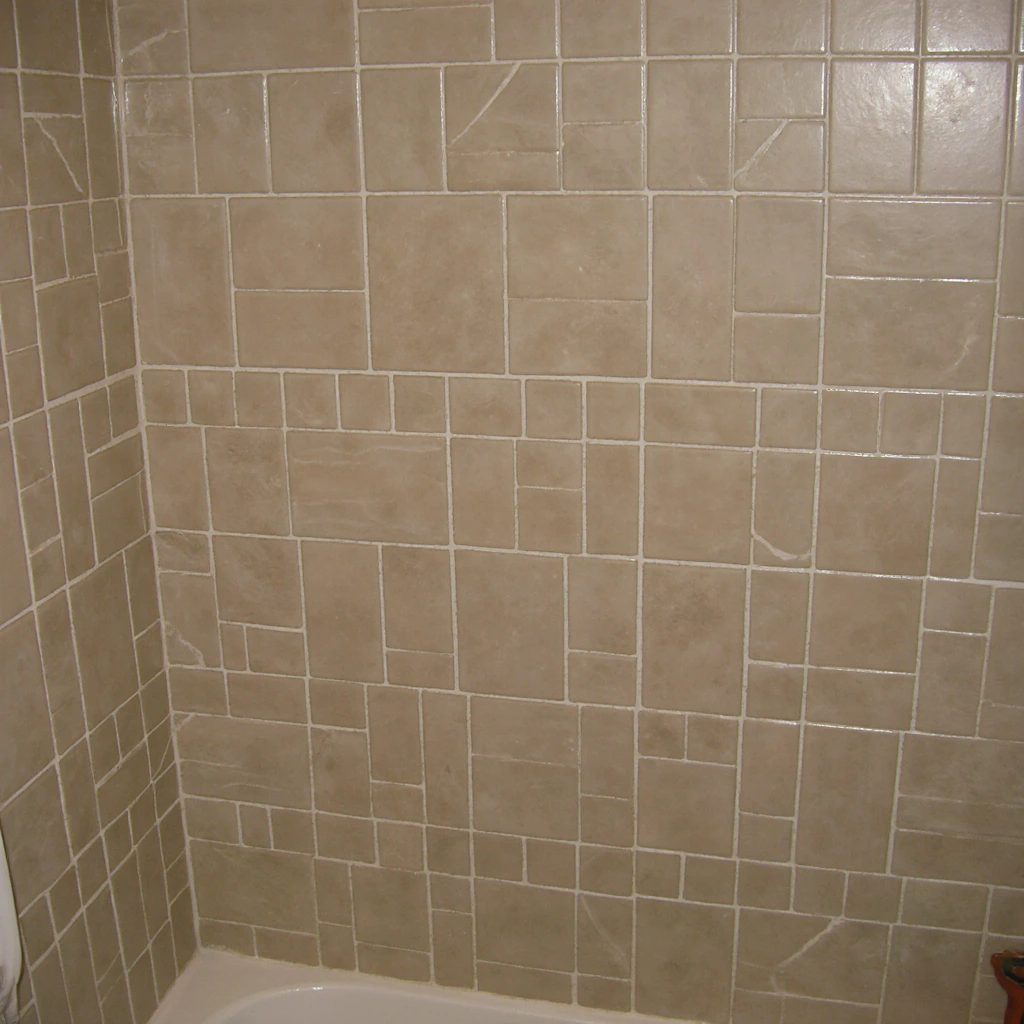
Small bathrooms present unique challenges when painting tiles. The key is to choose colors and techniques that create a sense of spaciousness while maintaining functionality. Light, neutral colors work exceptionally well for painting bathroom tiles in small spaces.
Consider these design techniques:
Vertical Emphasis: Use lighter shades on upper walls and slightly darker shades on lower sections to draw the eye upward. This technique makes ceilings appear higher and spaces appear more spacious.
Monochromatic Schemes: Painting bathroom tiles in different shades of the same color family creates visual continuity without overwhelming the space. Soft grays, warm whites, and pale blues work particularly well.
Strategically Accent Walls: If your small bathroom has an accent wall behind the bathtub or sink, consider painting the tiles in a cohesive but bolder color.
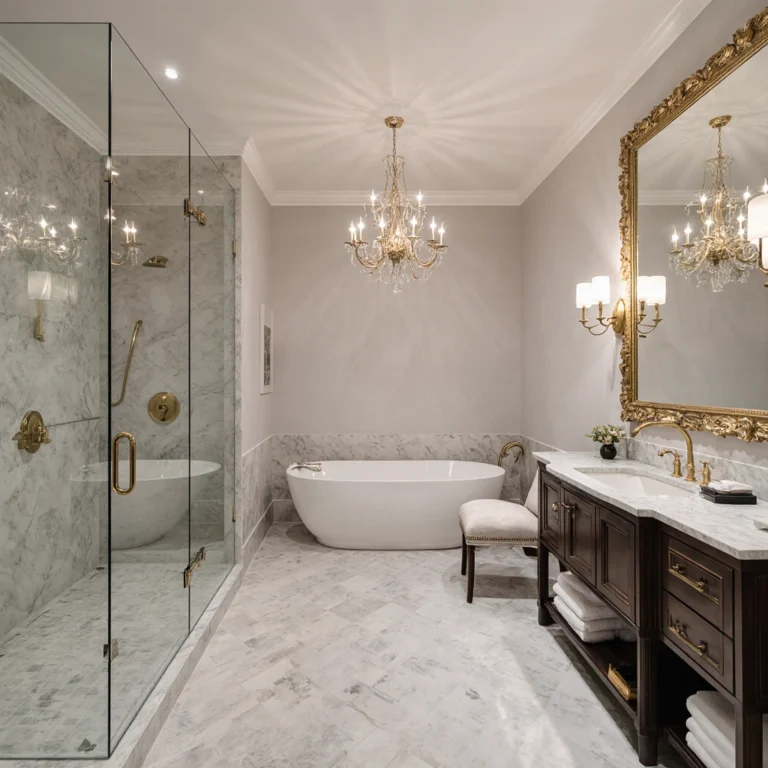
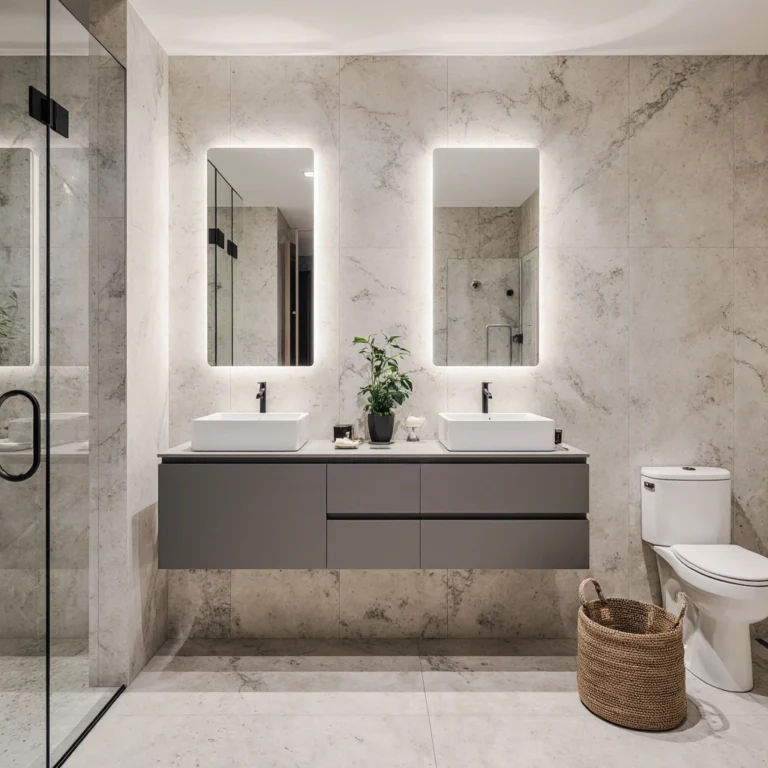
Designing Larger Bathrooms
Larger bathrooms offer more creative freedom when painting bathroom tiles. You can experiment with bolder colors, patterns, and design techniques that might otherwise overwhelm small spaces.
Color Blocking: Add interest by painting different sections of tiled walls in cohesive colors. This is especially suitable for master bathrooms with separate bath and shower areas.
Creating Patterns: Use painter’s tape to create geometric patterns, stripes, or even subway tile effects on existing ceramic surfaces.
Two-Tone Approach: Paint the lower tiles a darker color and the upper tiles a lighter color, separating them with a border or decorative piece.
Smart Storage Solutions for Painted Tiles
When planning a tile painting project, consider how it will complement your storage needs. Painted tiles create an ideal backdrop for a variety of storage solutions, enhancing their function and beauty.
Integrate Built-In Storage Units
Painted tiles create an ideal backdrop for built-in storage solutions. Try the following options:
Recessed Shelves: Paint the interior of recessed shelves a contrasting color to add visual depth and interest.
Medicine Cabinet Frames: Embellish built-in medicine cabinets with carefully painted tile frames for a custom look.
Shower Alcoves: Transform plain shower alcoves by painting the interior tiles in a distinctive color that complements the main tile color.
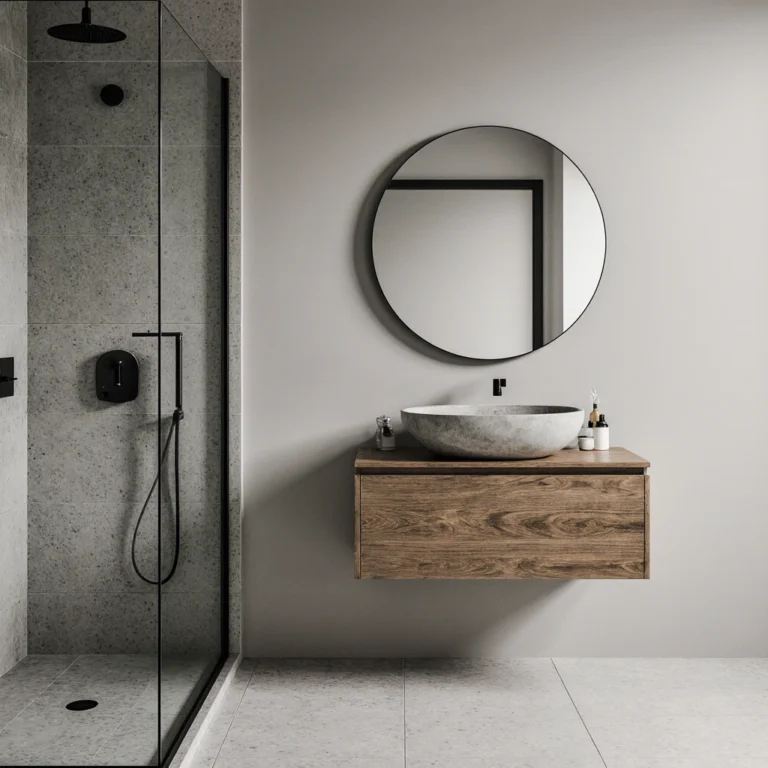
Floating Storage Solutions
Wall-mounted storage units work beautifully with painted tiles:
Floating Shelves: Choose materials and colors that complement your newly painted tiles. Dark tiles look great with light wood or white shelves.
Wall-mounted Cabinets: Choose cabinet colors that match or contrast with the painted tiles.
Towel bars and hooks: Coordinate the finishes of your metal hardware with your tile colors for a cohesive design.
Materials and finishes: Choosing the right products to ensure durability
The success of a bathroom tile refinishing project depends largely on choosing the right materials and finishes that can withstand high humidity.
Choosing a primer
The foundation of any successful tile refinishing project is the use of a suitable primer. Bathroom tiles require specialized primers designed to adhere to glossy, non-porous surfaces while providing moisture resistance.
Bonding primers: These primers provide a strong foundation for paint adhesion to ceramic and porcelain surfaces. Look for products specifically designed for use in bathrooms.
Epoxy-based primers: They offer superior durability and high moisture resistance, making them ideal for showers and areas exposed to water splashes.
Combination primers: Some products combine primer and paint in a single coat, saving time, but may require multiple coats for optimal coverage.
Paint Types and Finishes
When painting bathroom tiles, the choice of paint is crucial to their longevity and appearance:
Epoxy paint: Provides a durable finish and excellent moisture resistance. Ideal for shower surrounds and areas exposed to heavy water leaks.
Acrylic and latex paint: Offers high durability and is easy to clean and apply. Choose high-quality formulations designed for bathrooms.
Chalk paint: Although this option is popular, it requires good sealing for use in bathrooms and is ideal in low-humidity areas.
Finishing Considerations
The level of sheen affects appearance and maintenance:
Satin Finish: Provides a medium sheen with good cleanability, making it ideal for most bathroom applications.
Semi-Gloss Finish: Provides superior moisture resistance and easy cleaning, ideal for shower areas.
Eggshell Finish: Provides a subtle sheen while concealing minor imperfections, suitable for shower rooms or less humid areas.
Lighting and Ventilation: Enhance the Design of Your Painted Tiles
Proper lighting and ventilation are essential to highlight your painted tiles and ensure their longevity.
Lighting Strategies
Proper lighting can significantly enhance the appearance of painted bathroom tiles:
Improve Natural Light: If possible, maximize natural light to highlight the tiles’ true colors. Consider adding or enlarging windows during your renovation.
Multi-Layered Artificial Lighting: Combine ambient, task, and accent lighting to add depth and highlight your painted tile work.
Color Temperature Considerations: Choose LED lights with appropriate color temperatures (3000-4000 Kelvin) that complement your tile colors without distorting them.
Ventilation Requirements
Good ventilation is essential to prolonging the life of your painted tiles:
Exhaust Fan Capacity: Make sure your bathroom fan can handle the space. Inadequate ventilation can damage the paint and cause moisture damage.
Air Circulation: Improve air movement to prevent moisture buildup, which can damage painted surfaces.
Humidity Control: Consider installing humidity sensors that automatically activate ventilation when humidity levels rise.
Common Bathroom Tile Painting Mistakes and How to Avoid Them
Learning from common mistakes saves time, money, and frustration when painting bathroom tiles.
Surface Preparation Mistakes
The most serious mistake is insufficient surface preparation:
Inadequate Cleaning: Failure to remove all soap scum, mold, and grime can hinder proper paint adhesion. Use TSP (trisodium phosphate) cleaner to completely remove grease.
Neglecting to apply primer: Attempting to paint tiles directly without primer often results in poor adhesion and premature paint damage.
Neglecting to grout: Failing to clean and repair grout lines before painting creates an unfinished appearance and potential damage points.
Application Mistakes
Correct application technique is essential:
Too thick coats: Applying paint too thickly can lead to dripping, poor adhesion, and prolonged drying time. Multiple thin coats are always superior to a single thick coat.
Insufficient drying time: Rushing between coats can impair adhesion and durability. Follow the manufacturer’s recommendations regarding drying times.
Choosing the wrong brush or roller: Using the wrong tools can lead to texture problems and uneven coverage. Choose high-quality synthetic brushes and rollers appropriate for your paint type.
Design and Color Mistakes
Avoid these aesthetic mistakes:
Ignoring lighting conditions: Paint colors can vary dramatically in different lighting conditions. Test colors in different lighting throughout the day.
Overwhelming small spaces: Using very dark or bold colors in small bathrooms can make them feel cramped and claustrophobic.
Neglecting long-term appeal: While trendy colors may look attractive, consider choosing colors with lasting appeal to avoid frequent repainting.
Step-by-Step Application Process
Preparation Stage
Proper preparation accounts for 70% of the success of a tile coating project:
- Remove all fixtures and tools that may impede the coating process.
- Clean thoroughly using appropriate cleaners to remove all residue.
- Repair damaged grout and fill gaps as needed.
- Lightly sand glossy surfaces to improve primer adhesion.
- Cover areas you don’t want to paint with high-quality masking tape.
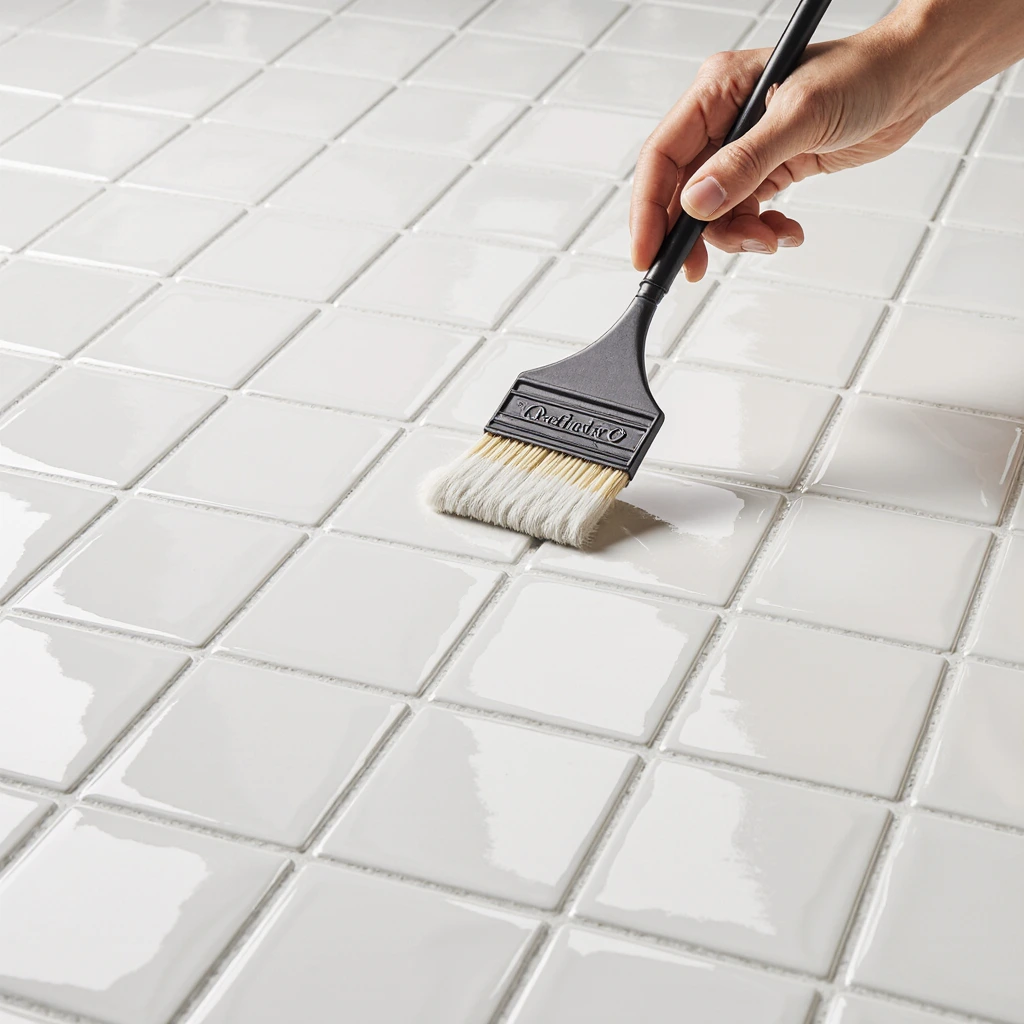
Preparation and Painting
Follow these steps for professional results:
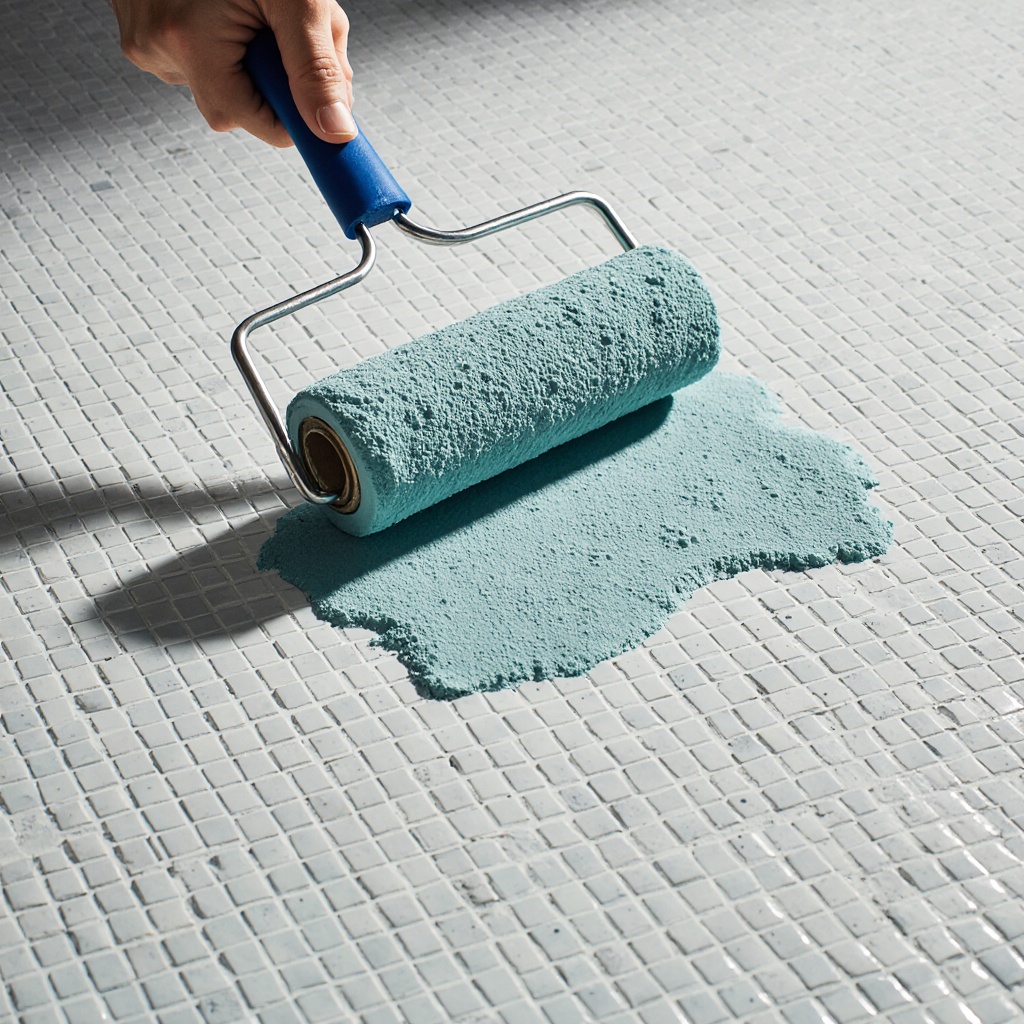
- Apply the primer in thin, even coats using appropriate brushes or rollers.
- Leave the primer to dry completely between coats of primer and paint.
- Apply the first coat of paint in thin, even coats.
- Lightly sand between coats if recommended by the manufacturer.
- Apply the final coat ensuring full coverage.
Finishing Touch-ups
Complete your project professionally:
- Remove the masking tape while the paint is still slightly wet to prevent peeling.
- Replace fixtures and tools carefully.
- Apply sealant where needed for a finished look.
- Wait until completely dry before exposing the surface to moisture.
Maintenance and Longevity Tips
Prolong the life of your painted tiles:
Regular Cleaning: Use mild, non-abrasive cleaners to maintain painted surfaces without damaging them.
Touch-up Maintenance: Save leftover paint for minor touch-ups when needed, especially in high-traffic areas.
Monitor Wear: Address any cracks or wear spots immediately to prevent larger problems.
Renew Your Bathroom Today
Painting your bathroom tiles offers a great opportunity to completely transform your space without the cost or hassle of a full renovation. With proper preparation, quality materials, and attention to detail, you can achieve professional results that will serve you for years to come. Ready to renovate your bathroom? Start by assessing the condition of your existing tiles and planning the right color scheme. Remember, the key to success lies in good preparation and patience during the painting process.
We’d love to hear about your tile painting experiences! Share your before-and-after photos in the comments below, or sign up for our newsletter for more affordable bathroom renovation ideas and step-by-step tutorials.
Best Amazon Picks :
FAQs
Q: How long do painted bathroom tiles last?
A: With proper preparation and the use of quality materials, painted bathroom tiles can last 3 to 5 years in high-humidity areas, and even longer in showers or less humid areas. Regular maintenance and good ventilation significantly extend the life of the tiles.
Q: Can I paint my bathroom tiles?
A: Yes, but special care is required when choosing a primer and paint. Use primer and epoxy paints specifically designed for high-humidity environments. Ensure good ventilation and allow longer drying periods before applying water.
Q: What color is best for small bathroom tiles?
A: Light, neutral colors are best for small bathrooms. White, light gray, pale blue, and soft beige are all colors that make spaces appear larger while maintaining a sleek, flawless appearance.
Q: Do I need to sand the tiles before painting?
A: Light sanding improves the adhesion of the primer, especially on high-gloss tiles. Use fine-grit sandpaper (220 grit) and focus on creating a light texture rather than removing material.
Q: How much does it cost to paint bathroom tiles compared to the cost of replacing them?
A: Painting bathroom tiles typically costs between $200 and $500 for materials and supplies, compared to $1,500 to $5,000 or more to have them professionally replaced. This represents a savings of 80-90% in most cases.
Q: Can painted tiles be removed later?
A: Although painted tiles can be removed or repainted, this process requires significant effort. Consider painting as a long-term solution, or choose neutral colors that will maintain their luster over time.
Q: How do I maintain painted bathroom tiles?
A: Clean them regularly with mild soap and water, avoid abrasive cleaners, ensure good ventilation, and immediately repair any cracks or wear spots with a restorative paint.