DIY Room Decor: Budget with Creative, Affordable Ideas
Table of Contents
Designing gorgeous DIY Room Decor doesn’t require a huge budget or professional design skills. With some creativity, basic materials, and a weekend, you can transform your entire living space into a personal haven that reflects your unique style.
The beauty of home decor lies in its accessibility and personal touch. Unlike expensive store-bought items, handmade decor pieces express your personality and save you hundreds of dollars. Recent surveys show that 73% of homeowners prefer DIY projects because of their affordability, while 68% enjoy the creative satisfaction of making something with their own hands.
Whether you’re a college student decorating your first apartment, a homeowner looking to renovate their space, or simply someone who loves crafts, this comprehensive guide will walk you through everything you need to know about creating beautiful and affordable room decor that rivals expensive store-bought items.
Why Choose DIY Over Ready-Made Items?
DIY room decor offers many benefits beyond just saving money. When you create your own decorative pieces, you invest in pieces that perfectly fit your vision, the dimensions of your space, and your color preferences.
Cost-effectiveness is the key benefit. A handmade piece of wall art that costs $15 for materials might sell for $150 at a high-end retailer. This 90% savings allows you to decorate multiple rooms for the price of a single designer piece.
Customization is another important benefit. Off-the-shelf decor pieces often come in standard sizes and limited color options. DIY projects allow you to create pieces that fit your exact specifications, whether it’s a display wall in a mismatched corner or throw pillows in your favorite shade of teal.
Sustainability also plays a crucial role in modern decor choices. By upcycling existing pieces and choosing eco-friendly materials, you reduce waste while creating something beautiful. This approach aligns with the 84% of consumers who consider environmental impact when making purchasing decisions.
Essential Materials and Tools for DIY Room Decor Projects
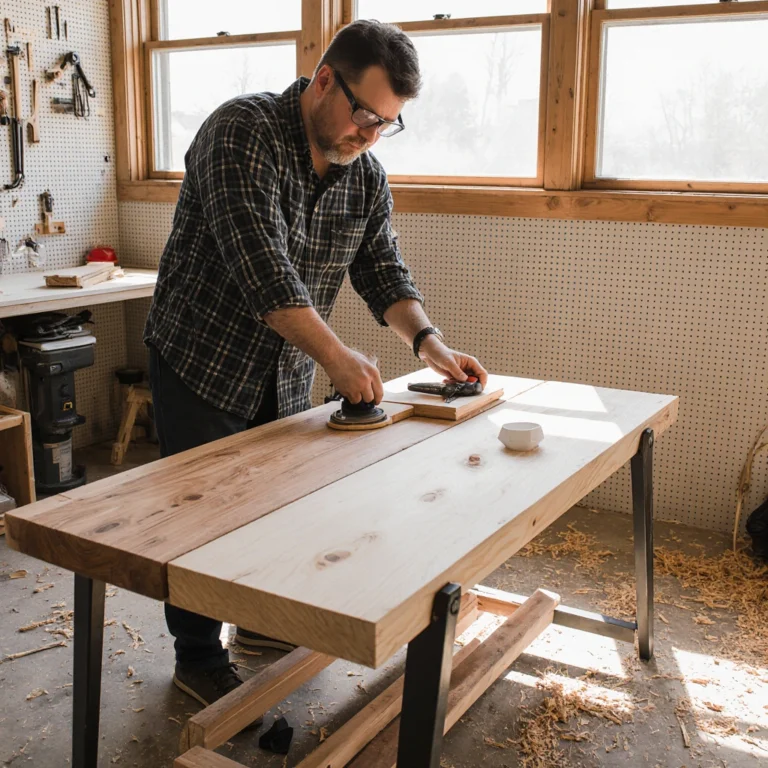
Before we delve into specific projects, let’s start by building a DIY tool kit. Having the right materials and tools can make the difference between frustrating attempts and successful creations.
Essential Tool Kit
Cutting tools form the foundation of most projects. Invest in sharp scissors, a craft knife with replaceable blades, and a metal ruler for precise, straight cuts. These tools will be useful for dozens of different projects.
Adhesives come in a variety of forms, each with a specific purpose. Hot glue guns are ideal for fast, strong bonding to fabrics and lightweight materials. Craft glue provides precision for detailed work, while double-sided tape offers clean, removable installation options.
Painting supplies should include various sizes of brushes, foam rollers for smooth finishes, and painter’s tape for clean lines. Don’t forget tarps and disposable bowls for mixing paint.
Basic Materials
Fabric scraps offer great versatility at a low cost. Check fabric stores for off-the-shelf pieces, which are often sold at 50% to 70% off. These pieces are perfect for pillowcases, wall hangings, and upholstery projects.
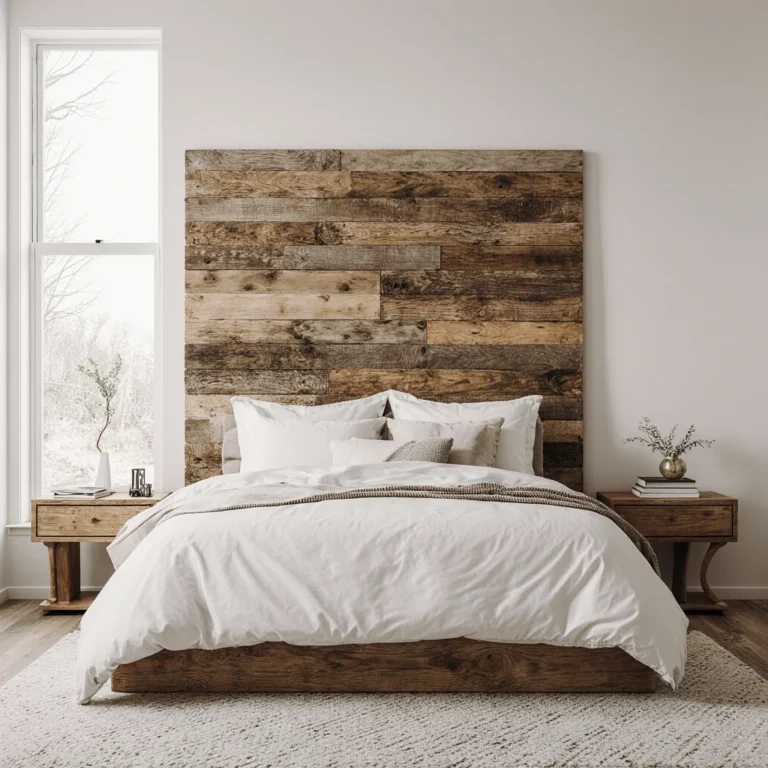
Wood scraps are available at affordable prices from scrap bins or pallet recycling programs at home improvement stores. Many stores offer free cutting services, saving you time and ensuring accurate measurements.
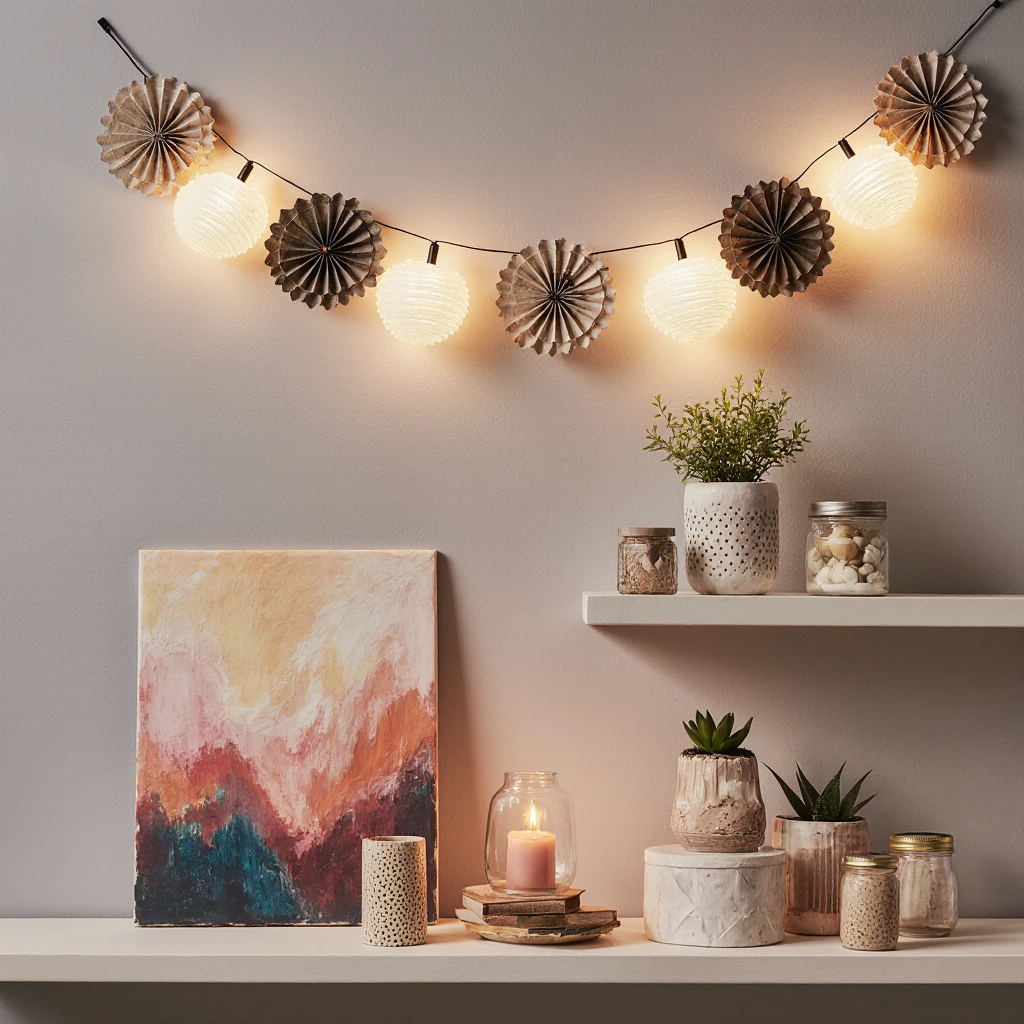
Paper products go beyond basic craft supplies. Specialty papers, such as scrapbook paper, wrapping paper, and even old magazines, can make great wall art and decorative accents.
DIY Room Decor Projects Step by Step
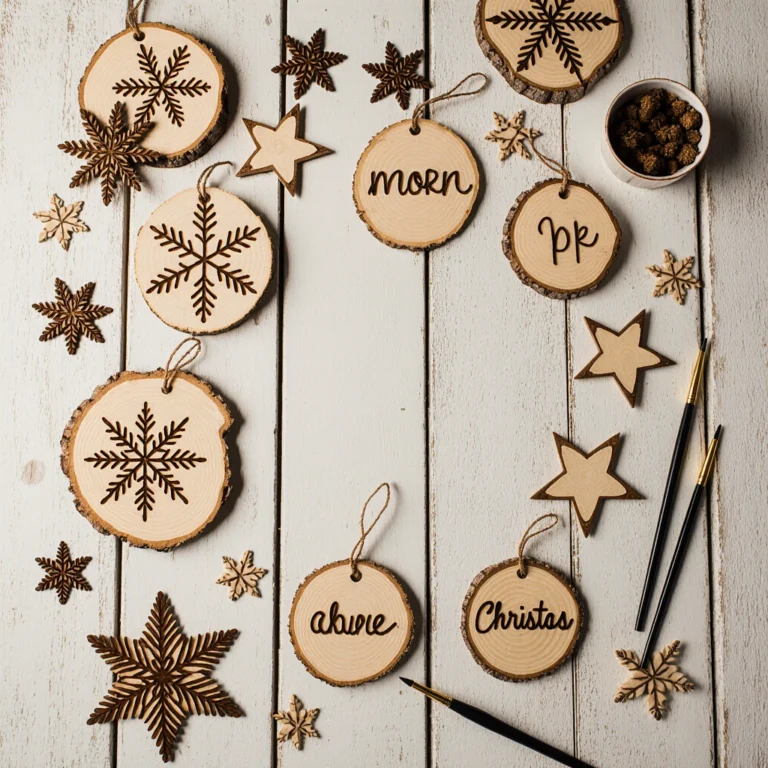
Project 1: Floating Cloud Shelves
Turn ordinary wooden shelves into stunning cloud storage solutions that add a practical and aesthetic touch to any room.
Materials Needed:
- 1×4-inch (6-foot) pine board
- White spray paint
- Sandpaper (120 and 220 grit)
- Wall mount brackets
- Pencil and template paper
Steps:
Start by creating a cloud template on paper. Draw a thin, irregular cloud shape approximately 18 inches wide. This template ensures consistency if you’re making multiple shelves.
Cut the pine board according to the template. A power saw is best for curved cuts, but many home improvement stores offer cutting services. Sand all edges smooth, starting with 120-grit sandpaper and ending with 220-grit sandpaper for a professional finish.
Apply a primer if the wood is very dark or has visible knots. This step ensures even paint coverage and prevents wood tannins from leaching.
Spray the paint in thin, even coats. Hold the can 8-10 inches from the surface and use sweeping motions. Apply two or three light coats instead of one heavy coat to avoid dripping and achieve smooth coverage.
Attach the mounting brackets to the back, ensuring they are securely fastened to the wall studs. The pre-made cloud shelves can accommodate books, plants, and decorative pieces, adding a charming touch to your space.
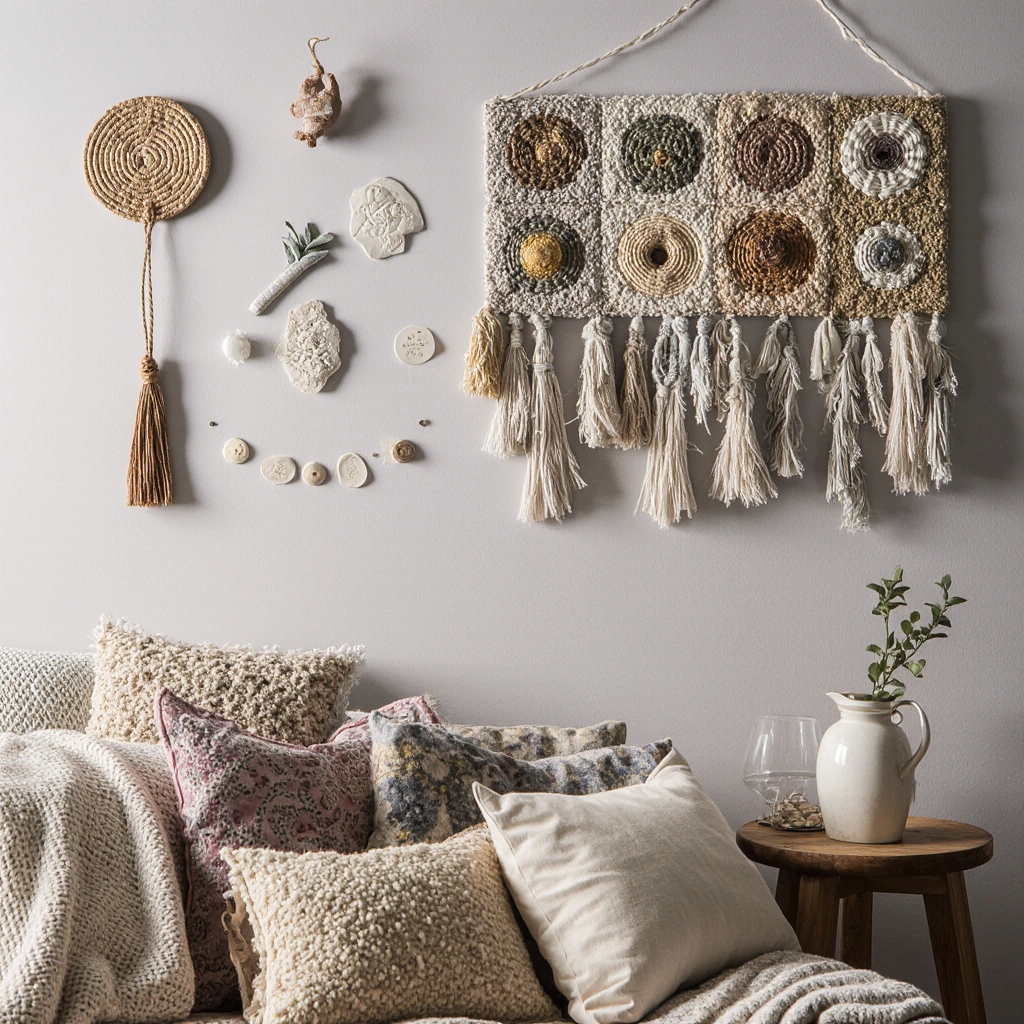
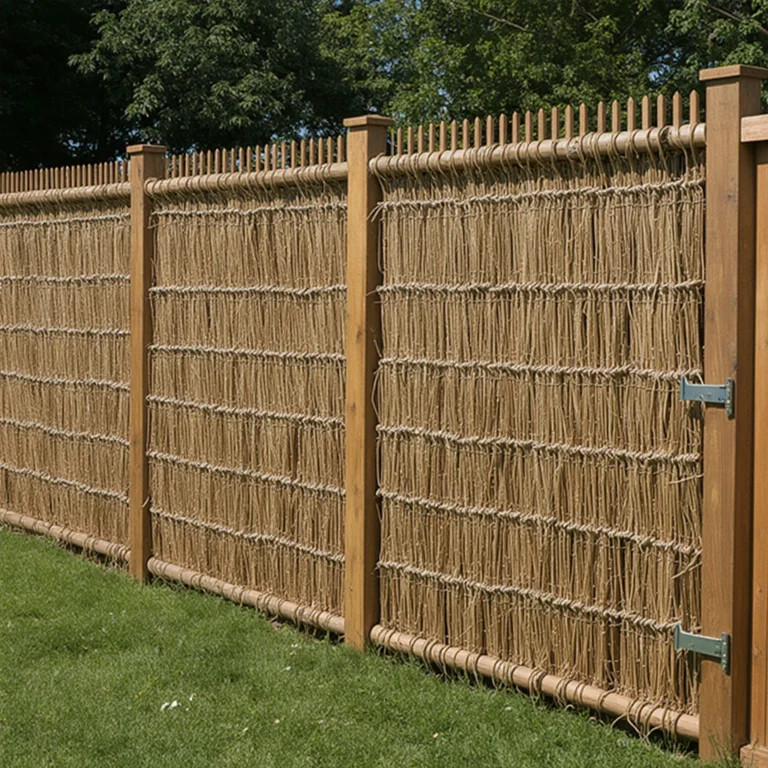
Project 2: Macrame Wall Decor
Add a distinctive bohemian touch with this easy macrame project for beginners, requiring no prior experience in knotting techniques.
Materials Needed:
- Macrame string (4 mm, 100 yards)
- Wooden dowel (18 inches)
- Scissors
- Decorative comb
Detailed Instructions:
Cut 20 pieces of cord, each 1.2 meters long. Fold each piece in half, then tie it to the dowel using a lark’s head knot. This will result in 40 strands hanging from the dowel.
Divide the strands into groups of four. Starting 7.5 cm below the dowel, tie square knots to each group. Continue this pattern for 6 inches, forming the first section.
Create a diamond pattern by regrouping the threads. Take two threads from two adjacent groups and tie square knots 5 cm below the first section. This forms the top point of the diamond.
Continue the diamond pattern by adding the remaining threads from each group, creating wider sections as you work your way down. Complete the diamond by gathering the threads together at the bottom point.
Complete the pattern with a final section of square knots in your original groups. Trim the ends of the threads to create a fringe, then comb the individual fibers for a fuller look.
Project 3: Geometric Wall Art
Create stunning geometric artwork using simple materials that evoke expensive modern paintings.
Materials Needed:
- Canvas panels (12 x 16 inches)
- Masking tape
- Acrylic paints in 3-4 matching colors
- Sponge brushes
- Pencil and ruler
Design Process:
Plan your geometric design on paper first. Common patterns include triangles, hexagons, and abstract angular shapes. This planning step prevents mistakes and ensures balanced compositions.
Draw your design lightly on the canvas using a pencil and ruler. Keep the lines light, as they will be covered or removed later.
Apply masking tape along the lines of your design. Press down firmly on the edges to prevent paint from bleeding underneath. This step determines the clarity of your final lines.
Paint each section with your chosen colors. Start from light to dark to avoid uneven color blending. Apply the paint in thin, even layers, removing the tape while the paint is still slightly wet for clearer lines.
Let each color dry completely before moving on to adjacent sections. This patience prevents staining and ensures professional results.
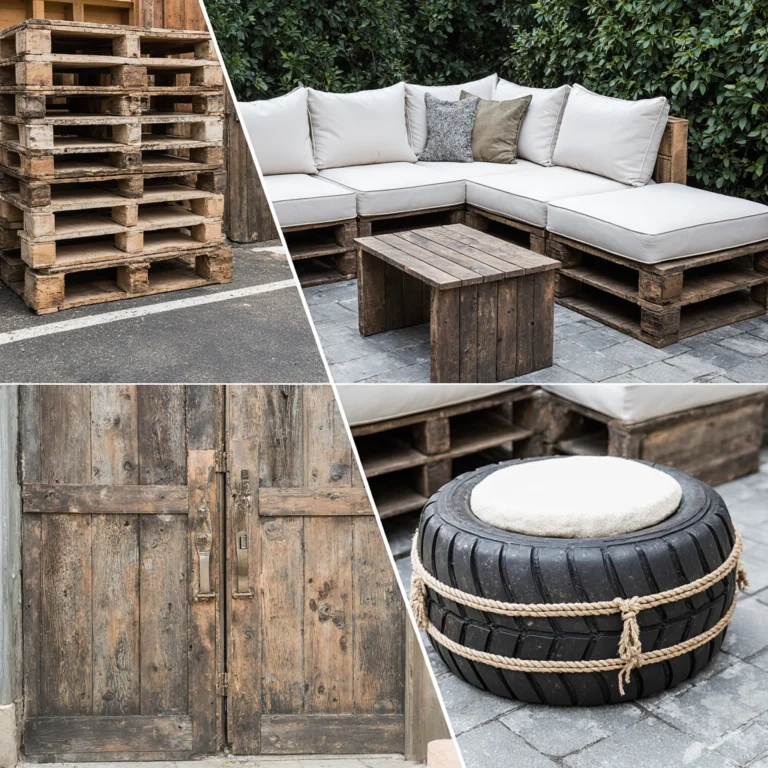
Creative Recycling Ideas
Home Decor reaches its creative peak when transforming discarded items into beautiful and functional pieces. This approach not only saves money, but also reduces environmental impact while creating truly unique decorative items.
Glass Jar Transformations
Empty food jars offer endless decorating possibilities. Large pickle jars transform into stunning pendant lights when fitted with wire light kits. Medium-sized sauce jars transform into attractive planters with convenient drainage holes drilled into the bottom.
Create textured surfaces by applying hot glue in various shapes before spray painting. This technique adds an aesthetic touch and conceals the jars’ original purpose. The polished effects come from spraying or embossing cream, giving the jars a luxurious and opulent appearance.
Cardboard Box Innovations
Large shipping boxes can be transformed into stylish storage sofas with some padding and a fabric cover. Cut out access holes, fill them with old pillows or foam, and then cover them with attractive fabric secured with a staple gun.
Small boxes are ideal for organizing drawers when covered with contact paper or fabric. Create custom storage spaces by cutting and reassembling the boxes to fit your storage needs.
Textile Repurposing
Old T-shirts are revitalized as braided rugs or macramé plant holders. The stretchy material in T-shirt fabric makes them easy to use for beginners learning new techniques.
Frayed jeans provide durable material for storage baskets, wall pockets, or even upholstering small furniture pieces. The varied shades of denim add visual interest when combined into individual projects.
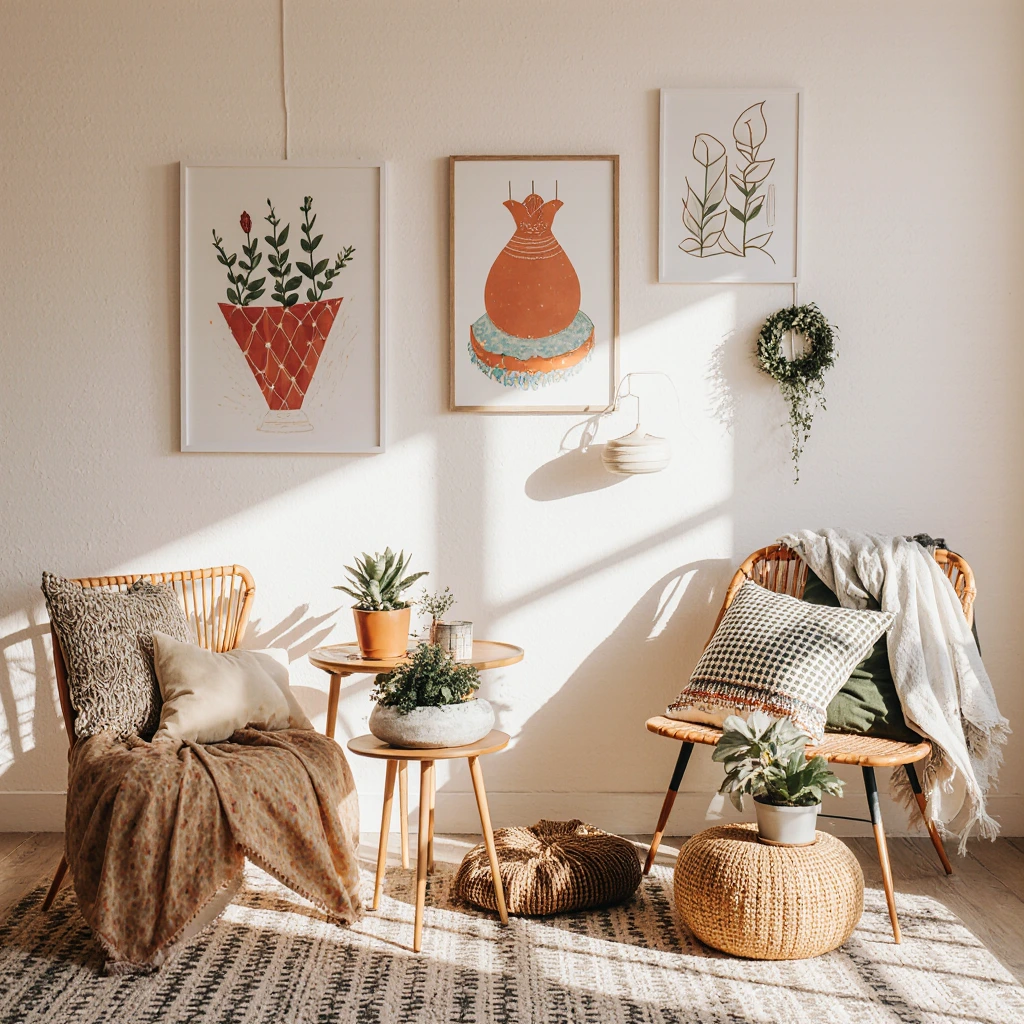
Seasonal and Custom DIY Room Decor Projects
Adapting your DIY room decor to the seasons and special occasions keeps your space fresh and modern without requiring a complete redecorating.
Spring Refresh Projects
Botanical wall prints embody the rejuvenating energy of spring. Print real flowers and leaves between glass frames, or create watercolor botanical prints using simple techniques. These pieces bring a touch of nature into your home while maintaining a sophisticated aesthetic.
Pastel colors add a wonderful touch to spring decor. Refresh existing pieces with soft pink, mint green, or purple accents through new pillowcases, painted vases, or fresh flowers in matching bowls.
Summer Vitality
Beach-inspired items don’t require living at the seaside. Collect unique stones, shells, and driftwood from your summer travels and use them in shadow boxes, tablescapes, or floating tablescapes.
Bright, vibrant colors reflect the boldness of summer. Try using coral, turquoise, and sunny yellow in temporary applications like removable wall decals or interchangeable pillow covers.
Autumn Warmth
Natural projects shine during the fall months. Gather pinecones, leaves, and colorful twigs to make wreaths, garlands, or tablecloths that celebrate autumn’s bounty.
Warm color palettes featuring deep oranges, deep browns, and golden yellows create a cozy atmosphere perfect for shorter days and cooler evenings.
Winter Elegance
Metallic accents add elegance to winter decor. Spray existing accessories with gold, silver, or copper for an instant, effortlessly glamorous look.
Textile elements become increasingly important during the winter months. Add chunky throws, faux fur pillows, or chunky knitted throws to add visual and physical warmth.
Common DIY Room Decor Mistakes and How to Avoid Them
Even experienced DIYers face challenges when creating home decor. Learning from common mistakes saves time, materials, and frustration while ensuring better results.
Planning and Preparation Mistakes
Inadequate measuring leads to misaligned cuts and wasted materials. Always measure twice and cut once. Make paper templates for complex shapes and test pieces before final assembly.
Neglecting surface preparation leads to poor paint adhesion and an unprofessional finish. Clean surfaces thoroughly, lightly sand shiny areas, and apply a suitable primer when needed.
Improper workspace preparation causes accidents and messy results. Protect surfaces with a protective drop cloth, ensure adequate lighting and ventilation, and arrange tools within easy reach before starting projects.
Material and Tool Selection Issues
Choosing the wrong materials for specific applications can lead to project failure. Research the properties and limitations of materials. For example, ordinary craft paint doesn’t withstand the humidity in bathrooms.
Using dull or inappropriate tools makes projects unnecessarily difficult and leads to poor results. Sharp blades, high-quality brushes, and properly sized tools make a huge difference in both the process and the outcome.
Design and Aesthetic Mistakes
Crowding Spaces with too many DIY pieces creates visual clutter rather than a cohesive design. Follow the rule of thirds, leave enough space around pieces, and consider size relationships within rooms.
Ignoring existing decor when creating new pieces can lead to mismatched elements that look out of place. Consider the existing color scheme, style, and proportions of your room when planning new projects.
Lack of quality control shows in the finished pieces. Set aside time for proper finishing touches, such as sanding rough edges, cleaning up paint lines, and securing loose items.
Advanced DIY Room Decorating Techniques
Once you’ve mastered the basic projects, these advanced techniques will elevate your DIY room decor to a professional level.
Color Theory Applications
Understanding color relationships helps you create more sophisticated interior designs. Complementary colors (opposite colors on the color wheel) produce vibrant combinations, while analogous colors (next to each other on the color wheel) create harmonious and calming effects.
Monochromatic designs, which use varying shades of a single color, create a sleek, cohesive look that appears intentional and sophisticated. This approach is particularly suitable for small spaces, where too much color can seem overwhelming.
Mix Texture and Pattern
Combining different textures creates an aesthetic without the need for multiple colors. Mix smooth ceramics with rough wood, soft fabrics with solid metals, or matte finishes with glossy surfaces for dynamic contrasts.
Pattern Gradients prevent visual competition between different printed elements. Use one large, one medium, and one small pattern within individual spaces for balanced, professional results.
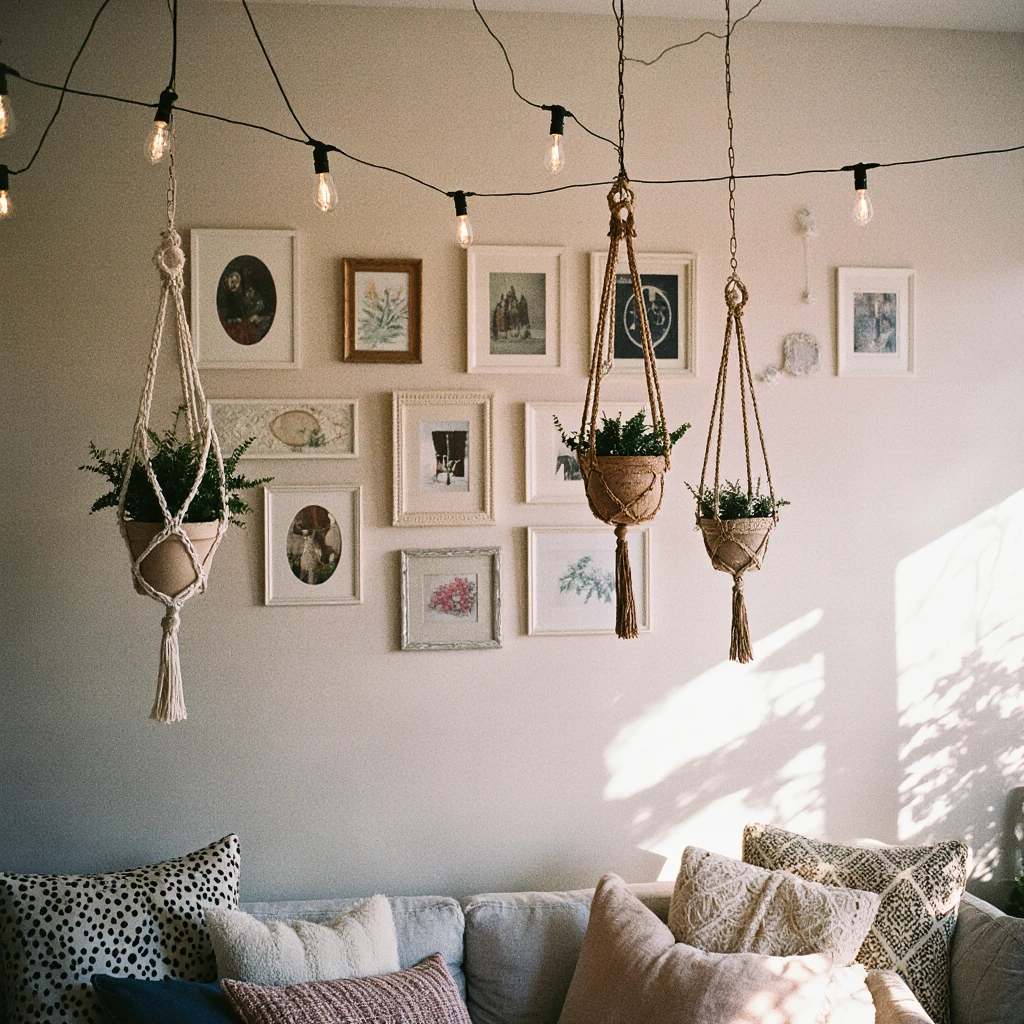
Lighting Incorporation
Incorporating lighting elements into DIY projects creates dramatic effects and extends usability into the evening. Battery-powered LED strips can be hidden behind floating shelves, within glass containers, or woven through fabric wall curtains.
Shadow Play becomes possible when you consider how light interacts with three-dimensional pieces. Geometric wall sculptures cast intriguing shadows that change throughout the day, creating dynamic visual experiences.
Budget-Friendly Shopping Strategies for DIY Materials
The success of your DIY room decor depends on finding quality materials at affordable prices. These strategies help you budget for a more affordable decor while maintaining project quality.
Alternative Shopping Places
Thrift stores and consignment shops offer unique materials and ready-made pieces that are ideal for upcycling. Go beyond the obvious options—old picture frames can become serving trays, vintage scarves can be transformed into pillowcases, and worn furniture offers reclaimed wood.
Estate sales and garage sales offer opportunities to buy bulk materials at a fraction of retail prices. Bring cash and be sure to arrive early for the best options, but also check out the end-of-sale periods for significant discounts on leftover products.
Construction site discounts sometimes offer free or very cheap materials. Many contractors discard perfectly usable lumber, tile samples, or paint samples that work great for DIY projects.
Timing Your Purchases
End-of-season clearance sales provide opportunities to stock up on materials for future projects. Buy holiday decorating supplies after the holidays, gardening supplies at the end of the planting season, and fabrics during post-holiday sales.
Back-to-school sales often include craft supplies at deep discounts. Stock up on essential materials like glue, paper, scissors, and storage containers during these promotional periods.
Using Online Resources
Social media marketplaces connect you with local vendors offering materials at discounted prices. Join local craft groups, where members often sell surplus or commercial materials.
Manufacturer websites sometimes offer direct sales or sample programs that provide materials at discounted prices. Many companies sell products with minor defects at deep discounts.
Creating Cohesive Design Themes
Creating consistent design themes throughout your space prevents the “muddled” look that can result from too many independent DIY projects.
Establishing Design Focal Points
Choose three primary colors that appear throughout your space in varying proportions. One color should be dominant (60%), another supporting color (30%), and a third accent color (10%) for balanced, professional results.
Choose consistent materials that unify different projects. For example, incorporating natural wood tones into multiple pieces creates continuity even when projects serve different functions.
Guidelines for Scale and Proportion
Follow the rule of odd numbers when grouping decorative pieces. Arrangements of three or five pieces typically look more natural and aesthetically pleasing than even pieces.
Vary the heights and shapes within groups to create an attractive look while maintaining overall harmony. Mix tall, thin pieces with short, wide pieces to achieve dynamic balance.
Conclusion and Next Steps
Designing Beautiful DIY Home Decor offers a highly rewarding way to add a personal touch to your space while staying on a budget. From simple weekend projects to more complex seasonal transformations, the techniques and ideas shared in this guide provide the foundation for endless creative possibilities.
The secret to home decor success is to start small, build skills gradually, and not be afraid to experiment. Every experienced crafter started with simple projects and learned through practice, patience, and the occasional mistake.
Remember, your decorating journey is unique and tailored to your space, lifestyle, and personal taste. Use these guidelines as a starting point, but feel free to modify techniques and tweak projects to better suit your own needs and preferences.
Ready to transform your space? Start with one small project this weekend and share your results in the comments below. Sign up for our newsletter for weekly DIY inspiration, exclusive tutorials, and member-only discounts on craft supplies. Your beautifully decorated, affordable space is waiting for you!
Best Amazon Picks :
FAQs
Q: How much money can I actually save with DIY room decor compared to purchasing pre-made items?
A: Most DIYers save 60-80% compared to retail prices for similar products. A handmade pillow that costs $8 in materials may sell for $40-60, while a custom wall art that costs $15 may sell for $100-200 at high-end stores. During a complete room makeover, savings often reach thousands of dollars.
Q: What’s the best way to get started with a DIY decor business if I don’t have any DIY experience?
A: Start with simple projects that require simple tools and techniques. Pillowcases, simple wall art, and planters offer great starting points. Focus on mastering one skill at a time—like straight cuts or even applying paint—rather than attempting complex projects first. Success with simple projects builds confidence for more challenging endeavors.
Q: How do I ensure my handicrafts look professional rather than handmade?
A: Pay attention to finishing details like clean paint lines, smooth polished edges, and secure accessories. Use high-quality materials, even if they’re slightly more expensive. Cheap materials often produce results that look cheap. Take your time with each step instead of rushing, and don’t skip preparation stages like priming or measuring.
Q: What should I do if my DIY project doesn’t work as planned?
A: Consider mistakes as learning opportunities, not failures. Many “failed” projects can be salvaged through creative problem-solving or repurposing. Make detailed notes about what worked and what didn’t for future reference. Sometimes the most beautiful pieces come from lucky coincidences or unexpected adjustments.
Q: How can I ensure my DIY room decor fits with my existing furniture and style?
A: Before starting any project, take photos of your room and create a color palette from existing pieces. Bring fabric or paint swatches with you when purchasing materials to ensure they match. Start with small, distinctive pieces that complement rather than compete with your main furniture pieces.
Q: Is it worth investing in expensive tools for DIY projects?
A: Start with basic, affordable tools and develop your tools based on your actual usage patterns. A $15 craft knife works for occasional crafters, while a $50 precision cutting system might benefit those who do weekly projects. Borrow or rent more expensive tools for one-off projects before making a purchase.
Q: How long do DIY room decor projects typically last compared to store-bought products?
A: With the right materials and techniques, handmade pieces often last longer than mass-produced alternatives. Handmade pieces allow you to control quality at every step, from material selection to manufacturing methods. However, longevity depends on choosing the right materials for specific applications and following the right manufacturing techniques.
Q: What’s the best way to organize and store DIY materials and tools?
A: Designate dedicated storage spaces with clear containers for small tools and labeled boxes for larger items. Portable bins fit frequently used tools, while perforated pegboards maximize wall storage in small spaces. Keep an inventory list to avoid duplicate purchases and keep track of project supplies.

5 Comments