DIY Christmas Decorations: Transform Your Home into a Winter Wonderland on Any Budget
Table of Contents
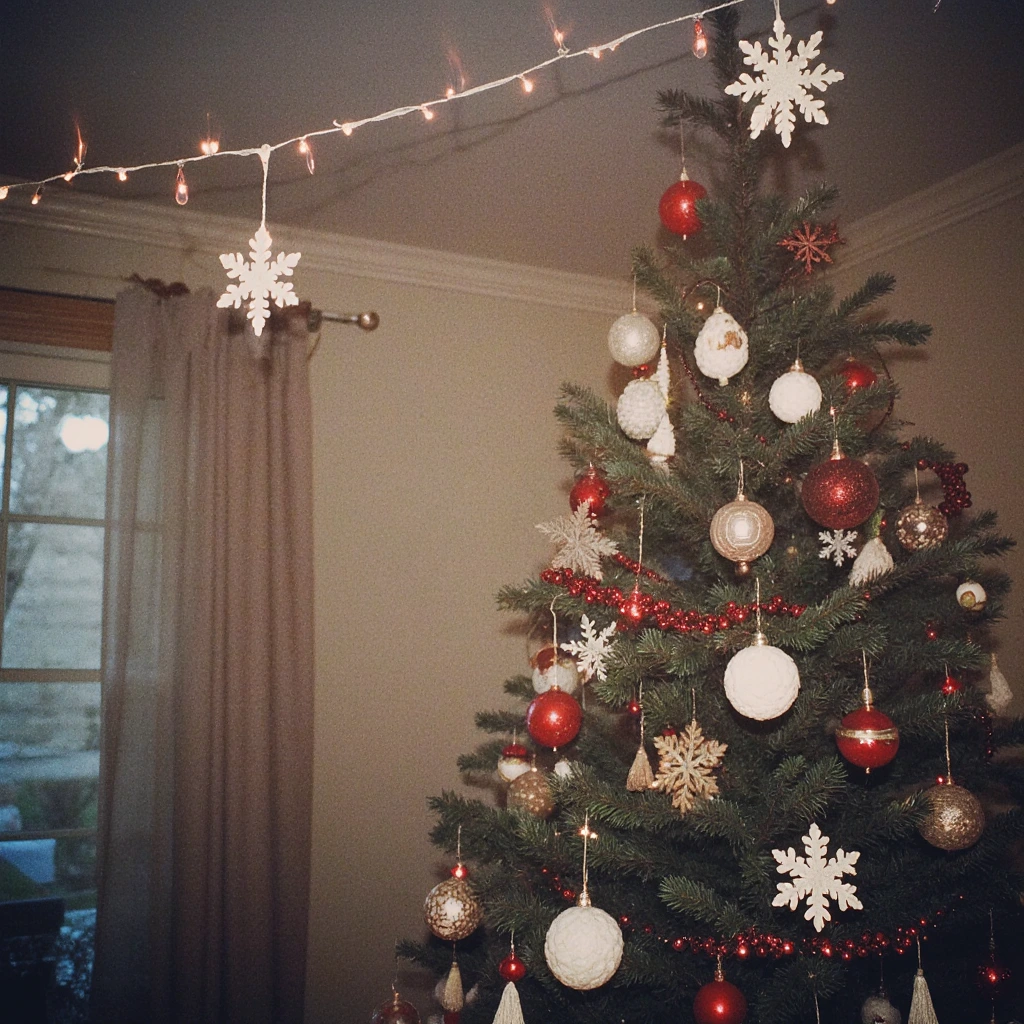
Creating charming DIY Christmas decorations doesn’t require expensive or professional crafting skills. With some creativity, basic materials, and a sense of holiday spirit, you can transform your home into a festive wonderland that rivals any store-bought display.
The holiday season brings joy, but it can also bring financial stress. According to recent consumer spending data, American families spend an average of $1,200 annually on holiday decorations and gifts. However, making your own Christmas decorations can reduce decorating costs by up to 70%, while adding a unique and personal touch that can’t be matched by store-bought products.
Besides the budget benefits, DIY Christmas decorations offer therapeutic value during the busy holiday season. Crafting activities have been shown to reduce stress levels by 68% and increase feelings of accomplishment and connection with family. Plus, handcrafted decorations become cherished family heirlooms that tell your unique story year after year.
Essential Materials and Tools for DIY Christmas Decorating
Before we delve into the project details, let’s gather the basic supplies that will help you with various Christmas decorating projects. Smart shopping and prepping materials can make or break your crafting experience.
Essential Craft Supplies Every DIY Decorator Needs
Paper and Card Materials:
- Cardstock in festive colors (red, green, gold, silver)
- Scraps of wrapping paper and old magazines
- Cardboard boxes and toilet paper rolls
- Parchment paper for templates
Adhesives and Fasteners:
- Hot glue gun with extra glue sticks
- Craft glue and glue dots
- Double-sided tape
- Floral wire and ribbon
Decorative Items:
- Ribbon in various sizes and shapes
- Twine and baker’s twine
- Buttons, beads, and sequins
- Pine cones, dried oranges, and natural elements
Tools:
- Sharp craft scissors
- Hole punch
- Ruler and pencil
- Paintbrushes in various sizes
Money-Saving Shopping Strategies
Visit dollar stores, thrift stores, and clearance sections first. Many professional decorators get 60% of their materials from budget retailers. Post-holiday sales offer great opportunities to stock up for next year at discounts of 75% to 90% off retail prices.
Check your recycling bin before shopping. Empty jars, wine bottles, and cardboard wrappers can become great decor staples with minimal investment.
Simple DIY Christmas Decorating Projects with Step-by-Step Instructions
Paper Snowflake Display Windows
Turn ordinary windows into stunning winter wonderlands using intricate paper snowflakes. This classic DIY Christmas decorating project costs less than $5 and takes only 30 minutes to complete.
Materials Needed:
- White or colored paper (copy paper works great)
- Sharp scissors
- Pencil
- String or tape for hanging
Step-by-Step Instructions:
- Paper Preparation: Cut the paper into perfect squares. Standard 8.5 x 11-inch paper works well when cut to 8 x 8 inches.
- Create the Basic Fold: Fold the square diagonally to form a triangle, then fold it again to form a smaller triangle.
- Final Fold: Fold the triangle into thirds, forming a narrow wedge shape.
- Cut Design: Draw cut lines on the folded paper. Vary the shapes—curved lines create natural shapes, while straight lines create geometric patterns.
- Cut Carefully: Cut cleanly without completely cutting through the center fold.
- Open and Display: Gently open to reveal your unique snowflake. Hang it in windows using tape or clear string.
Pro Tip: Create snowflakes of varying sizes for visual depth. Large snowflakes (12 inches and larger) make great focal points, while smaller ones (4-6 inches) add a beautiful decorative touch.
These gorgeous, handmade Christmas ornaments create a warm, soothing glow, perfect for holiday gatherings. Each ornament costs about $3 and provides hours of cozy illumination.
Materials Needed:
- Mason jar ornaments (any size)
- Battery-operated LED string lights
- Freeze spray or Epsom salt
- Ribbon or twine
- Optional: Fake snow or glitter
Directions:
- Clean and Prepare: Thoroughly clean the Mason jars and remove any labels. Dry them completely.
- Create the Frosting Effect: Apply spray frosting in light, even layers, or brush craft glue on the inside of the jars, then swirl Epsom salt around to coat the inside.
- Add Lighting: Carefully place battery-operated LED ornaments inside the ornament. The warm white lights create a truly magical effect.
- Decorate the Exterior: Wrap a ribbon around the opening of the jar and tie it into a bow. Add small holly leaves or pine branches for a natural touch.
- Finishing Touches: Sprinkle artificial snow or fine glitter while the ornament is still sticky for extra sparkle.
Safety Note: Always use battery-powered lights to avoid the risk of fire. LED lights stay cool and last longer than traditional bulbs.
Pine Cone Christmas Trees
Nature provides some of the most beautiful materials for DIY Christmas decorations. These charming pine trees add a touch of beauty to your home while being very inexpensive to make.
Materials Needed:
- Large pine cones (look for symmetrical, fully opened cones)
- Green acrylic paint
- Small paintbrush
- Small beads or pompoms
- White paint or artificial snow
- Small star stickers or yellow paint
Assembly Instructions:
- Prepare the Pine Cones: Clean the pine cones thoroughly and ensure they are completely dry. Brush off any residue.
- Paint the Base: Apply green paint to the “twigs” of the pine cones, leaving the tips natural for a realistic look.
- Add Embellishment: While the paint is still slightly tacky, squeeze small beads or pom-poms onto the ends of the ornaments to mimic tinsel.
- Add a snow effect: Lightly paint the ends of the ornaments with white paint or sprinkle with faux snow for a wintery look.
- Star Topper: Add a small star sticker or a dab of yellow paint on top.
Display Ideas: Group individual pine trees on mantelpieces, as table centerpieces, or scatter them on bookshelves for a natural holiday aesthetic.
Creative Upcycling Ideas for Holiday Decor
Wine Bottle Candle Holders
Empty wine bottles become elegant DIY Christmas ornaments with minimal effort. This upcycling project diverts waste from landfills and creates a sophisticated holiday atmosphere.
The Transformation Process:
Remove the labels by soaking the bottles in warm, soapy water. Tough residues are easily removed with cooking oil and a little effort. Clean the bottles thoroughly with rubbing alcohol.
Wrap the bottles with string, starting from the bottom and working your way up. Secure them with hot glue every few centimeters. Leave the neck area open for a modern contrast.
Insert taper candles and arrange them in groups of three or five for a dramatic visual effect. The natural color of the glass creates beautiful colored light effects.
Cardboard Box Village
Large shipping boxes become charming tourist villages thanks to creativity and basic crafting skills. This project is perfect for families with children and costs virtually nothing.
Building Steps:
Cut the boxes into house shapes using craft knives (adults only). Create pointed roofs, doorways, and window openings. Sand any rough edges to smooth them out.
Paint the exteriors with acrylic paint in festive colors. White creates a snowy effect, while traditional red and green add classic holiday charm.
Add details using markers, stickers, or small scraps of paper. Create “snow” decorations on surfaces using cotton batting secured with craft glue.
Place small battery-powered candles inside for a magical nightlight. Cardboard diffuses the light beautifully, creating a warm glow.
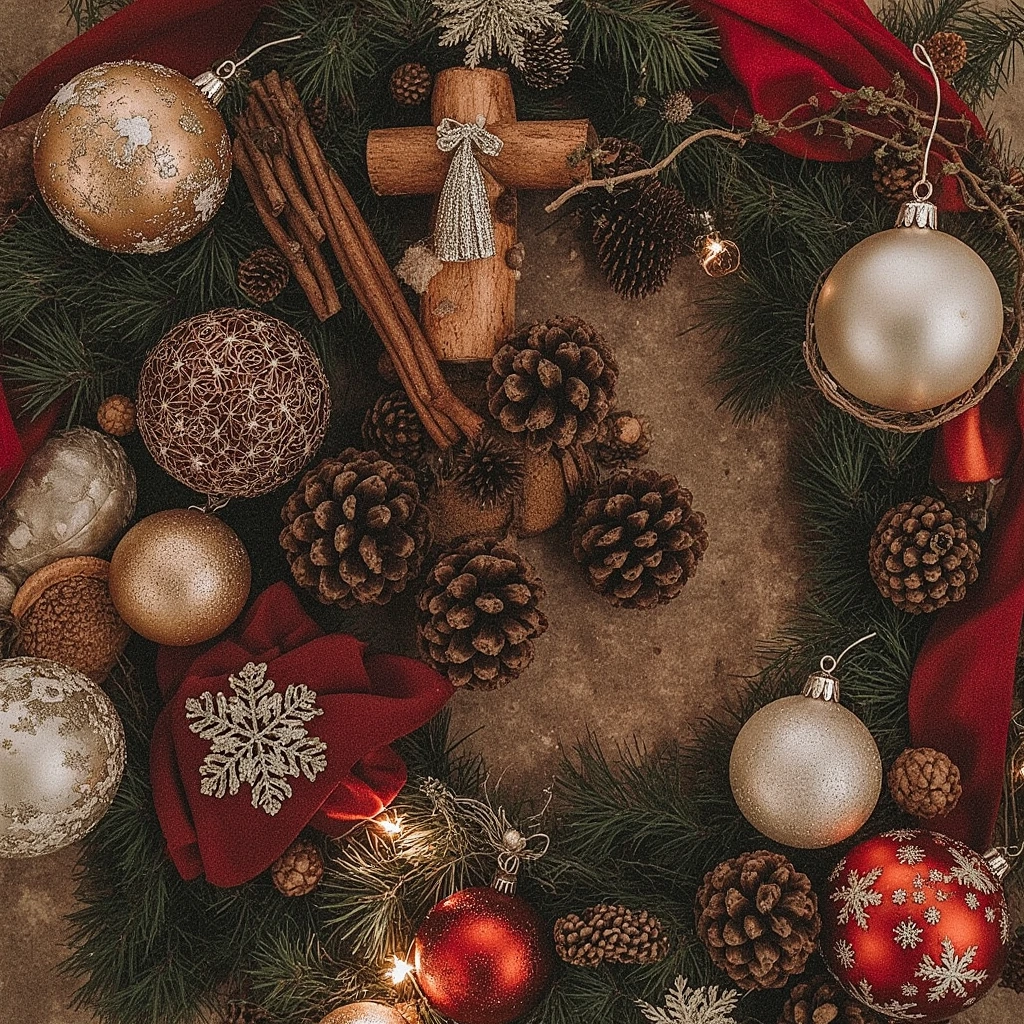
Fabric Scrap Wreaths
Turn scrap fabric into beautiful wreaths that add warmth and texture to your holiday decorations. This waste-free project uses materials you likely already have on hand.
Materials and Method:
Gather fabric scraps in holiday colors and patterns. Cut them into strips about 1 inch wide and 6 inches long. The varying lengths create natural movement.
Tie the fabric strips onto wire or ribbon, leaving 2 inches between them. Mix and match patterns and textures for a touch of whimsy.
Include natural elements like dried orange slices, cinnamon sticks, or small pine cones between the fabric clusters.
Hang them over doorways, wrap them around staircase banisters, or use them as tablecloths for a versatile holiday tablescape.
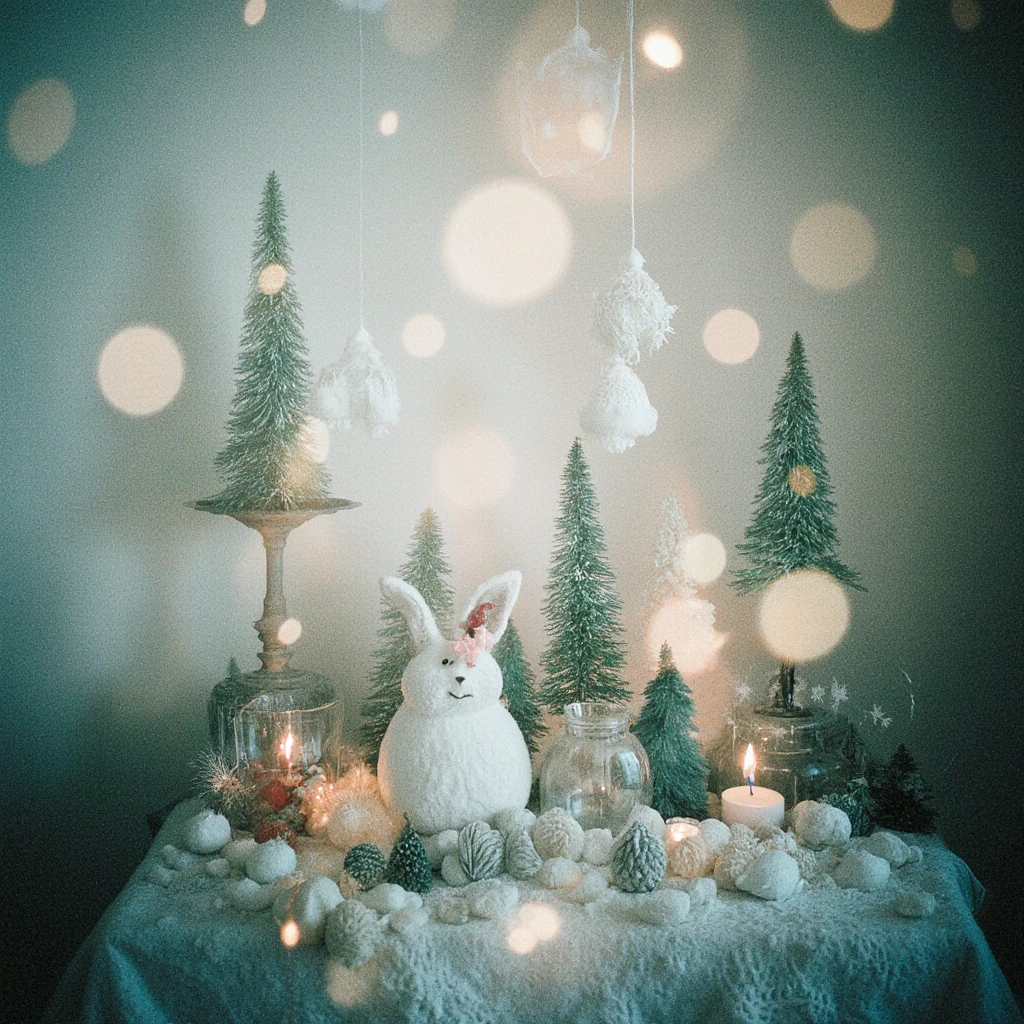
Seasonal and Themed Project Ideas
Christmas Advent Calendar Alternatives
Create unique countdown experiences with these handmade Christmas ornaments, which serve multiple purposes. These projects heighten anticipation and add a touch of whimsy.
Envelope Christmas Advent Calendar:
Decorate 24 small envelopes with festive numbers and motifs. Fill them with small gifts, inspirational quotes, or family activity suggestions. Arrange them on a bulletin board or hang them from a decorated branch.
Jar Christmas Advent Calendar:
Collect small jars throughout the year (baby food jars are perfect). Decorate the lids with festive paper and ribbon. Fill them with gifts or notes, and arrange them on a tray or shelf.
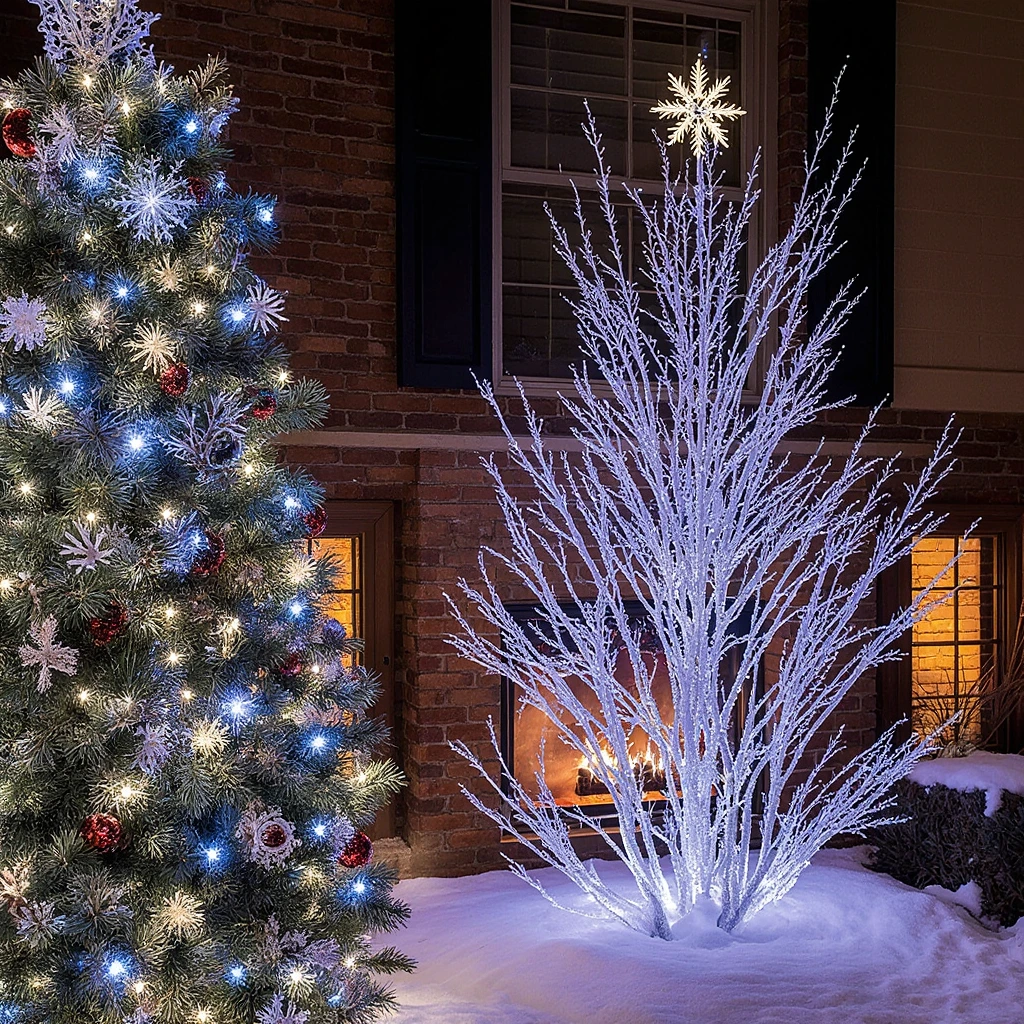
Outdoor Winter Decorations
Expand your DIY Christmas decorations beyond indoor spaces with weather-resistant outdoor projects.
Ice Lights:
Freeze water in different bowls with battery-powered lights frozen inside. These natural ice sculptures create a magical outdoor atmosphere, and they cost nothing.
Evergreen Decorations:
Gather evergreen branches (ask permission before cutting) and tie them together with wire. Add a weather-resistant ribbon and hang them from outdoor lights or porch posts.
Common DIY Christmas Decorating Mistakes and How to Avoid Them
Planning and Preparation Problems
Mistake: Starting projects too late in the season when materials are expensive and time is limited.
Solution: Start planning in October and begin gathering materials during the previous year’s post-holiday sales. Create a project timeline starting with the desired completion date.
Mistake: Underestimating material quantities and making multiple shopping trips.
Solution: Calculating the materials needed for each project and adding an extra 20% for errors and adjustments. Categorize projects by material requirements to simplify the shopping process.
Implementation and Quality Problems
Mistake: Choosing projects that are overly complex and beyond your skill level, leading to frustration and failed attempts.
Solution: Start with simple projects and gradually build your skills. Master basic techniques before attempting advanced projects. Remember that the magic of DIY often stems from minor imperfections.
Mistake: Ignoring safety considerations, especially with children involved in crafts.
Solution: Always supervise children when using scissors, hot glue, and small pieces. Keep first aid supplies nearby, and work in well-ventilated areas when using sprays or paints.
Design and Aesthetic Challenges
Mistake: Designing decorations that clash with existing home decor or take up space.
Solution: Choose a harmonious color palette that complements your home’s existing colors. Follow the “Rule of Three”—limit yourself to three main colors plus metallics for emphasis.
Mistake: Focusing solely on aesthetics while neglecting practicality and durability.
Solution: Consider how decorations will be stored, how long they will last, and whether they will withstand contact with children or pets.
Advanced Tips for Professional Results
Color Theory and Design Principles
Understanding basic color theory takes your DIY Christmas decorations from amateur to professional level. Complementary colors (red, green, blue, and orange) create a vibrant atmosphere, while analogous colors (red, orange, and yellow) create a harmonious and subtle aesthetic.
The 60-30-10 rule applies to holiday decorations: 60% dominant color, 30% secondary color, and 10% accent color. This produces balanced, visually appealing arrangements that don’t overwhelm spaces.
Lighting Considerations
Proper lighting transforms handcrafted Christmas decorations into stunning displays. Use different types of lighting: ambient lighting (general lighting for the room), accent lighting (lighting a specific area), and accent lighting (decorative lighting).
Warm white LEDs (2700-3000 K) create a warm and inviting atmosphere, ideal for holiday gatherings. Cool white lighting (4000 K and above) is suitable for outdoor displays and a modern aesthetic.
Texture and Dimension Techniques
Professional interior designers use varying textures and heights to create an attractive aesthetic. Combine smooth and rough textures, glossy and matte finishes, and different material weights for dynamic displays.
Add depth to decor by layering ornaments at varying heights. Use books, boxes, or decorative stands to elevate some pieces while keeping others at table level.
Shopping Strategies and Sourcing Affordable Materials
Strategic Shopping Calendar
September – October: Start gathering materials during end-of-summer clearance sales. Craft stores often offer 50-70% off seasonal items.
November: Shop Black Friday and Cyber Monday sales on essential tools and supplies. Many retailers offer bundles of craft supplies at significant discounts.
December 26 – January 31: Stock up on supplies for next year during post-holiday clearance sales. High-quality decorations and materials are often sold at 75% to 90% off retail prices.
Alternative Material Sources
Nature: Collect pine cones, twigs, and unique stones during your fall walks. These natural elements add authentic beauty to your DIY Christmas decorations.
Thrift Stores: Find unique containers, vintage ornaments, and fabric scraps at bargain prices. Look for pieces with sturdy construction that can be repurposed with paint or simple modifications.
Online Marketplaces: Join local buy-sell, swap-sell groups where crafters share materials and finished projects. These communities often offer supplies at discounted prices.
Bulk Buying Associations
Coordinate with friends or neighbors to buy materials in bulk. Craft stores often offer bulk discounts, and cost-sharing makes high-quality supplies more affordable.
Consider joining a wholesale club during the holiday crafting season. Membership fees often pay for themselves through savings on batteries, storage containers, and essential supplies.
Bottom Line: Create Unforgettable Christmas Memories with Handmade Christmas Ornaments
The magic of handmade Christmas ornaments lies not only in the beauty of the results, but in the joy of creation itself. Each handcrafted ornament, carefully crafted wreath, and thoughtfully designed display tells your family’s unique story and builds precious memories that will last well beyond the holiday season.
Remember, perfection isn’t the goal; connection is. Whether you craft alone as a quiet escape from holiday stress or involve the whole family in creative projects, the time you invest in making handmade Christmas ornaments pays off in satisfaction, savings, and enjoyable holiday experiences.
Handmade Christmas decorations will evolve and improve with each passing year. Enjoy the learning process, celebrate small accomplishments, and don’t be afraid to experiment with new techniques and materials. The skills you gain through crafting this holiday season will benefit you throughout the year in many creative endeavors.
Are you ready to begin your DIY Christmas decoration journey? Share photos of your creations in the comments below, and don’t forget to sign up for our newsletter for more holiday-friendly craft ideas delivered directly to your inbox. We’d love to feature your projects in our upcoming Holiday Showcase!
What’s your favorite DIY Christmas decorating project? Tell us about your crafting successes (and learning experiences) in the comments—your ideas might inspire other crafters to try something new this holiday season.
Best Amazon Picks :
FAQs
Q: When should I start making my own Christmas decorations?
A: Start planning in October and begin crafting in early November. This schedule allows you to create in peace and quiet without the stress of the holiday, plus your decorations will be ready to display by Thanksgiving. Start gathering materials early—after-holiday sales in January offer the best prices for next year’s projects.
Q: What’s the most cost-effective way to start DIY Christmas decorating?
A: Start with paper projects using materials you already have: old magazines, cardboard boxes, and basic craft supplies. Investing $20 in scissors, glue, and ribbon can yield dozens of ornaments. Focus on techniques that use recycled materials like wine bottles, jars, and fabric scraps.
Q: How can I make my DIY Christmas decorations look more professional?
A: Pay attention to finishing details: clean glue lines, straight cuts, and even spacing. Use a limited color palette (3-4 colors max) and repeat elements throughout the display to ensure consistency. Invest in high-quality ribbon and use appropriate lighting to highlight your creations.
Q: Are DIY Christmas decorations safe for homes with small children and pets?
A: Yes, with proper planning. Choose non-toxic materials, avoid small parts that could cause choking, and secure decorations securely. Use battery-powered LED lights instead of candles, and place fragile objects out of reach of children. Natural materials, such as pine cones, are generally safe, but should be cleaned thoroughly.
Q: How long do homemade Christmas decorations last?
A: Properly stored, homemade Christmas decorations can last 5 to 10 years or more. Paper decorations last two to three seasons, while fabric and natural materials improve in quality over time. Store decorations in dry, temperature-controlled locations using acid-free tissue paper and sturdy containers.
Q: What should I do if my homemade project doesn’t turn out as expected?
A: Learn from experience! Most “mistakes” can be transformed into distinctive designs with creativity. Keep a craft journal to record what works and what doesn’t. Join online crafting communities for tips and inspiration for problem-solving. Remember that the magic of crafting often stems from minor imperfections.
Q: Can I involve children in my DIY Christmas decoration projects?
A: Absolutely! Choose age-appropriate projects: paper snowflakes and simple drawings for younger children, and more complex cutting and assembly for older children. Supervise the use of tools and provide child-safe materials. Memories made through family crafts are often more precious than finished decorations.
Q: How do I store my DIY Christmas decorations to ensure they last?
A: Use acid-free storage boxes and tissue paper to prevent damage. Clearly label containers with their contents and the year they were made. Store them at a consistent temperature and humidity. Take photos of your displays before storing them so you can remember where they are for next year. Think of innovation…
2 Comments
Comments are closed.