DIY Fall Decor: Transform Your Home into a Breathtaking Autumnal World on a Budget
Table of Contents
Creating stunning DIY fall decor doesn’t require expensive or professional crafting skills. With fall upon us, there’s no better time to enjoy its warm colors, natural textures, and cozy atmosphere with creative and affordable decor projects that bring the beauty of autumn into your home.
The magic of fall home decor lies in its accessibility and personalization. Unlike expensive, ready-made decor, fall home decor allows you to express your style while saving money and creating unique pieces that reflect your personality. Whether you’re a seasoned crafter or a beginner, fall home decor offers countless opportunities to utilize nature’s abundant seasonal materials.
Why Choose DIY Fall Decor Over Ready-Made Options?
Cost-effectiveness is the key advantage of DIY fall decor. Recent data shows that homeowners can save up to 70% on seasonal decor costs by choosing DIY projects over retail purchases. A typical fall decor budget of $200 can create the same visual impact as $600 worth of store-bought items.
Customization is another key benefit. When you design your own fall decor, you control every aspect—from color schemes that complement your home’s existing aesthetic to sizes that fit your specific spaces perfectly. This level of customization is simply not possible with mass-produced decor.
Sustainability plays an increasingly important role in modern decor choices. DIY fall projects often incorporate natural, biodegradable materials, and recycled items, reducing environmental impact and creating beautiful seasonal displays.
Essential Materials and Tools for DIY Fall Decorating
Before we delve into specific projects, let’s explore the basic supplies that will help you with various fall craft projects.
Essential Craft Supplies
A fall home decor kit should include:
- Hot glue gun and glue sticks – a staple for most fall craft projects
- Floral wire and wire cutters – essential for creating floral arrangements and securing items
- Burlap ribbon – perfect for adding a rustic autumnal touch
- Acrylic paints in fall colors (burnt orange, deep red, golden yellow, brown)
- Sponge brushes and detail brushes for painting projects
- Scissors – available in plain and decorative edge types
- Twinkle or jute cords – perfect for hanging ornaments and adding a natural touch
Natural Materials to Collect
Autumn’s abundance provides many free decorating materials:
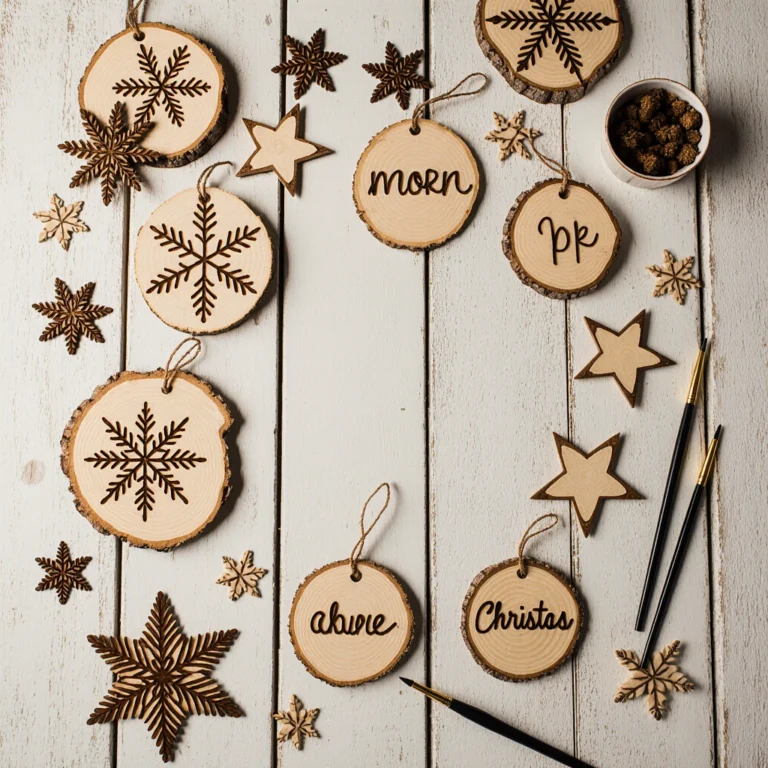
Leaves in a variety of shapes, sizes, and colors form the basis of many projects. Gather them during the peak color season and press them between heavy books for one to two weeks to preserve their beauty.
Pine cones provide versatile decorating possibilities. Collect different sizes and consider their purpose—larger ones work well as stand-alone decorations, while smaller ones are perfect for wreaths and tablescapes.
Twigs provide structural elements for arrangements. Look for attractive shapes and textures, and make sure they are dry and pest-free before bringing them indoors.
Acorns, nuts, and seeds add natural detail and texture to fall decorations. Clean them thoroughly and check for any signs of insect activity before use.
Simple DIY Fall Decor Projects with Step-by-Step Instructions

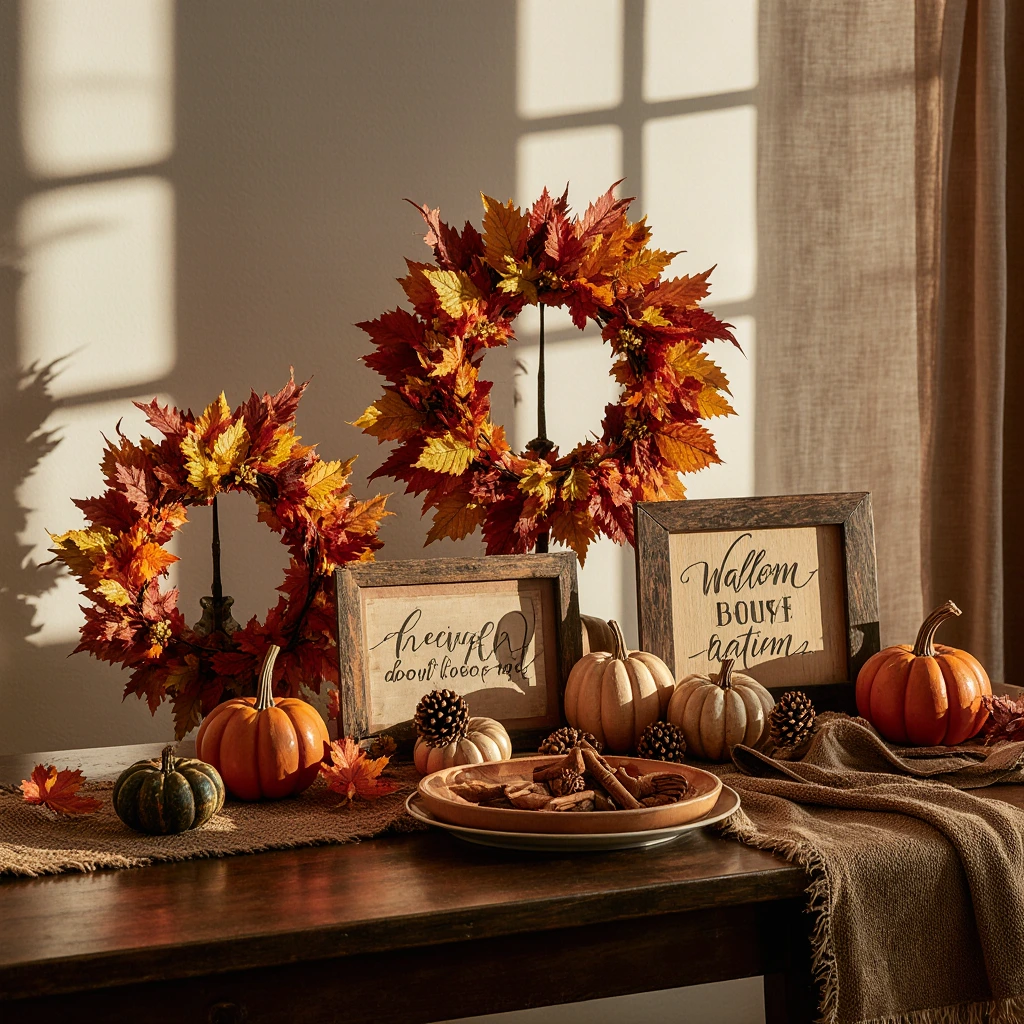
Project 1: Fall Leaf Wreath
This versatile ornament works great on mantelpieces, entryways, or windows.
Needed Materials:
- 50-60 pressed fall leaves in assorted colors
- Thin string or rope (8-10 feet)
- Small clothespins or clips
- Clear spray adhesive (optional)
- 6-8 Mason jars (various sizes)
- Fall leaves (natural or artificial)
- Mod Podge or white glue
- Small battery-operated candles
- Twine or raffia
- Sponge brush
Step-by-Step Instructions:
- Prepare your leaves by ensuring they are completely dry and flat. If desired, spray them with clear adhesive for added durability.
- Plan your arrangement by arranging the leaves in your desired pattern. Alternate colors and sizes for added interest.
- Attach the leaves to the string using small clothespins spaced 4-6 inches apart. For a more permanent option, use hot glue to attach the leaves directly to the string.
- Create hanging loops at each end of the wreath for easy installation.
This project typically takes two to three hours and costs less than $15.
Project 2: Mason Jar Lights
These charming lights create a warm, ambient glow perfect for fall evenings.
Materials Needed:
- 6-8 Mason jars (various sizes)
- Fall leaves (natural or artificial)
- Mod Podge or white glue
- Small battery-operated candles
- Twine or fiber
- Sponge brush
Steps:
- Clean the jars thoroughly and ensure they are completely dry.
- Apply adhesive to the outside of each jar using a sponge brush, working in small sections.
- Make hanging loops at each end of the wreath for easy installation.
This project typically takes two to three hours and costs less than $15.
Project 2: Mason Jar Lights
These charming lights create a warm, ambient light perfect for fall evenings.
Materials Needed:
Step-by-Step Instructions:
- Clean the jars thoroughly and ensure they are completely dry.
- Apply adhesive to the outside of each jar using a sponge brush, working in small sections.
- Press the leaves onto the adhesive, slightly overlapping them for complete coverage. Smooth out air bubbles with light pressure.
- Seal with additional adhesive after attaching all the leaves. Let it dry completely (2-4 hours).
- Add touches of twine around the rim of the jar for a charming, rustic touch.
- Insert small battery-operated candles for safe, warm lighting.
These lights cost around $3-5 each and create a cozy atmosphere that lasts for hours.
Project 3: Pine Cone Turkeys
Perfect for Thanksgiving decorations, these whimsical creatures delight children and adults alike.
Materials Needed:
- Large pine cones (one per turkey)
- Colorful feathers
- Small orange beads (for beaks)
- Googly eyes
- Red felt or paper
- Hot glue gun
- Small twigs
Step-by-Step Instructions:
- Prepare the pine cones by ensuring they are clean and fully opened. If necessary, bake at 200°F for 30 minutes to kill any insects.
- Make the tail by gluing 5-7 colorful feathers to the back of the pine cone, spacing them out attractively.
- Add facial features by gluing googly eyes and an orange beak to the top of the pine cone.
- Make the bridle by cutting a small teardrop shape from red felt and gluing it under the beak.
- Add the legs by gluing small twigs to the bottom of the pine cone for extra stability.
Each turkey costs less than $2 to make and makes a great tablescape or gift.
Upcycling and Upgrading Ideas for Fall Decor
Turning everyday items into beautiful fall decorations embodies creativity and environmental responsibility.
Reusing Glass Containers
Empty pickle jars, sauce jars, and wine bottles make great vases for fall arrangements. Remove labels completely using hot water and adhesive remover, then:
- Wrap them with string for a rustic feel
- Paint them with chalk paint in fall colors
- Fill them with seasonal items like dried corn, mini pumpkins, or fall flowers
Transform Old Sweaters
Give worn sweaters new life as cozy fall decor:
- Cut them into strips to wrap vases or candles
- Make pumpkin covers by stretching sweater sleeves over foam pumpkins
- Make pillowcases from the main body of a sweater
Cardboard Box Inventions
Large cardboard boxes can be transformed into:
- Faux fireplace mantels with creative graphics and embellishments
- Seasonal shadow boxes to display small fall photos
- Storage solutions covered with autumn-themed fabric or paper
Seasonal Project Ideas
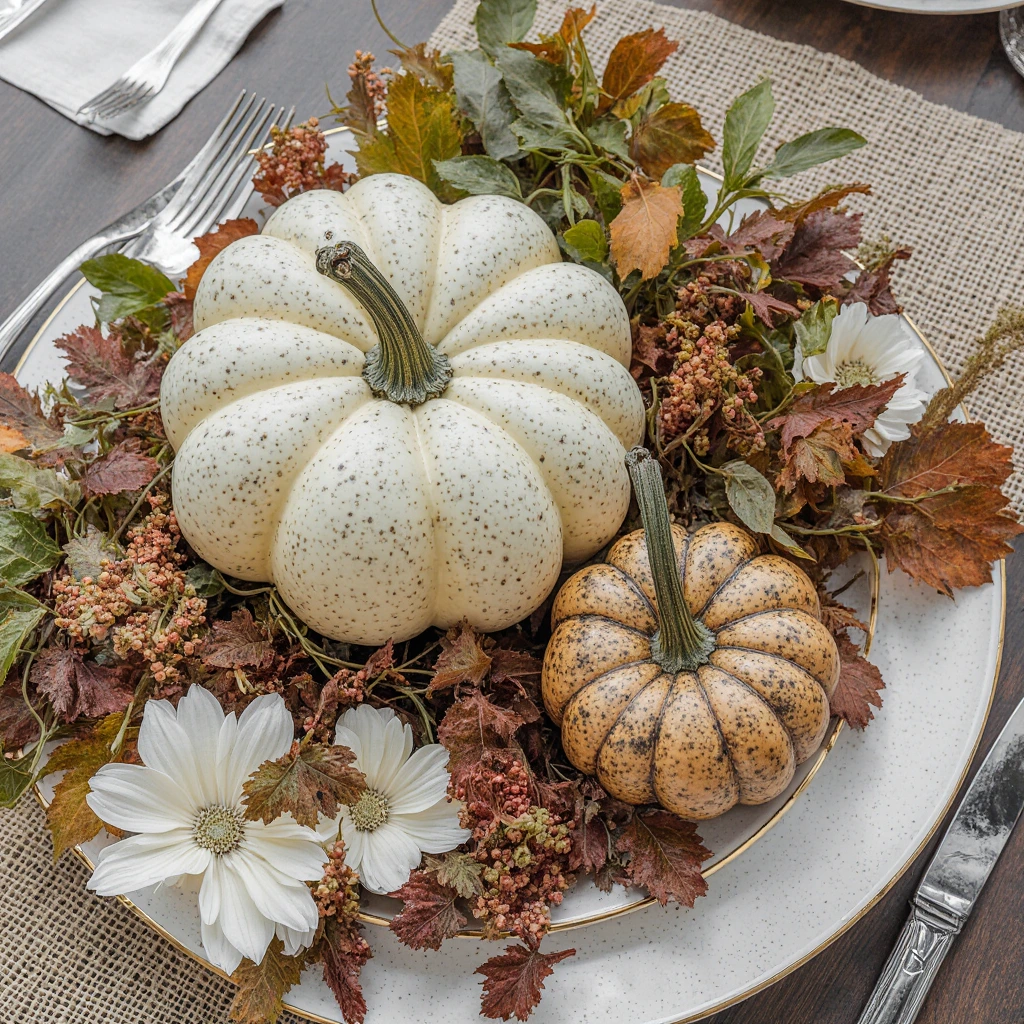
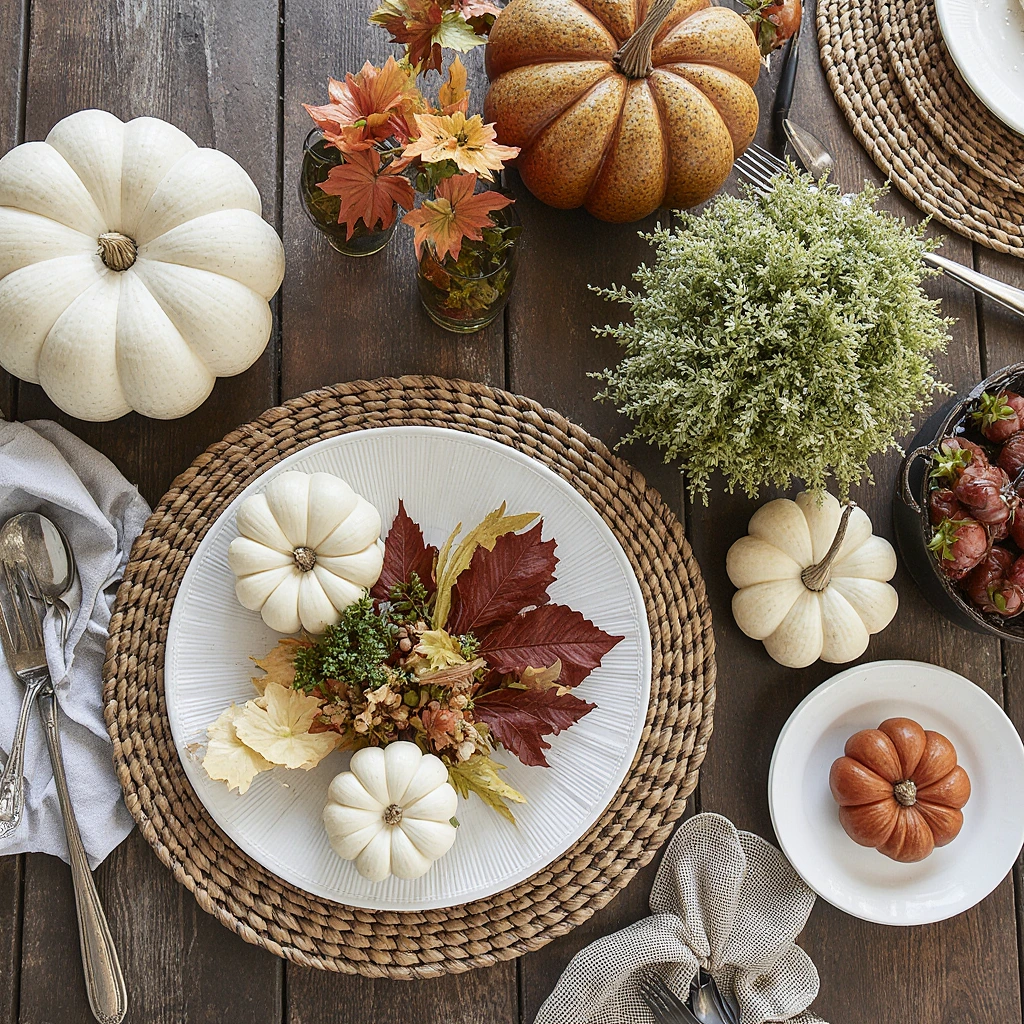
Holiday Centerpieces Thanksgiving
Create stunning tablescapes with:
- Wooden boxes filled with mini pumpkins, gourds, and candles
- Abundance arrangements using wicker baskets and faux fall produce
- Gratitude trees made from twigs in vases, with paper leaves bearing messages of thanks
Halloween Decorations
Create charming and sweet decorations, including:
- Colorful pumpkins using chalkboard paint to write changeable messages
- Ghost lanterns using white fabric over glass jars
- Harvested corn stalks tied with orange and black ribbons
General Fall Vibes
Create a seasonal vibe with:
- Foliage bowls made from layers of leaves over balloon molds using Mod Podge
- Twig and branch arrangements in tall vases for added height
- Fall-scented incense made from dried orange peels, cinnamon sticks, and cloves
Common Mistakes Fall Decor and How to Avoid It
Mistake 1: Rushing the Drying Process
Problem: Many fall DIY projects require natural materials that require adequate drying time.
Solution: Plan projects in advance. Allow 24 to 48 hours for adhesives to dry completely, and 1 to 2 weeks for pressing leaves or flowers.
Mistake 2: Overcomplicating designs
Problem: Attempting projects that are too complex can lead to frustration and poor results.
Solution: Start with simple projects and gradually build your skills. Master basic techniques before moving on to advanced projects.
Mistake 3: Ignoring Scale and Proportion
Problem: Decorations that are too large or too small for the space they are intended for look unsuitable.
Solution: Measure your spaces before starting projects. Create paper templates to test sizes before cutting materials.
Mistake 4: Neglecting Color Coordination
Problem: Using too many clashing colors creates visual clutter.
Solution: Stick to a harmonious color palette of 3-4 autumnal shades. Follow the 60-30-10 rule: 60% dominant color, 30% secondary color, 10% accent color.
Mistake 5: Ignoring Protective Finishes
Problem: Natural materials deteriorate quickly without proper sealing.
Solution: Use appropriate sealers to prolong the life of your decorations. Use clear acrylic spray for leaves and polyurethane for wood pieces.
Storage and Maintenance Tips
Proper storage ensures the beauty of your DIY fall decor year after year:
- Clean thoroughly before storing to prevent attracting pests.
- Use breathable storage containers to prevent moisture buildup.
- Clearly label containers for easy identification next season.
- Store in a temperature-controlled location to prevent damage from extreme heat or cold.
Thrifty Shopping Strategies
Make the most of your home decor budget with these smart shopping tips:
Dollar Store Products
Decor is versatile:
- Spray paint to transform existing pieces.
- Ribbons and twine for decoration and hanging.
- Faux flowers and leaves for long-lasting projects.
- Candles and candle holders for ambient lighting.
Thrift Store Treasures
Look for durable, transformable pieces:
- Wooden furniture for painting and antiques.
- Glass containers in various sizes and shapes. Shapes
- Fabric scraps for covering and wrapping projects
- Books for crafts and displays
Free Nature Gifts
Seize the Season:
- Falling twigs from your garden or local parks
- Colorful leaves in the height of fall
- Pinecones from evergreen trees
- Acorns and walnuts from oak and walnut trees
Create lasting memories with DIY fall decor
The true value of DIY fall decor goes beyond the cost savings and beautiful results. These projects provide opportunities for family bonding, skill development, and self-expression. Children, in particular, enjoy nature-inspired crafts as they learn about the seasons while developing their creativity and fine motor skills.
Consider establishing an annual fall decorating tradition. Have a family decorating day where everyone contributes to giving your home a makeover in preparation for fall. Document your projects with photos to track your growing skills and creative growth over the years.
Are you ready to refresh your home with beautiful, DIY fall decor? Start with a simple project this weekend and share your results with your friends and family. Your creativity and budget-conscious approach will inspire others to embrace the joys of handmade seasonal decor.
Don’t forget to sign up for our newsletter for more budget-friendly decor ideas and seasonal inspiration. We’d love to see photos of your completed projects—share them with us on social media using #DIYFallDecorMagic!
Best Amazon Picks :
FAQs
Q: How long do handmade fall decor typically last?
A: The longevity of handmade fall decor depends on the materials and quality of the workmanship. Natural materials like leaves and flowers last 4 to 6 weeks indoors, while artificial or treated natural materials that are well-wrapped and stored can last for several seasons. Adding a protective finish like a clear acrylic spray significantly extends their lifespan.
Q: What’s the best way to preserve fall leaves for decorating?
A: Press the leaves between heavy books for one to two weeks, changing the paper every few days. Or use a flower press or iron them between parchment paper over low heat. For longer-lasting results, dip the pressed leaves in melted paraffin wax or spray them with a clear acrylic sealant.
Q: Can I use fresh pumpkins in craft projects?
A: Yes, but take precautions to prolong their life. Choose sturdy, blemish-free pumpkins and gourds. Clean them with a diluted bleach solution to prevent mold. Store them in cool, dry places and replace them as needed. For longer-lasting projects, consider synthetic alternatives.
Q: How can I make my DIY fall decor look more professional?
A: Focus on clean lines, color harmony, and proper proportions. Use high-quality materials, even if they are simple, and take time for the final details. Group ornaments in odd numbers, vary their heights for a touch of interest, and ensure all elements blend together.
Q: What’s the most budget-friendly way to start your own fall decorating?
A: Start with free natural materials and basic supplies you may already have. Start with simple projects like leaf wreaths or pinecone arrangements. Gradually build your supply collection through sales and clearance purchases. Many beautiful fall ornaments can be made for less than $20.