DIY Tree House: Complete Guide to Building Your Dream Backyard Escape on Any Budget
Table of Contents
DIY tree house is one of the most rewarding projects you can do for your family, combining creativity, craftsmanship, and the magic of childhood dreams. Whether you’re working on a budget or simply love the joy of creating something beautiful with your own hands, a homemade tree house offers endless possibilities for outdoor enjoyment and family bonding.
The beauty of DIY projects lies in their accessibility and customizability. You don’t need to be a skilled carpenter or spend thousands of dollars to create a magical retreat in your backyard. With careful planning, basic tools, and creative thinking, you can build a stunning tree house that will become the centerpiece of your outdoor space and create memories that will last a lifetime.
Why Choose a DIY Tree House Project?
Building your own tree house offers multiple benefits beyond just having a stylish structure in your yard. From a budget perspective, building your own treehouses is typically 60-80% less expensive than hiring professionals, with most projects ranging from $300 to $1,500, depending on the size and materials chosen.
Environmental and Educational Benefits:
- Teaches children the basics of construction, engineering, and problem-solving.
- Encourages outdoor play and reduces screen time.
- Provides opportunities to use recycled and sustainable materials.
- Strengthens your connection to nature and your belongings.
Family Bonding Opportunities:
- Building together strengthens relationships and creates shared accomplishments. Children involved in the building process build self-confidence, learn practical skills, and appreciate hard work and planning.
Basic Planning: Choosing and Designing Your Tree
Choosing the Perfect Tree
Not every tree can safely support a treehouse. Look for healthy, mature trees with the following characteristics:
Ideal Tree Species:
- Oak, Maple, or Beech (hardwoods with strong branches)
- Trunk diameter of at least 12 inches
- Healthy bark and leaves free of any signs of disease
- Strong, horizontal branches of at least 8 inches in diameter
Tree Health Assessment:
Check for dead branches, fungal growth, or insect damage. If you are unsure of the health of your tree, consult a certified arborist before starting construction. A healthy tree can support between 135 and 225 kilograms when properly distributed across multiple anchor points.
DIY Treehouse Design Considerations
Start with simple designs that suit your skill level and budget. Simple platform designs are ideal for beginners, while more experienced builders may tackle multi-level structures or themed designs.
Sizing Guidelines:
- Small deck: 6 feet x 8 feet (perfect for two or three children)
- Medium deck: 8 feet x 10 feet (comfortably accommodates 4-5 people)
- Large deck: 10 feet x 12 feet (perfect for entertaining and overnighting)
Remember, bigger doesn’t always mean better. A sturdy, small treehouse offers more fun than a bulky structure that might compromise safety or drain your budget.
Materials and Tools: Building Your Own Treehouse on a Budget
Basic Material List
Lumber Requirements:
- Pressure-treated lumber for the frame (2×8 or 2×10 beams)
- Plywood or OSB for the flooring (at least ¾ inch thick)
- Cedar or pressure-treated slats for the walls and railings
- Galvanized nails, screws, and brackets for fastening connections
Economical Material Sources:
Construction sites often discard usable lumber ideal for treehouse projects. Ask permission first and carefully inspect materials for any nails or damage. Habitat for Humanity ReStores frequently offer building materials at discounted prices, and end-of-season sales at home improvement stores can provide significant savings.
Recycling Options:
Old pallets can provide excellent materials for flooring and walls when properly cleaned and treated. Recycled windows and doors add a distinctive touch while reducing costs. Even old playground equipment can be reused to make treehouse structures, such as rope ladders or climbing walls.
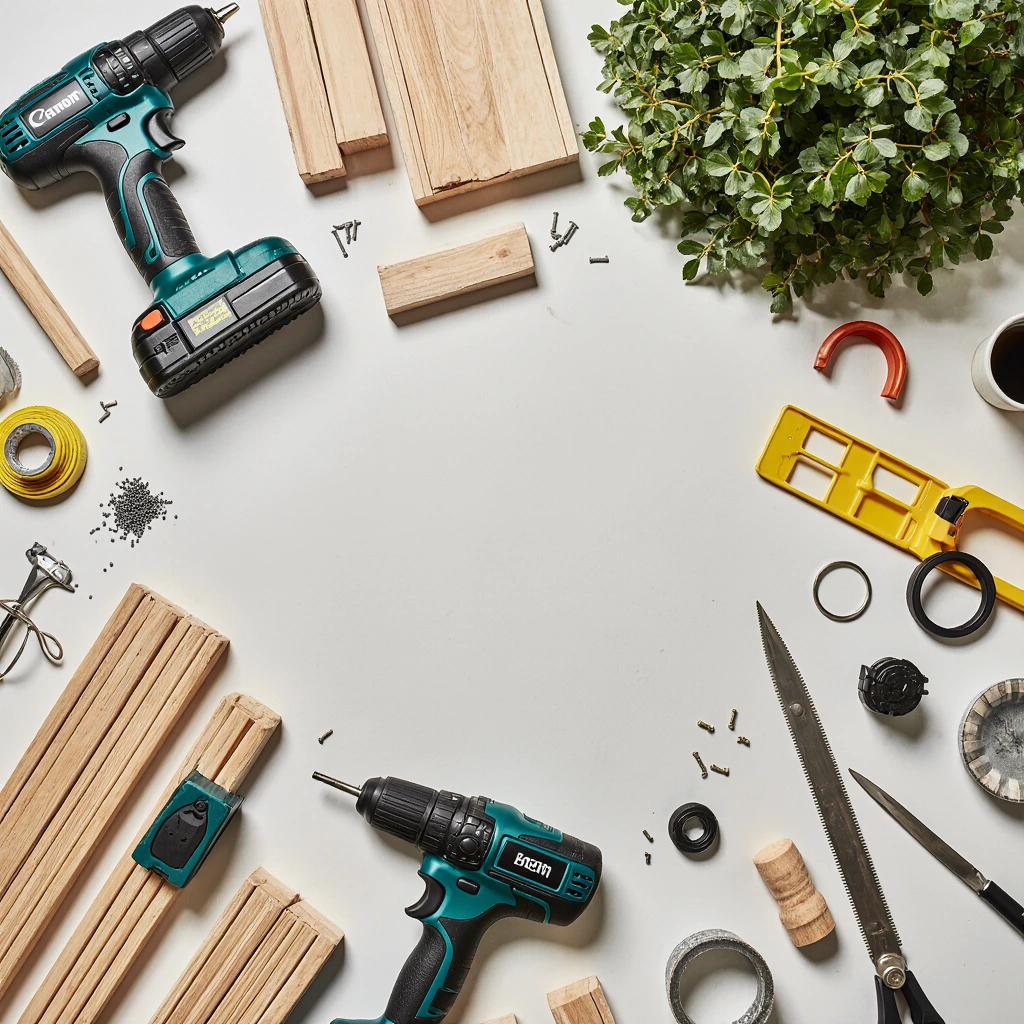
Tool Requirements
Basic Tool Set:
- Circular saw or miter saw for cutting wood
- Drill/screwdriver with various bits
- Level (essential for safe construction)
- Tape measure and square
- Safety equipment (goggles, gloves, safety helmet)
Advanced Tools (if applicable):
- Screwdriver for heavy-duty fastening
- Jigsaw for curved cuts and fine work
- Router for smooth edges and decorative details
Don’t worry about buying expensive tools. Many can be borrowed from friends or rented from home improvement stores for specific stages of the project.
Step-by-Step Construction Guide
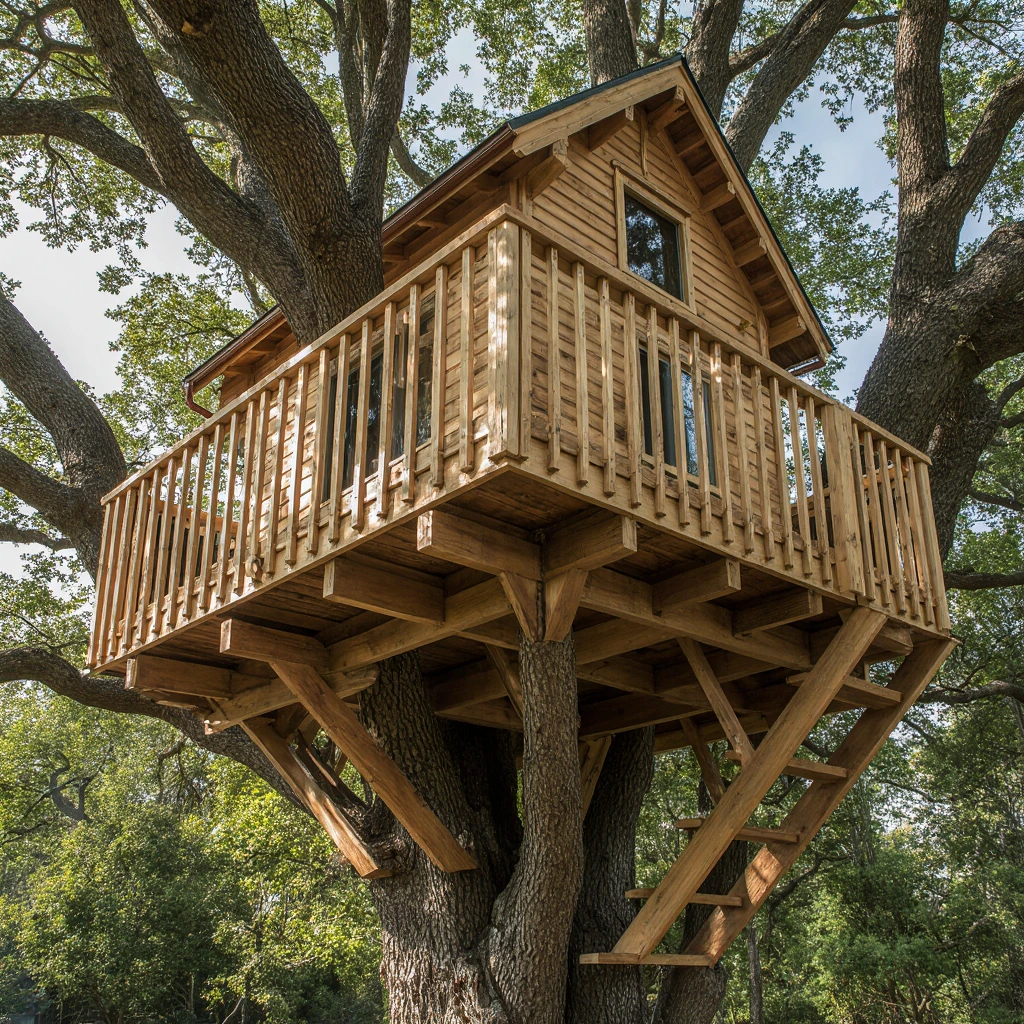
Phase One: Foundation and Platform
Building the Support System:
Begin by installing tree anchor bolts at least 10 feet off the ground for safety. Use at least 1/2-inch diameter galvanized nails, allowing for tree growth using adjustable sleeve systems over time.
Framing the Platform:
Build your frame using 2×8 joists spaced 16 inches on center. This spacing provides adequate support while keeping material costs reasonable. The frame should be slightly smaller than the planned flooring to allow for good drainage and prevent water accumulation.
Installing the Floor:
Install the flooring perpendicular to the joists, leaving small gaps (1/8 inch) between the boards for drainage. Pre-drill all holes to prevent cracking, and use galvanized screws instead of nails for greater mounting strength and easier future maintenance.
Phase Two: Walls and Railings
Designing Railings with Safety First:
The railings should be at least 36 inches high, with balusters spaced no more than 4 inches apart to prevent small children from slipping. Use 2×4 lumber for the top and bottom railings, with 2×2 handrails to save money.
Wall Construction Options:
- Open walls with decorative railings (most budget-friendly)
- Half walls for wind protection while preserving views
- Full walls with windows for weather protection and privacy
Consider your climate and intended use when choosing wall options. Open designs are suitable for moderate climates, while enclosed spaces provide year-round use in areas with harsh weather.
Stage Three: Access and Special Features
Accessibility Solutions:
- Rope Ladders: The cheapest and easiest to remove
- Fixed Wood Ladders: The most expensive but safest for frequent use
- Spiral Ladders: A distinctive option that adds a distinctive architectural touch
Featured Ideas:
Turn your simple treehouse into a distinctive masterpiece with these economical additions:
- Pulley systems for transporting supplies or snacks
- Built-in seating using a platform frame
- Removable tabletops for games and activities
- Simple lighting using solar-powered LED strings
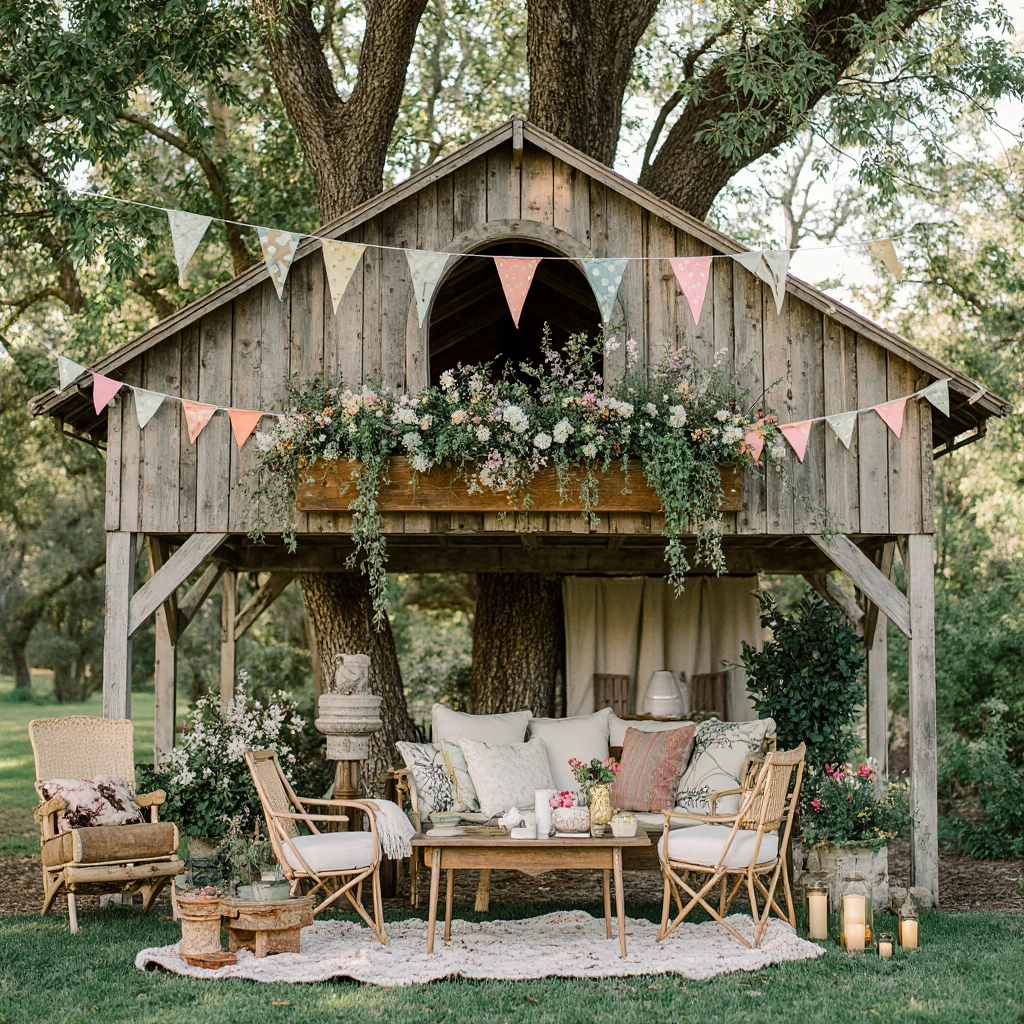
Seasonal and Thematic DIY Treehouse Ideas
Spring and Summer Projects
Garden Incorporation:
Incorporate planters into your railing design for herbs or flowers. This will create a lively effect on the walls and teach children about gardening. Use cedar planks for planting; they are naturally moisture-resistant and look beautiful with the weather.
Outdoor Classroom Design:
Add a whiteboard or chalkboard wall for outdoor learning activities. Install a weather-resistant book storage unit as a reading nook, encouraging reading while enjoying nature.
Fall and Winter Adaptations
Weather Protection:
Install clear plastic panels that can be removed in good weather but provide protection from wind and rain during storms. These panels are much less expensive than permanent windows but offer similar functionality.
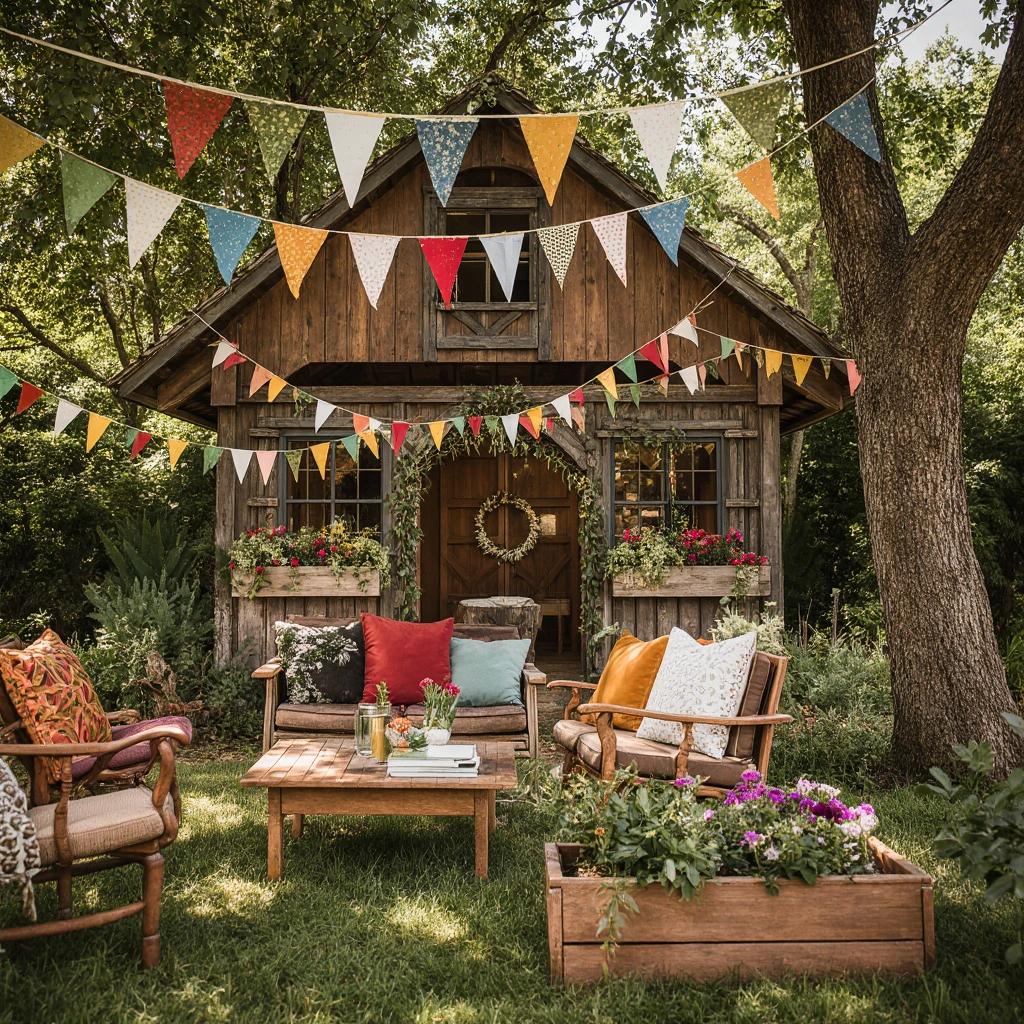
Seasonal Decorations:
Design removable decor systems using hooks and clips. This allows you to transform your treehouse into a holiday and seasonal home without requiring permanent modifications that might affect its structure.
Common DIY Treehouse Mistakes and How to Avoid Them
Structural Mistakes
Over-Staking the Tree:
Many builders make the mistake of staking the tree too rigidly, preventing the tree’s natural movement and potentially damaging both the tree and the structure. Use floating supports and flexible connections that allow for wind sway and tree growth.
Poor Drainage:
Poor drainage leads to house rot, insect problems, and a shortened lifespan. Always slope the platform slightly away from the tree, allowing for drainage gaps and avoiding the creation of water pools.
Planning Mistakes
Ignoring Permitting Procedures:
Many municipalities require permits for buildings exceeding certain sizes or heights. Check local building codes before starting construction to avoid costly alterations or demolition orders.
Underestimating Maintenance Needs:
Plan for annual maintenance, including cleaning, repainting, and equipment inspections. Allocate 5-10% of the initial construction cost annually for maintenance to ensure safety and longevity.
Upcycling and Improvement Ideas for Your Treehouse
Creative Reuse of Materials
Furniture and Fixtures:
Old kitchen cabinets make excellent storage solutions when properly secured against the elements. Discarded playground equipment can provide slides, swings, and climbing equipment at a fraction of the cost of new ones. Decorative Items:
Antique shutters add a charming touch to the home’s windows, while old boat ropes add an authentic touch to the railings and climbing equipment. A recycled tin roof adds a distinctive touch while providing excellent protection from the elements.
Safety and Maintenance Considerations
Key Safety Features
Structural Integrity:
Inspect all connections monthly during heavy-use seasons. Look for loose screws, cracks in the wood, or signs of wear. Address problems immediately rather than waiting for annual maintenance intervals.
Age-Appropriate Design:
Design safety features appropriate for the age of your users. Young children need higher handrails, shorter handrail spacing, and safer access than teenagers.
Planning for Long-Term Maintenance
Seasonal Preparation:
Prepare your treehouse for each season with proper maintenance. Spring cleaning, summer safety checks, fall winter preparedness, and winter storm damage assessments ensure your investment is protected year-round.
Upgrade Opportunities:
Plan for future upgrades during initial construction. Install additional electrical conduits for future lighting, add oversized structural elements for potential additions, and design modular features that can be expanded over time.
Conclusion: Start your DIY treehouse adventure today
Building your own treehouse is more than just a construction project; it’s an investment in family memories, childhood wonder, and outdoor fun. With careful planning, creative problem-solving, and an eye for safety, you can create a stunning backyard that will provide years of enjoyment while staying within your budget.
The key to success is to start with a solid plan, use quality materials with safety in mind, and embrace the creative process. Remember, your first treehouse doesn’t have to be perfect; it just needs to be safe and functional. You can always add features and improvements over time as your skills and budget allow.
Ready to get started? Share your treehouse plans and construction photos in the comments below! We’d love to see your creative solutions and unique designs. Don’t forget to sign up for our newsletter for more DIY project guides, budget-friendly decorating tips, and seasonal inspiration delivered straight to your inbox.
What features would you like to see added to your DIY treehouse? Share your thoughts in the comments. We’ll help you solve any challenges you face!
Best Amazon Picks :
FAQs
Q: How much does it cost to build a treehouse yourself?
A: A simple treehouse typically costs between $300 and $800 for materials, while more complex designs range between $1,000 and $2,000. Using recycled materials and keeping designs simple significantly reduces costs. Professional construction costs are three to five times higher than self-build.
Q: What is the best tree for a treehouse?
A: Mature hardwood trees, such as oak, maple, and beech, provide the best support. Look for healthy trees with trunks at least 12 inches in diameter and strong, horizontal branches. Avoid fruit trees, which tend to be softer, and evergreens, which may shed sap and needles.
Q: Do I need a permit to build a treehouse?
A: Permit requirements vary depending on the location and size of the structure. Many areas require permits for structures larger than 120 square feet or 15 feet tall. Contact your local building department before starting construction to find out the requirements in your area.
Q: What is the appropriate height to build a tree house?
A: To ensure safety, build tree houses between 6 and 10 feet off the ground for young children, and up to 15 feet for older children and adults. Higher isn’t necessarily better—focus on stability and safety over height.
Q: Can I build a tree house without damaging the tree?
A: Yes, using proper techniques. Use specialized tree nails that allow the tree to grow, avoid rigid attachments, and never surround the trunk with ropes or wires. Healthy trees can easily support properly distributed weights without damage.
Q: What tools do I need to build a simple tree house?
A: Basic tools include a circular saw, a drill/screwdriver, a level, a tape measure, and safety gear. You can rent specialized tools, such as impact drivers, for specific tasks instead of purchasing everything upfront.
Q: How long does it take to build a treehouse yourself?
A: Simple platform designs can be completed in two or three weekends, while more complex structures may take four to eight weekends depending on size and features. Weather, skill level, and availability of help affect the timeline.
Q: What is the best season to build a treehouse?
A: Late spring to early fall provides the best conditions for construction. Avoid winter construction in cold climates, and pay attention to nesting seasons if you’re concerned about disturbing wildlife.
Q: How do I protect my treehouse from the elements?
A: Use pressure-treated lumber for structural elements, apply annual waterproofing, ensure proper drainage, and provide adequate ventilation. Consider using removable panels for seasonal protection without the need for permanent fencing.