DIY Baby Shower Decorations: Budget-Friendly Ideas for a Memorable Celebration
Table of Contents
Creating beautiful, DIY baby shower decorations doesn’t require a lot of effort or hassle. With some creativity, basic craft supplies, and these step-by-step guides, you can transform any space into a magical, memorable celebration on a budget.
Whether you’re planning your own baby shower or hosting one for a loved one, handmade decorations add an unparalleled personal touch. What’s more, DIY projects allow you to customize every detail to perfectly match your baby shower’s theme, color scheme, and personal style.
Why Choose Baby Shower Decorations?
The benefits of making your own baby shower decorations go beyond saving money. When you make your own decorations, you have complete control over the aesthetic of the party and ensure everything coordinates perfectly. Handmade decorations also become keepsakes that expectant parents will cherish long after the event is over.
Budget-conscious parents can save between 60% and 70% compared to buying pre-made decorations, while still maintaining a professional appearance worthy of Pinterest photos. The satisfaction of creating something beautiful with your own hands is an added bonus that makes the entire process even more rewarding.
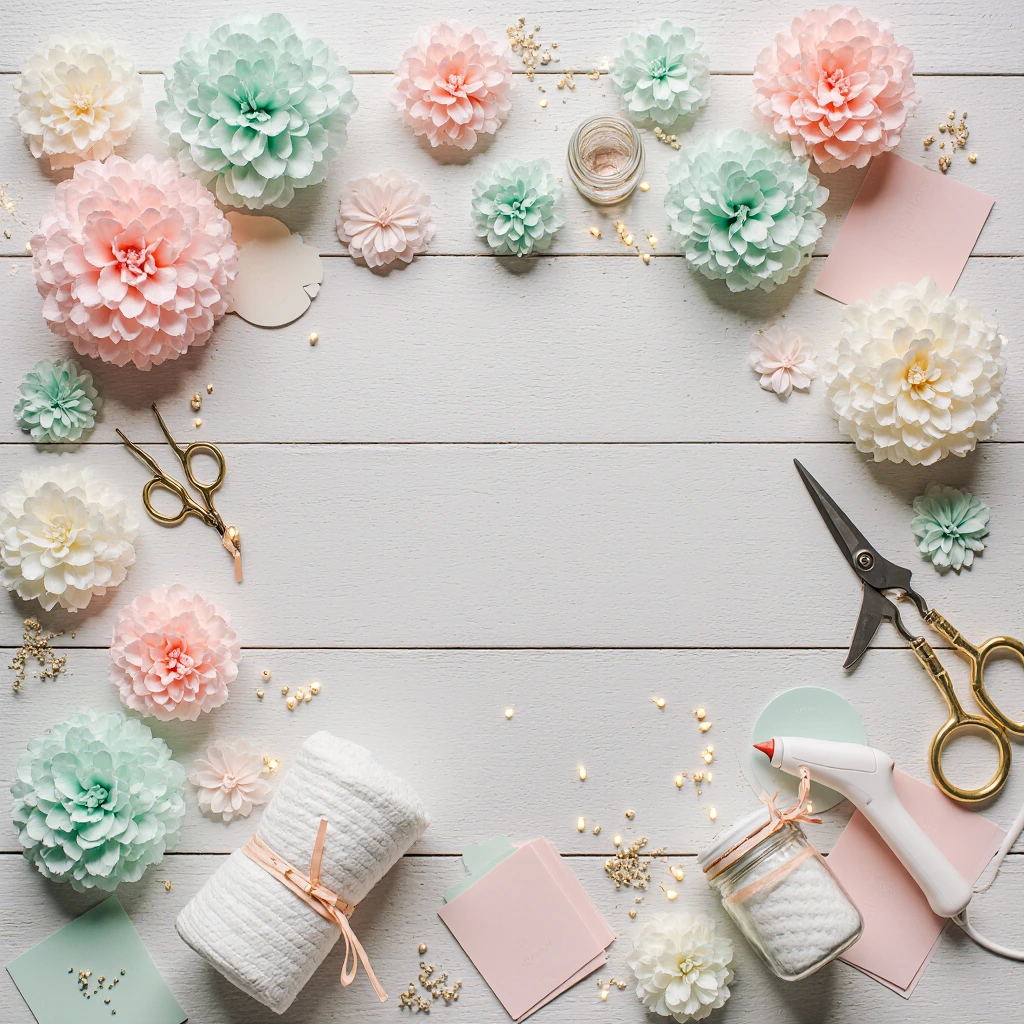
Essential Materials and Tools for Baby Shower Crafts
Before you dive into specific projects, gather these versatile supplies that are suitable for many baby shower decorations:
Basic Craft Supplies:
- Cardstock and card in various colors
- Scissors (plain edge and decorative edge)
- Glue sticks and a hot glue gun
- Double-sided tape
- Ribbon in various sizes
- Markers and colored pencils
Special Tools:
- Tissue paper for pom-poms and flowers
- String lights for ambient lighting
- Mason jars for centerpieces
- Wooden letters or numbers
- Balloons in coordinating colors
- Fabric scraps for decoration
Tools:
- Paper scissors for precise cutting
- Hole punch
- Stapler
- Tape measure
- Pencil for marking
Simple Baby Shower Decorating Projects
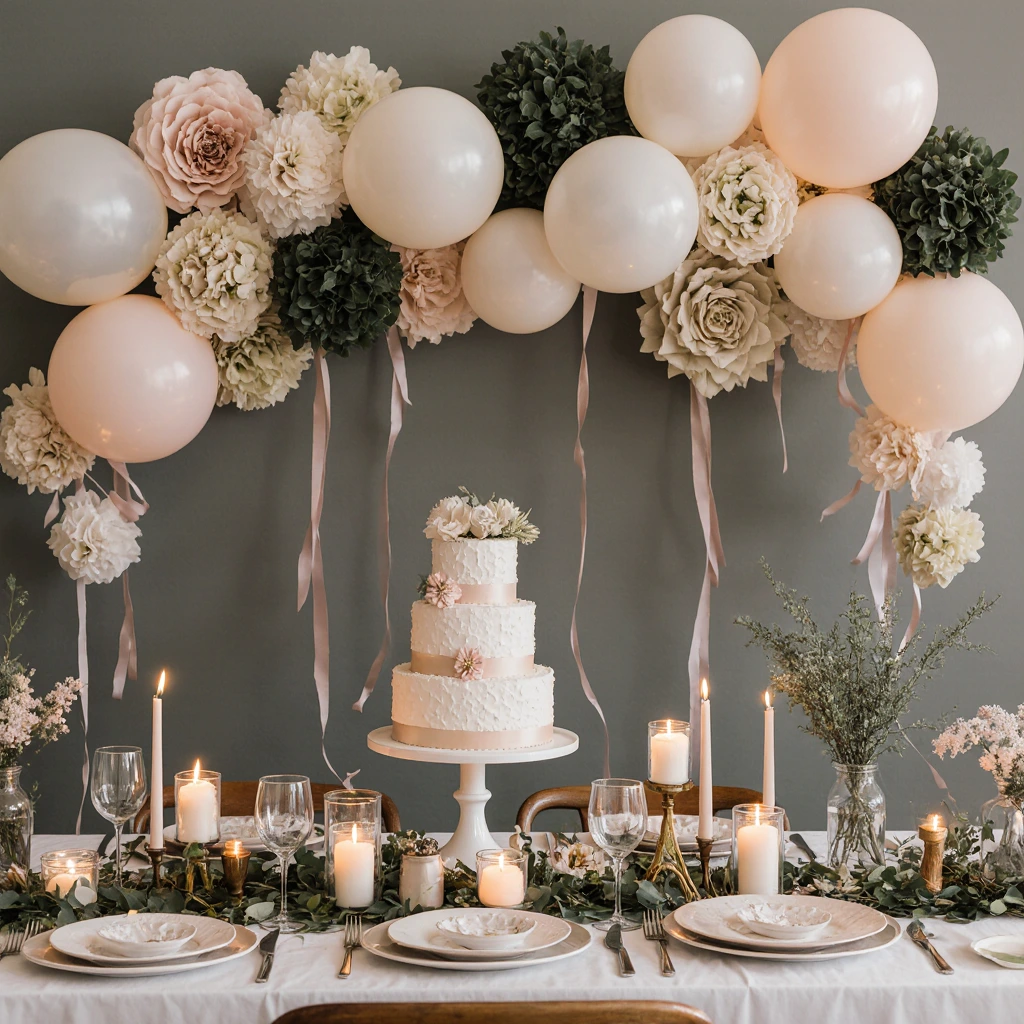
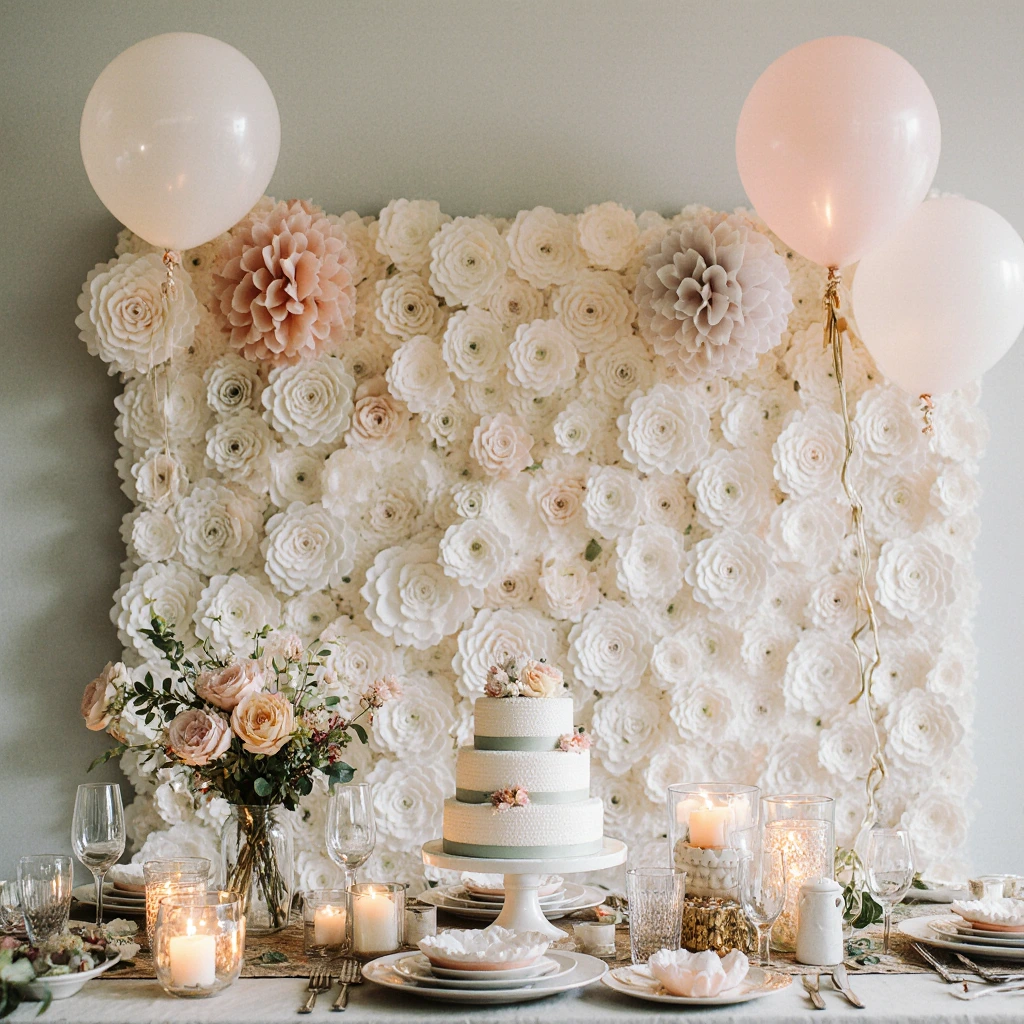
Paper Flower Backdrop
Create a stunning focal point using oversized paper flowers as decorations And a photo backdrop.
Materials Needed:
- Large sheets of crepe paper or tissue paper
- Floral wire
- Scissors
- Hot glue gun
Step-by-Step Instructions:
- Cut 6-8 sheets of tissue paper into squares (ranging in size from 8×8 to 12×12 inches).
- Stack the squares and accordion fold them with 1-inch pleats.
- Secure the center with floral wire, leaving long ends for hanging.
- Trim the ends into rounded or pointed shapes.
- Carefully separate each layer, straightening them toward the center.
- Arrange flowers of varying sizes on the wall using removable adhesive hooks.
Pro Tip: Mix different shades of the same color family to add depth and visual interest.
Diaper Cake Centerpiece
Turn practical gifts into a stylish centerpiece that’s a practical gift.
Materials Needed:
- 50-80 disposable diapers (size 1 or 2)
- Rubber bands
- Ribbon (two or three different lengths)
- Cake board or large platter
- Decorations (small toys, pacifiers, baby bottles)
Assembly Instructions:
- Roll each diaper from open end to folded end.
- Secure with a small rubber band.
- Arrange 7 diapers in a circle for the top layer, securing with a large rubber band.
- Create a middle layer containing 16 diapers, and a bottom layer containing 32 diapers.
- Arrange the layers and wrap each layer with decorative ribbon.
- Place small baby items between the diapers for an attractive touch.
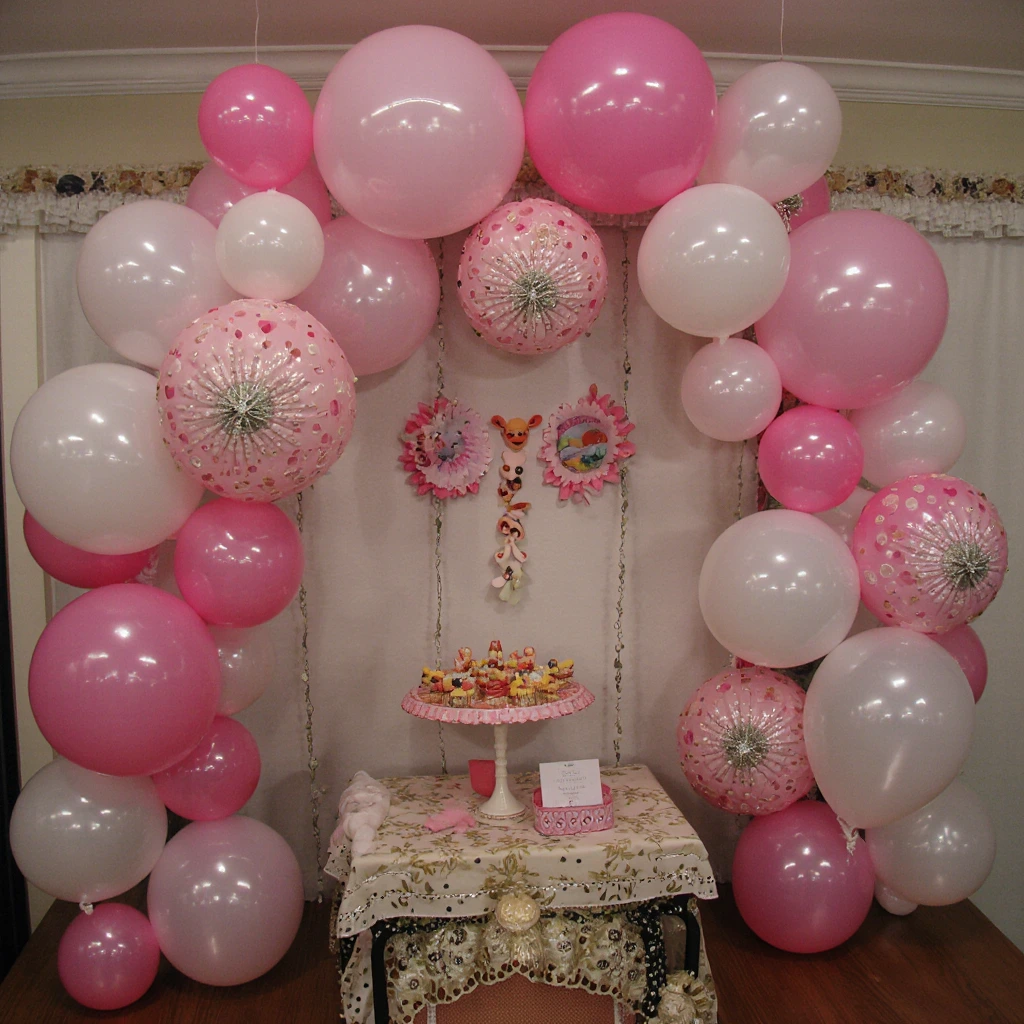
Balloon Garland Installation
Create an Instagrammable balloon display that looks expensive but costs less than a professional installation.
Materials Needed:
- Balloons in 3-4 coordinating colors
- Fishing line or balloon ribbon
- Balloon pump
- Hanging hooks
Creation Steps:
- Inflate balloons to various sizes (not all fully inflated for a natural look)
- Tie balloons in groups of 4 in alternating colors
- Secure the groups with fishing line, leaving 6-8 inches between each group
- Attach hanging hooks in the desired locations
- Hang the garland, adjusting the spacing as needed
- Fill in gaps with individual balloons for a fuller look
Upcycling and Upgrading Ideas for Baby Shower Decor
Mason Jar Lights
Turn empty Mason jars into charming light fixtures that create a warm atmosphere.
Upcycling Process:
- Clean the jars thoroughly and remove the labels.
- Spray them with frosted glass to create a soft light.
- Add battery-powered LED lights.
- Decorate with lace, burlap, or ribbons.
- Arrange them by odd number for an elegant touch.
Wine Bottle Vases
Turn wine bottles into elegant vases for fresh or artificial flowers.
Transformation Steps:
- Soak the bottles to completely remove the labels.
- Wrap them with string or rope, starting from the bottom.
- Secure with hot glue every few centimeters.
- Add flowers or greenery for an elegant touch.
Cardboard Box Photo Props
Create oversized photo props using cardboard boxes and paint.
Materials:
- Large cardboard boxes
- Acrylic paint
- Paintbrushes
- Craft knife
- Sketching pencil
Instructions:
- Draw the desired shapes (baby bottles, pacifiers, rattles)
- Cut the shapes with a craft knife
- Paint with the base color and add details
- Attach wooden stakes or handles for easy grip.
Seasonal Baby Shower Ideas
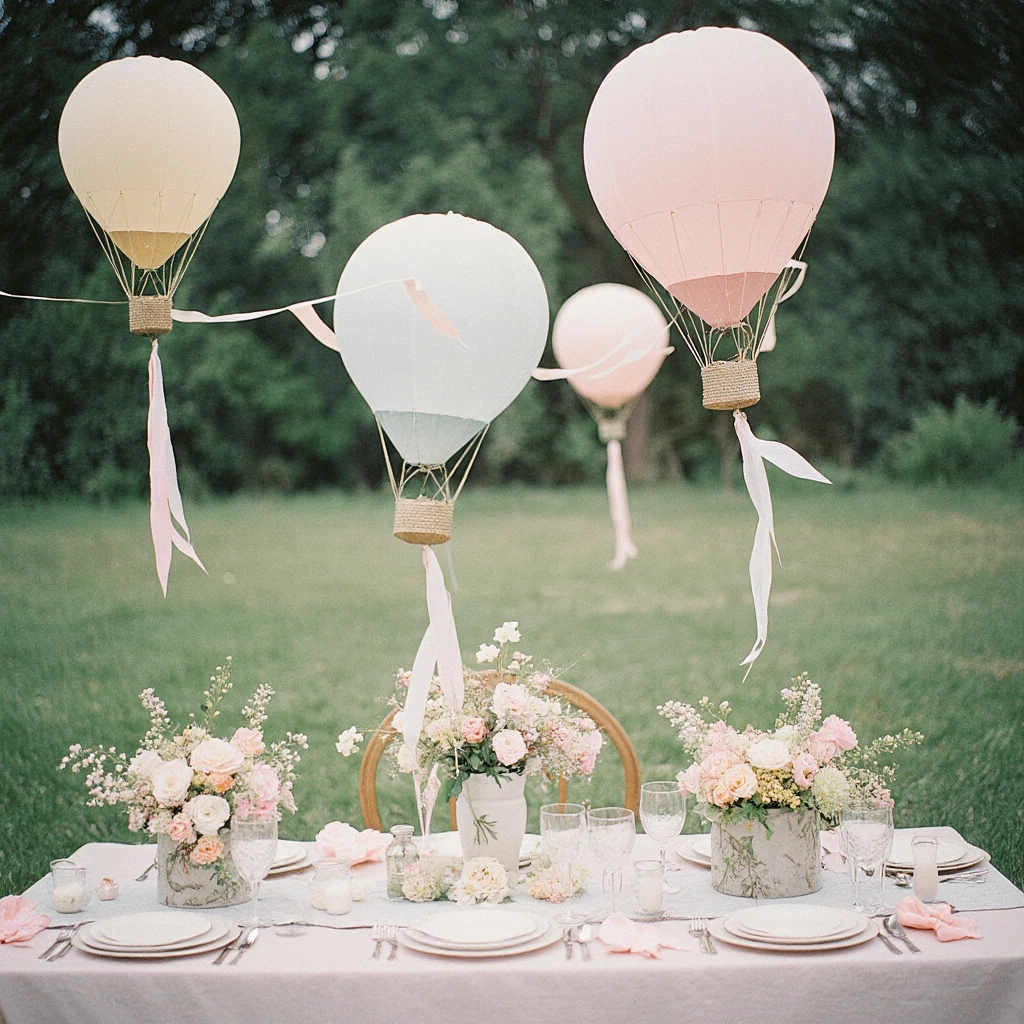
Spring Garden
Welcome the new growing season with natural and fresh decorations.
Key Elements:
- Potted plants as centerpieces and favors
- Flower crown stand for guests
- Butterfly and bee decorations
- Pastel color palette with hints of sage green
DIY Projects:
- Seed packet place cards
- Flower pot coloring stand
- Herb garden centerpieces for guests to take home
Winter Wonderland Design
Create a warm and elegant atmosphere, perfect for winter celebrations.
Design Elements:
- White and silver design
- Snowflake cutouts in various sizes
- Evergreen branches with white lights
- Faux fur tablecloths
Craft Ideas:
- Paper snowflake backdrop
- Pine cone centerpieces with silver spray paint
- Hot chocolate bar with DIY banner
Nautical Adventure Theme
Perfect for parents who love the ocean or are expecting a little sailor.
Color Palette:
- Navy blue, white, and rope/tan accents
- Anchor and ship’s wheel motifs
- Striped patterns throughout
DIY Elements:
- Bottles wrapped in rope as vases
- Cardboard anchor cutouts
- “Ahoy, It’s a Boy!” banners
Common DIY Decorating Mistakes and How to Avoid Them
Mistake 1: Starting Too Late
Problem: Rushing through projects leads to poor execution and stress.
Solution: Start work two to three weeks before the party. Set a timeline and tackle one project per day.
Mistake 2: Overcomplicating designs
Problem: Starting with projects that are too complex can lead to frustration and wasted materials.
Solution: Choose two to three simple projects with a big impact instead of multiple complex ones.
Mistake 3: Ignoring Scale and Proportion
Problem: Decorations that are too small get lost in the space, while oversized pieces can overwhelm the space.
Solution: Consider the size of the space and ceiling height when planning projects. Test arrangements in advance.
Mistake 4: Inconsistent Color Schemes
Problem: Using too many colors creates visual clutter rather than harmony.
Solution: Stick to a color palette of 3-4 colors at most. Use one neutral color, one or two main colors, and one accent color.
Mistake 5: Overlooking cleaning
Problem: Decorations that are difficult to remove or clean cause unnecessary stress.
Solution: Use removable adhesives, avoid permanent modifications, and plan for easy removal.
Budget-Friendly Shopping Tips for Craft Supplies
Dollar Store Products
Many dollar stores offer excellent craft supplies at unbeatable prices:
- Plastic tablecloths for backdrops
- Foam boards for banners
- Artificial flowers for arrangements
- Ribbons and bows
- Balloons and party favors
Buy in Bulk
Buy supplies in bulk for multiple projects:
- Tissue paper from warehouse stores
- Ribbons from fabric stores
- Balloons from party supply wholesalers
Seasonal Clearance
Stock up on supplies during the post-holiday clearance period:
- Valentine’s Day: Pink and red supplies
- Easter: Pastel colors and spring patterns
- Christmas: Metallic and elegant pieces
Create a coordinated look with handmade baby shower decorations
Color Coordination
Choose a basic color palette and stick to it throughout your decorations. This creates visual harmony even when using different materials and techniques.
Repeating Elements
Repeat key design elements at varying scales throughout the space. If using polka dots, incorporate them into banners, tablecloths, and small decorative pieces.
Varying Heights
Add visual interest by varying the height of decorations. Use tall centerpieces, medium table decorations, and low, scattered elements.
Advanced Crafting Techniques for Experienced Crafters
Fabric Manipulation
For those who are skilled at sewing, fabric flowers and flags add a touch of sophistication and beauty.
Woodworking
Simple woodworking projects, such as painted signs or decorative shelves, enhance the aesthetic of a space.
Mixed Media Techniques
Combine different materials, such as fabric, paper, and natural elements, to create unique, textured decorations.
Conclusion: Your DIY Baby Shower Success Story
Creating stunning DIY baby shower decorations is an achievable goal that rewards you with beautiful, personalized celebrations while staying within your budget. The key lies in careful planning, choosing projects that suit your skills, and focusing on creating a cohesive look rather than experimenting with different styles.
Remember, the most important element of any baby shower is celebrating the arrival of your new baby. Your handmade decorations, made with love and attention to detail, will create unforgettable memories for all involved.
Ready to get crafting? We’d love to see your baby shower creations! Share photos of your finished decorations in the comments below, and don’t forget to sign up for our newsletter for more budget-friendly craft ideas and seasonal inspiration.
Best Amazon Picks :
FAQs
Q: When should I start making baby shower decorations?
A: Start planning three to four weeks before the party, and start crafting two to three weeks in advance. This timeline allows you to order supplies, test projects, and make adjustments without rushing.
Q: What’s the most cost-effective way to create a stunning backdrop?
A: Paper flowers or balloon garlands create a stunning visual effect for minimal cost. Both can be made for under $30 and produce professional-looking results.
Q: Can I involve parents in making the decorations?
A: Absolutely! Many parents enjoy crafting; it’s engaging and exciting. Just make sure the projects don’t require too much physical effort.
Q: How can I make my baby shower decorations look professional?
A: Focus on clean lines, color coordination, and proper proportion. Allow time for finishing touches, such as trimming excess material and ensuring even spacing. Q: What decorations can be made in advance and stored?
A: Paper flowers, streamers, centerpieces, and painted banners can be made weeks in advance and stored carefully. Avoid making fresh flower arrangements or balloon decorations too early.
Q: How can I incorporate the theme of the baby’s room into the shower decorations?
A: Use the same color palette and main motifs from the baby’s room. This creates continuity and allows some decorations to transfer to the baby’s room after the shower.
Q: What are the essential tools for DIY baby shower decorations?
A: Sharp scissors, a hot glue gun, double-sided tape, and a paper cutter are sufficient for 90% of DIY decorating projects. Start with these basics and add specialty tools as needed.
Q: How do I estimate balloon decoration quantities?
A: Plan on 6-8 balloons per foot of garland, 10-12 balloons per balloon bouquet, and 20-25 balloons for a small arch. Always purchase an additional 20% to cover the cost of balloon bursting.
Q: Can I create elegant decorations without advanced craft skills?
A: Yes! Focus on simple techniques like paper folding, simple painting, and assembly projects. The key is to choose high-quality materials and take the time to complete them, rather than trying complex techniques.