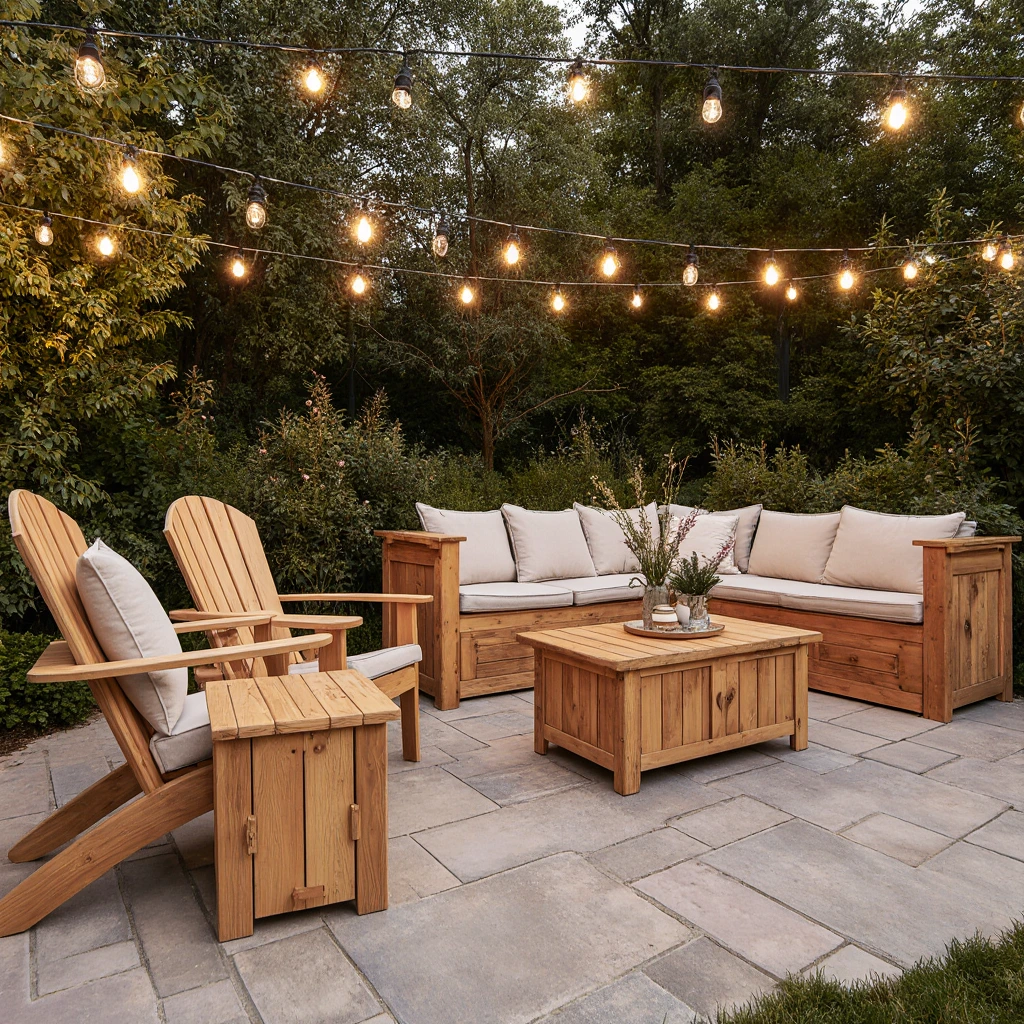
DIY Outdoor Furniture: Transform Your Outdoor Space with Handmade Patio Pieces
Table of Contents
Creating your own DIY outdoor furniture isn’t just a fun weekend project; it’s your gateway to designing custom patio pieces that perfectly suit your taste and budget. Whether you want to furnish a spacious backyard or a cozy porch, making your own outdoor furniture offers unparalleled flexibility, significant cost savings, and a deep sense of satisfaction from crafting something beautiful with your own hands.
The outdoor furniture market has seen a dramatic increase in prices in recent years, with high-quality pieces often costing thousands of dollars. By choosing a DIY approach, you can create stunning outdoor furniture for a fraction of retail prices, while gaining valuable woodworking skills and ensuring your pieces will last a lifetime.
Why Choose DIY Outdoor Furniture Over Off-the-Shelf Options?
Creating your own outdoor furniture offers great benefits beyond just cost savings. When you create custom patio furniture, you’re investing in pieces that perfectly fit your space, taste, and practical needs.
Cost-Effectiveness: DIY outdoor furniture projects typically cost 40-60% less than purchasing similar pieces from retail stores. A handmade cedar dining table, which might retail for $800, can be made using materials for less than $300.
Freedom of Customization: Prefabricated furniture rarely fits perfectly into unique spaces. DIY projects allow you to customize dimensions, colors, and features to precisely fit your needs.
Quality Control: When you build your own outdoor furniture, you choose high-quality materials and construction methods, often resulting in more durable pieces than mass-produced alternatives.
Skill Development: Each DIY outdoor furniture project develops valuable skills in carpentry, finishing, and design, which benefit future home improvement projects.
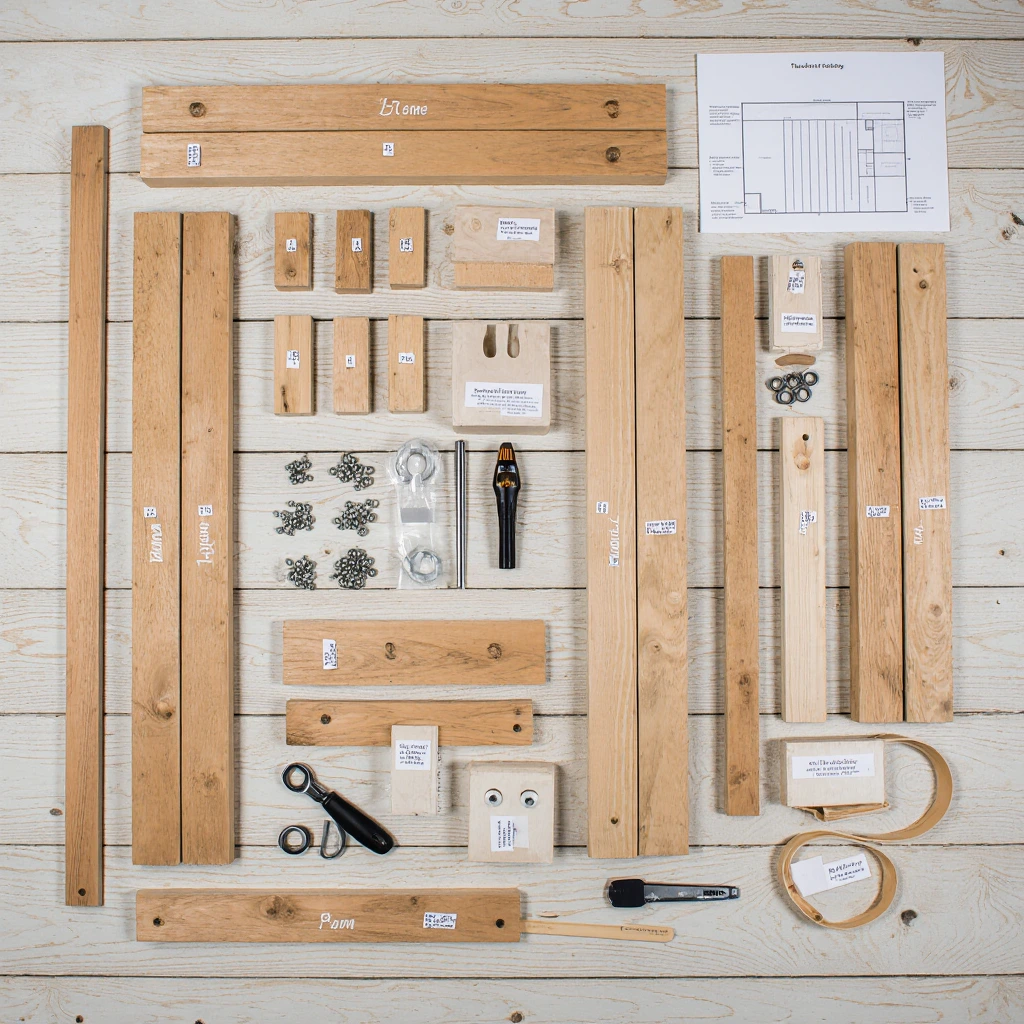
Essential Materials and Tools for Outdoor Furniture Projects
Successful DIY outdoor furniture projects begin with choosing the right materials and providing the right tools. Understanding these basics ensures that your handcrafted pieces will withstand the challenges of the weather while maintaining their beauty.
Weather-Resistant Wood Options
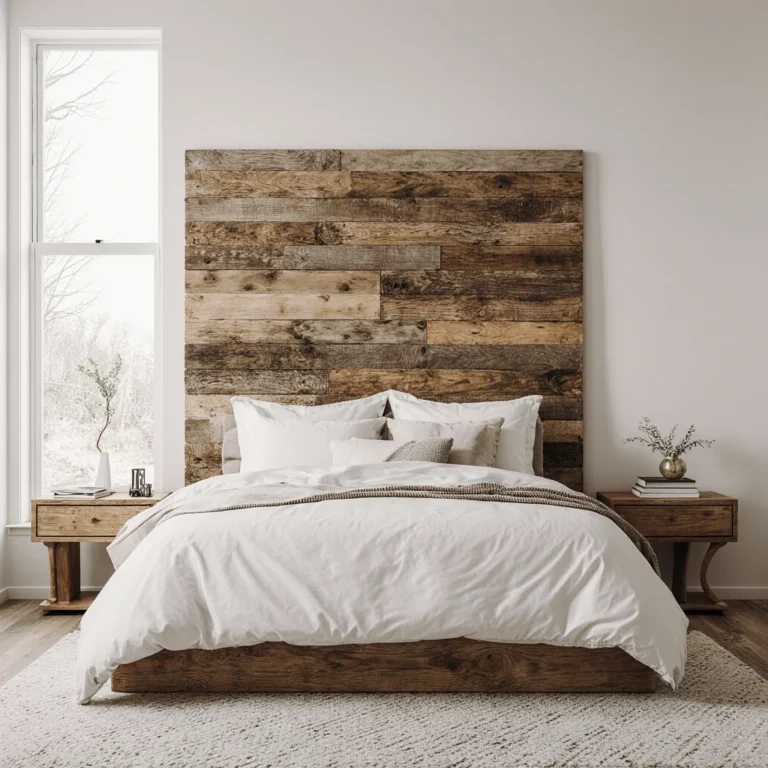
Cedar: Cedar is the gold standard in outdoor furniture, naturally resistant to moisture, insects, and decay. Its beautiful grain patterns and aromatic properties make it ideal for benches, tables, and planters.
Teak: Although more expensive, teak is exceptionally durable and develops an attractive silver color over time. It is ideal for luxurious outdoor dining sets and lounge chairs.
Pressure-Treated Pine: This wood is the most cost-effective choice, offering good weather resistance when properly sealed and maintained.
Composite Materials: Modern composite flooring materials offer excellent weather resistance with minimal maintenance requirements, although they do require specialized installers.
Essential Tools for DIY Furniture Building
Your tool kit doesn’t have to be extensive, but having a few high-quality essentials ensures professional results:
- Circular saw or miter saw for precise cuts
- Drill/screwdriver with assorted bits
- Pocket drill for strong, hidden joints
- Random orbital sander for smooth finishes
- Measuring tools (tape measure, square, level)
- Clamps in various sizes
- Safety equipment (glasses, dust masks, hearing protection)
DIY Outdoor Furniture Projects Step by Step
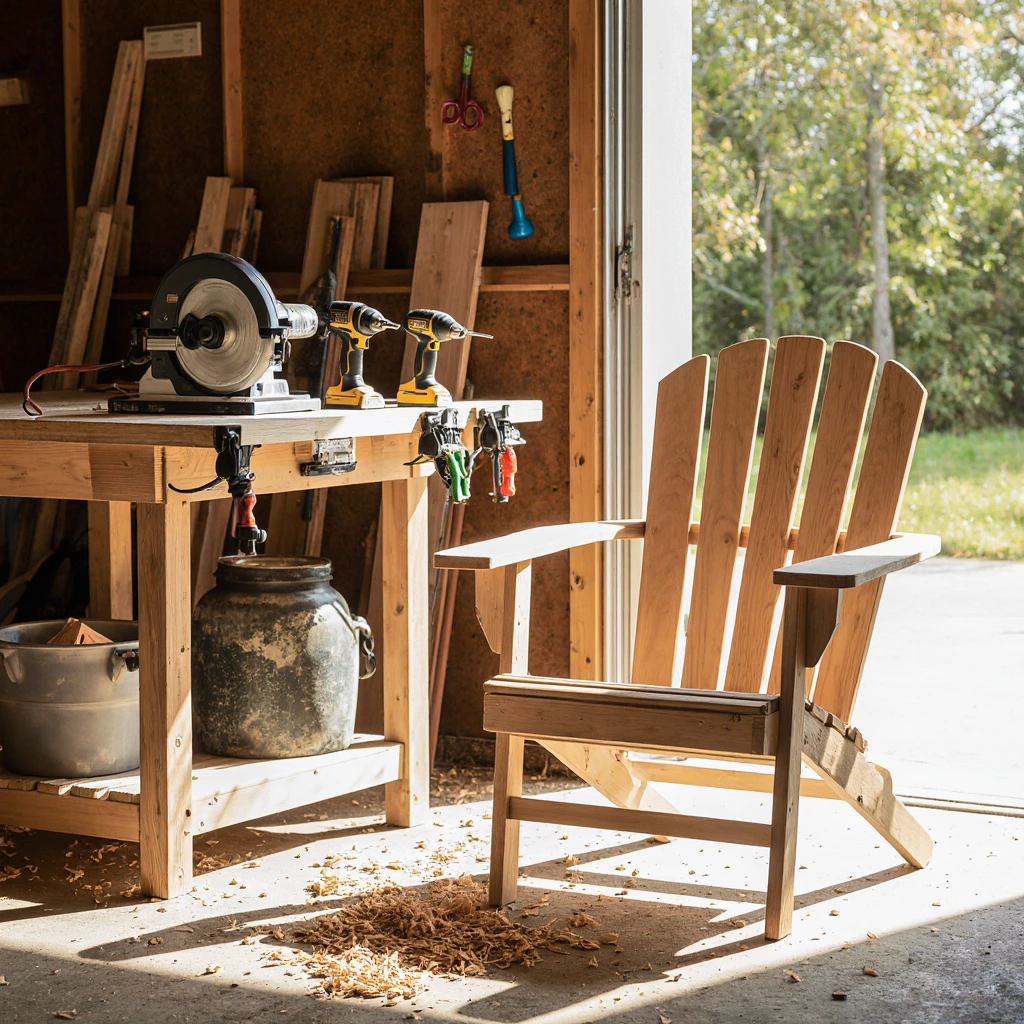
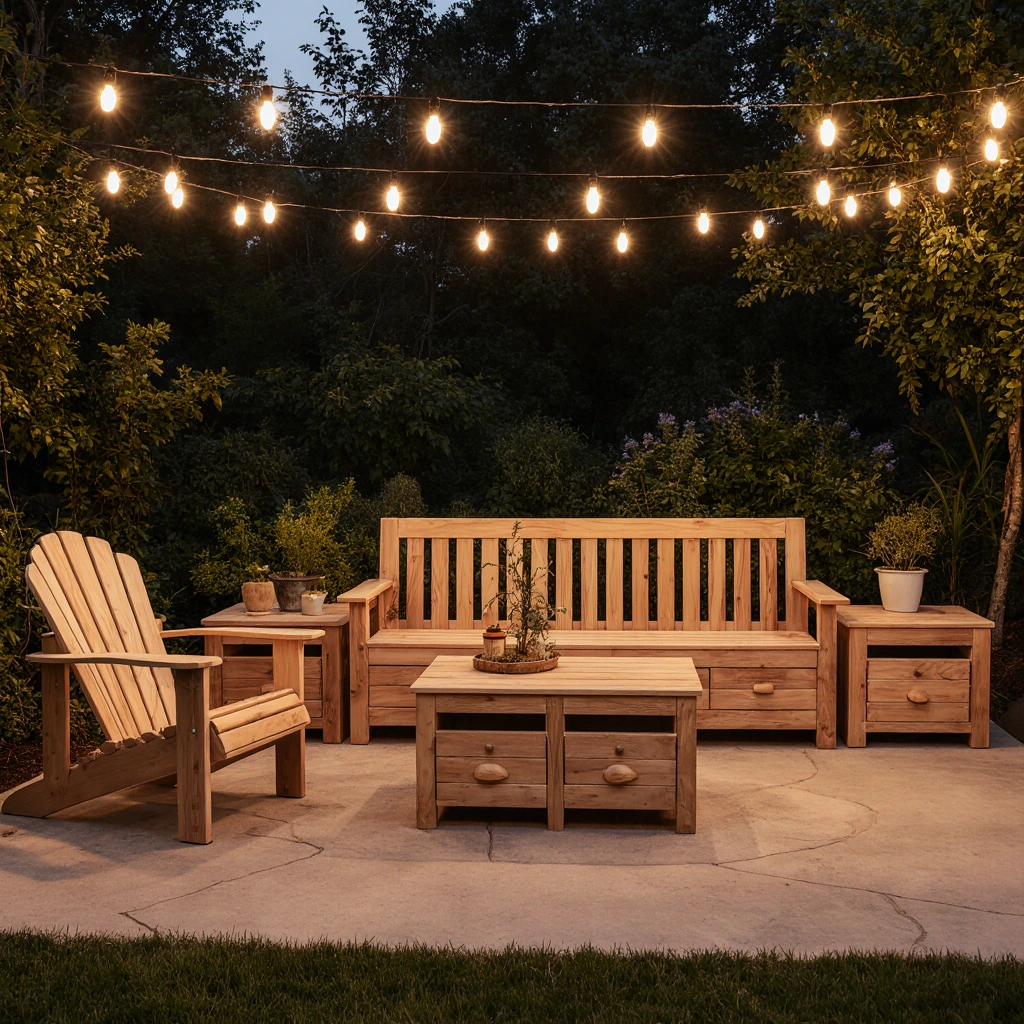
Project 1: The Classic Adirondack Chair
This timeless design remains a favorite thanks to its comfort and distinctive look. Building an Adirondack Chair presents essential techniques for building outdoor furniture.
Materials Needed:
- 5 1×6 cedar boards (8 feet long)
- 2 1×4 cedar boards (8 feet long)
- 1 1×2 cedar board (8 feet long)
- Weather-resistant wood screws
- Wood finish
Construction Steps:
- Create Templates: Cut cardboard patterns for the back slats and curved armrests to ensure consistent shapes.
- Prepare the Wood: Sand all wood with 120-grit sandpaper, taking care to minimize rough edges and surfaces.
- Cut the Pieces: Following the template, cut the back slats, seat slats, armrests, and support pieces.
- Assemble the Back: Attach the back slats to the curved supports using weather-resistant screws to create a unique angled backrest.
- Build the Seat Frame: Create a sturdy frame and secure the seat slats at appropriate spacing for drainage.
- Armrest and Leg Assembly: Attach the armrests to the seat assembly, then secure the front and back legs at the correct angles.
- Sand and Finish: Complete the sanding with 220-grit sandpaper, then apply your chosen finish.
Project 2: Rustic Outdoor Dining Table
A sturdy dining table that serves as a focal point for outdoor entertaining. This design comfortably seats 6-8 people.
Materials Needed:
- Two 10×2 cedar boards for the tabletop
- Two 4×4 cedar posts for the legs
- Two 8×2 cedar boards for the support beams
- Nails and washers
- Outdoor-grade wood glue
Construction Process:
- Dimensions Plan: Standard height is 76 cm, with a 36 x 72 cm surface for comfortable seating.
- Tabletop Preparation: Join the edges of two 2×10 boards using wood glue and clamps to create a smooth, flat surface.
- Base Construction: Build an H-frame base using 4×4 legs and 2×8 crossbeams, secured with anchor bolts for maximum strength.
- Sanding Thoroughly: Start with 80-220 grit sandpaper for a furniture-quality finish.
- Protective Coating: Use a high-quality, deep-penetrating coating that provides UV protection.
Project 3: Storage Bench with Planters
Combine seating and storage in this versatile piece featuring built-in planters at each end.
Features:
- Hinged lid for hidden storage
- Built-in planters for herbs or flowers
- Comfortable seating height
- Drainage holes to keep plants healthy
This project introduces more advanced techniques such as installing hinges and waterproofing planter sections.
Creative Ideas for Upcycling Outdoor Furniture
Turn discarded materials into stunning outdoor furniture while reducing your environmental impact and increasing your budget.
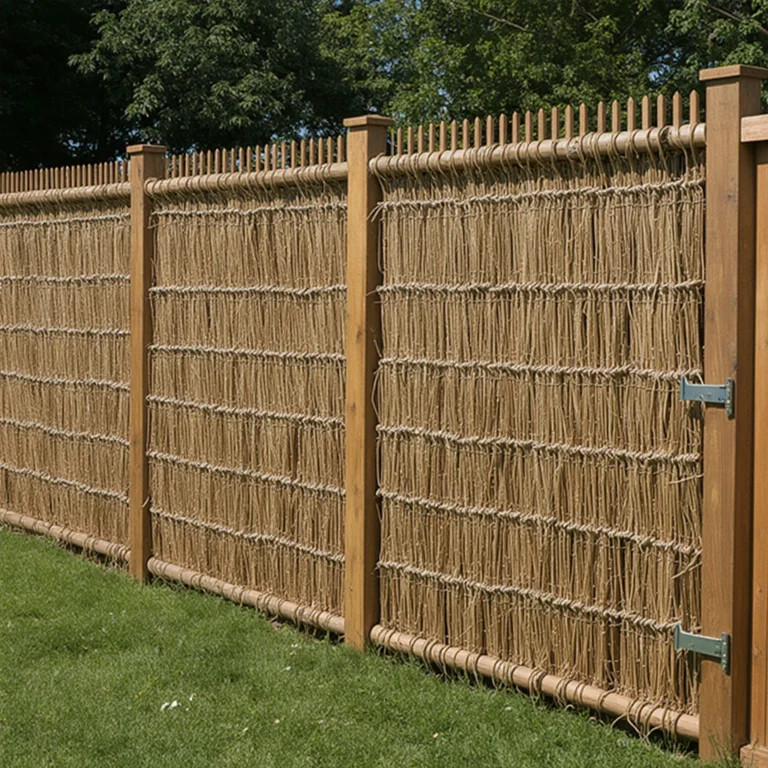
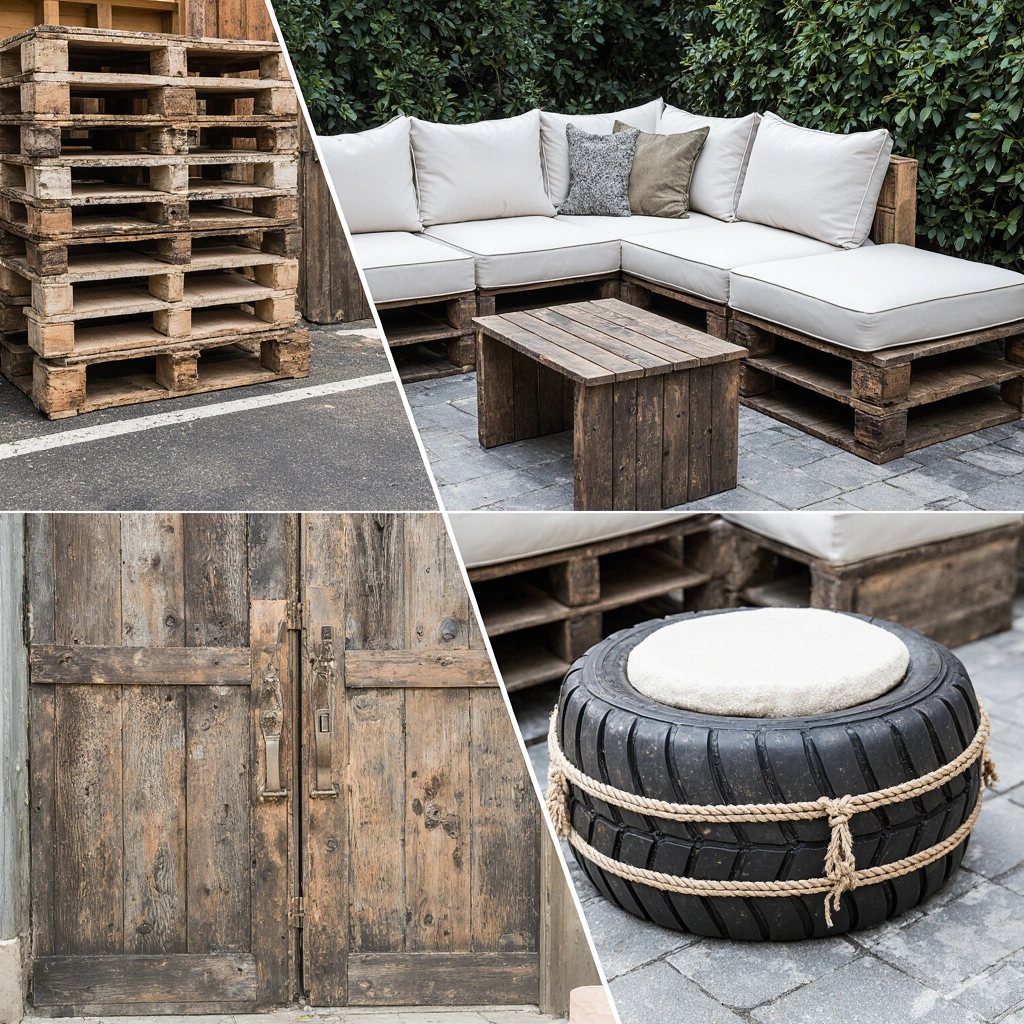
Pallet Furniture Projects: Shipping pallets provide abundant material for sofas, coffee tables, and vertical gardens. Always choose pallets that have been heat-treated (HT) and avoid those labeled MB (methyl bromide).
Tire Sofas: Large truck tires transform into comfortable sofas when stuffed with cushions and covered with weather-resistant fabric.
Cylinder Table Conversions: Old cable sofas make excellent outdoor dining tables with minimal modifications.
Recycled Door Projects: Old doors can become unique tabletops or backrests with a unique character that new materials can’t match.
Seasonal and Themed Outdoor Furniture Projects
Adapt your DIY outdoor furniture projects to celebrate the seasons or to fit specific design themes throughout the year.
Summer Projects
- Lightweight Folding Chairs for Beach Picnics
- Built-in Umbrellas with Benches
- Ice Bucket Side Tables for Entertaining
- Hammock Stands for Relaxation Areas
Fall Preparations
- Fireplace Benches with Built-in Firewood Storage
- Covered Seating Areas for Weather Protection
- Leaf Harvest Benches with Hidden Storage
- Harvest-Inspired Planter Sets
Winter Weather Considerations
- Furniture Covers and Protective Storage
- Ice-Resistant Carpentry Techniques
- Snow Load Calculations for Permanent Structures
- Planning Interior Projects for Spring Construction
Common Garden Furniture Mistakes and Their Solutions
Learning from common mistakes ensures the success of your projects while avoiding costly material waste and frustrating setbacks.
Mistake 1: Inadequate Weather Protection
Problem: Using interior finishes or insufficient insulation leads to rapid deterioration.
Solution: Invest in high-quality exterior finishes and reapply them according to the manufacturer’s recommendations.
Mistake 2: Poor Drainage Design
Problem: Water pools on flat surfaces, leading to rot and structural damage.
Solution: Use slight slopes and gaps between planks to facilitate water runoff.
Mistake 3: Poor Joinery Techniques
Problem: Using improper fasteners or techniques results in wobbly and unsafe furniture.
Solution: Find appropriate joinery techniques for each material and stress point in your design.
Mistake 4: Ignoring Expansion and Contraction
Problem: Wood movement causes joint damage or warping of surfaces.
Solution: Consider seasonal movement in your design and use appropriate fastening techniques.
Advanced Techniques for Professional Results
Elevate your DIY outdoor furniture projects with techniques that distinguish handcrafted pieces from high-quality pieces.
Mortise and Tenon Joints: These traditional joints provide exceptional strength and longevity for outdoor applications.
Curved Lamination: Create elegant curves by laminating thin strips around moldings, ideal for chair backs and armrests.
Weathering Strategies: Learn advanced sealing techniques, including end-grain sealing and moisture-proofing applications.
Hardware Selection: Choose fasteners and marine hardware designed for outdoor use and heavy use.
Handcrafted Outdoor Furniture Maintenance and Care
Regular maintenance significantly extends the life of your handcrafted outdoor furniture, protecting your investment and preserving its appearance.
Annual Maintenance Schedule
Spring: Thoroughly clean, inspect for damage, sand rough areas, and apply new finishes as needed.
Summer: Regularly clean, tighten hardware, and monitor for insect activity or moisture problems.
Fall: Perform a thorough inspection, repair minor damage, and prepare pieces for winter storage or covering.
Winter: Protect furniture with covers or store it in sheltered areas whenever possible.
Cleaning and Refinishing Techniques
Different materials require special care methods. Cedar benefits from gentle cleaning with oxygen bleach, while teak withstands more aggressive cleaning methods. Always test cleaning products on inconspicuous areas first.
Regular refinishing schedules depend on exposure levels, but most outdoor furniture requires periodic maintenance every one to two years for optimal protection and appearance.
Budget-Friendly Tips for Homemade Outdoor Furniture
Creating beautiful outdoor furniture doesn’t require a huge budget when you use smart shopping strategies and innovative sourcing methods.
Material Sources: Monitor lumber sales at department stores, check classifieds for recycled materials, and contact local lumber mills for specialty wood.
Tool Sharing: Consider tool-sharing groups, library tool-lending programs, or splitting purchases with neighbors to buy expensive furniture that rarely gets used.
Incremental Building: Build furniture kits in stages rather than all at once, allowing you to spread out costs and learn from each project.
Seasonal Shopping: Buy materials during off-peak periods when garden furniture prices are lower.
Transform Your Outdoor Space Today
Building your own outdoor furniture opens up endless possibilities for creating a personalized outdoor oasis that reflects your style and meets your specific needs. From simple weekend projects to complex multi-piece assemblies, each handcrafted piece adds character and practical function to your outdoor living space.
The satisfaction of relaxing in a chair you’ve crafted yourself or hosting dinner parties around a table crafted in your workshop is unmatched by simply purchasing furniture from a store. Each project expands your skills, creates lasting memories, and creates practical beauty.
Start with simpler projects like benches or side tables to build confidence, then move on to more challenging pieces as your skills develop. Feel free to modify your plans to fit your space or preferences; customization is one of the biggest benefits of DIY furniture making.
Ready to start your first DIY outdoor furniture project? Share your plans with us in the comments below, or sign up for our newsletter for more detailed project guides, material sourcing tips, and seasonal project ideas. Your outdoor space’s transformation starts with the first touch!
Best Amazon Picks :
FAQs
Q: What is the best wood for beginners in outdoor furniture making?
A: Cedar is ideal for beginners due to its natural weather resistance, ease of shaping, and weather resistance. It’s more expensive than pressure-treated pine, but requires less maintenance and yields better results for first-time builders.
Q: How long does DIY outdoor furniture typically last?
A: Well-made outdoor furniture made using quality materials and proper finishes can last 15 to 20 years or more with regular maintenance. This compares favorably to mass-produced furniture, which often requires replacement every 3-5 years.
Q: Do I need expensive tools to build outdoor furniture?
A: While higher-quality tools improve results, simple projects can be accomplished with simple tool sets. Focus on the basics first: a circular saw, drill, sander, and measuring tools. Borrow or rent specialized tools for occasional use.
Q: What’s the biggest mistake new outdoor furniture builders make?
A: Rushing through the finishing process is the most common. Proper sanding, sealing, and finishing takes time, but it determines how well your furniture will withstand outdoor conditions. Never skip these crucial final steps.
Q: How much money can I save building my own outdoor furniture?
A: Savings typically range from 40% to 70% compared to retail prices for similar-quality pieces. A $1,200 outdoor dining set can cost between $300 and $500 in materials to build yourself, not counting the cost of acquired skills.
Q: Can I build outdoor furniture without a workshop?
A: Yes! Many projects can be completed in garages, driveways, or even apartments with portable tools. Focus on simple designs that require minimal specialized equipment, and consider community workshop spaces for larger projects.
Q: What is the best finish for garden furniture?
A: Marine polyurethane or penetrating oil finishes, designed for outdoor use, provide excellent protection. The best choice depends on the wood type, climate, and maintenance preferences. Test finishes on scrap wood before applying them to finished pieces.