DIY Wood Countertops: Transform Your Kitchen on a Budget with These Pro Tips
Table of Contents
DIY wood countertops has become one of the most cost-effective and efficient ways to renovate your kitchen without breaking the bank. This comprehensive guide will walk you through everything you need to know about creating beautiful wood countertops that rival expensive custom installations.
Whether you’re a seasoned DIYer or a beginner looking to embark on your first major home improvement project, wood countertops offer the perfect combination of practicality, beauty, and affordability. The satisfaction of creating something with your own hands while saving thousands of dollars makes this project highly appealing to homeowners of all skill levels.
Why Choose DIY Wood Countertops for Your Kitchen Renovation?
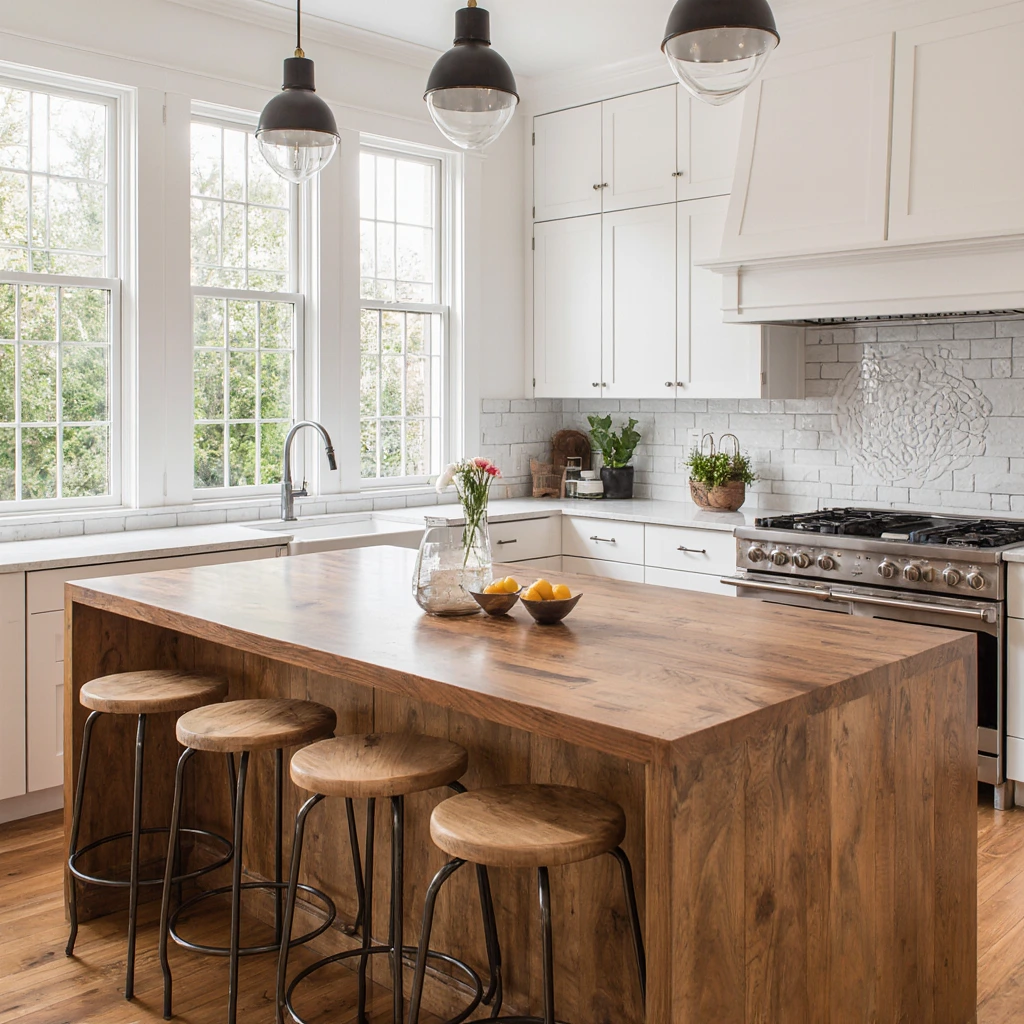
The appeal of DIY wood countertops goes beyond their affordability. Wood adds warmth, character, and natural beauty to any kitchen space. Unlike cold stone or synthetic materials, wood countertops create an inviting atmosphere that makes your kitchen feel like the heart of your home.
Financially, the savings are significant. Professionally installed countertops cost between $3,000 and $8,000 for an average kitchen, while prefabricated wood countertops typically cost between $500 and $1,500 for materials. This represents a savings of up to 80% compared to professional installation.
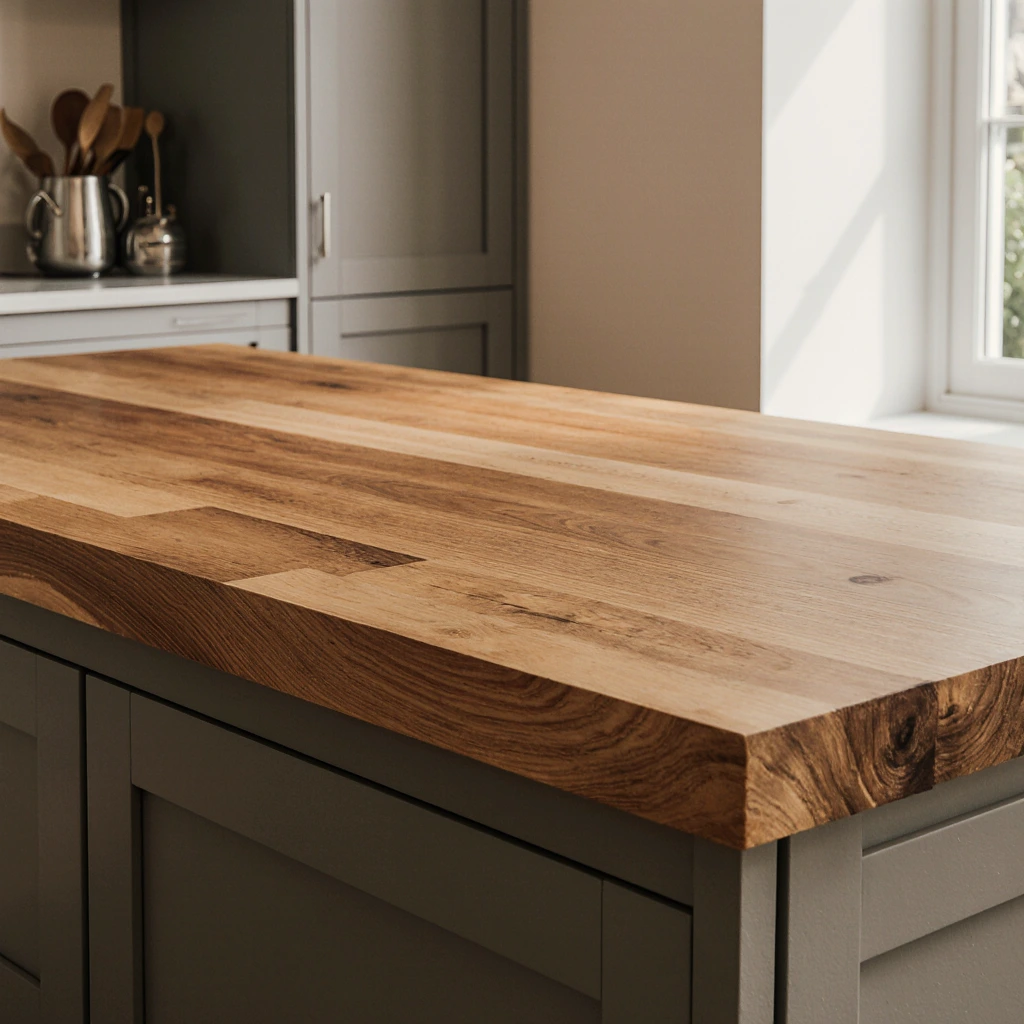
Wood countertops also offer incredible design versatility. You can choose from a variety of wood types, colors, and finishes to complement your existing home decor or create a completely new aesthetic. The natural grain patterns ensure that no two countertops are exactly the same, giving your kitchen a unique, custom look.
Essential Materials and Tools for Your DIY Wood Countertop Project
Materials You’ll Need
Before you start your DIY wood countertop project, gather these basic materials:
Wood Choices:
- Butcher Blocks (good for beginners)
- Hardwoods (oak, maple, cherry, walnut)
- Reclaimed Wood Boards
- Bamboo Boards (eco-friendly option)
Tools and Supplies:
- Wood Glue (waterproof polyurethane glue is recommended)
- Wood Screws (2.5-inch construction screws)
- Sandpaper (120, 150, 220 grit)
- Wood Stain or Natural Oil Paint
- Polyurethane Sealant
- Trim or Trim
Tools for Professional Results
Using the right tools makes a big difference in achieving professional results:
Basic Power Tools:
- Circular Saw or Miter Saw
- Orbital Sander
- Drill With Heads
- Router (for shaping edges)
- Jigsaw (for sink openings)
Hand Tools:
- Tape Measure
- Level
- Clamps
- Chisels
- Sandpaper Templates
A Step-by-Step Guide to Creating Beautiful DIY Wood Countertops
Step 1: Plan and Measure
Accurate measurements are the foundation of a successful DIY wood countertop. Create a detailed model of your countertop space, including any openings for sinks, cooktops, or other fixtures. Add 0.5 cm to your measurements to allow for final trimming and adjustments.
Consider the direction of the wood grain when planning your design. A longitudinal grain direction creates a traditional look, while a vertical grain direction creates a distinctive visual effect.
Step 2: Select and Prepare Wood
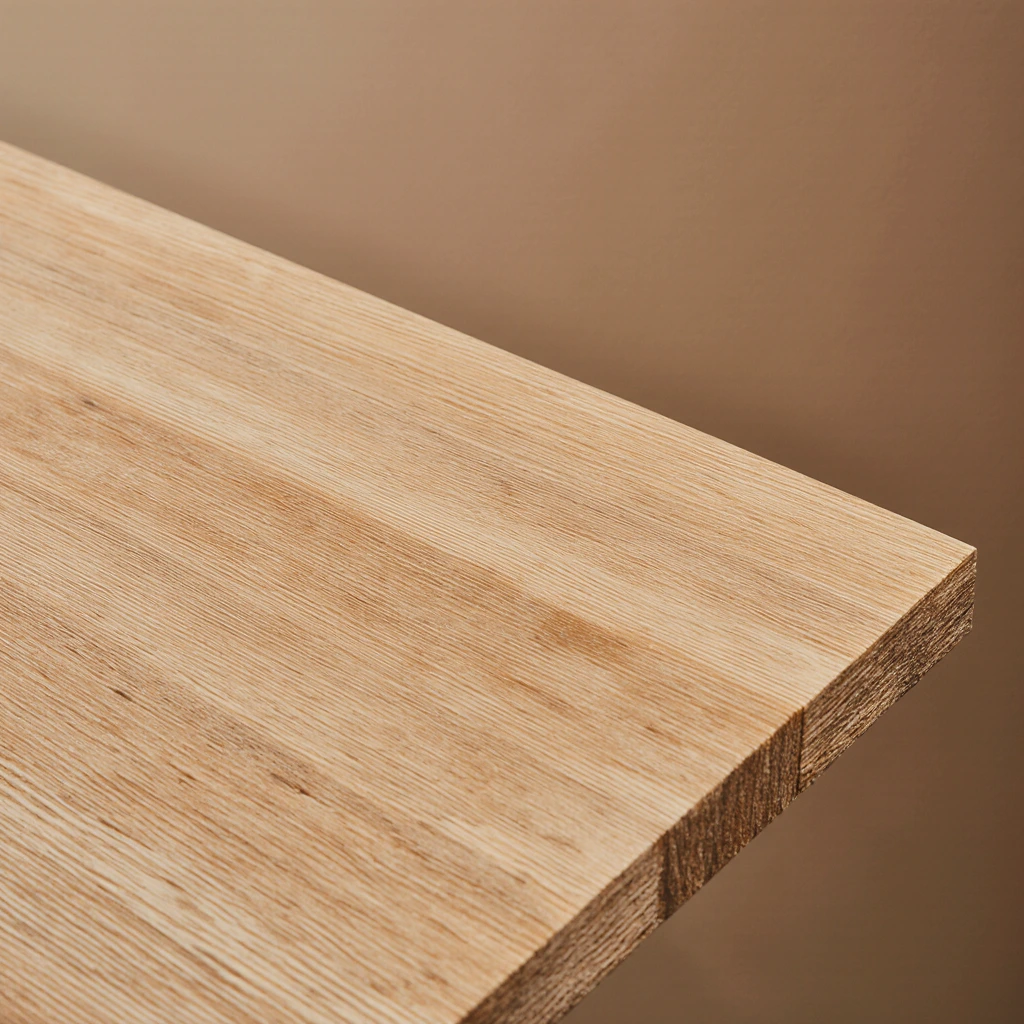
Choose kiln-dried, stable wood. Avoid using green wood, which can warp and crack as it dries. For beginners, pre-fabricated butcher blocks offer convenience and high quality.
If using individual boards, choose straight, flat pieces. Allow the wood to acclimate to your home’s humidity for at least 48 hours before starting work.
Step 3: Cutting and Joining
Cut the wood pieces to size using a circular saw with a fine-blade blade. For long work surfaces, you’ll need to join several pieces end-to-end. Use biscuit joints or pocket screws for strong, invisible joints.
When gluing boards edge-to-edge, press them evenly together with clamps and allow them to dry completely for 24 hours. Remove excess glue immediately to avoid future finish problems.
Step 4: Sanding for Perfect Smoothness
Proper sanding is essential for professional results. Start with 120-grit sandpaper to remove tool marks and imperfections. Start with 150-grit, then finish with 220-grit for a smooth finish.
Sand with the grain, not against it. Clean the surface thoroughly between each coat to remove dust that could cause scratches.
Step 5: Finishing the Countertops
Choose a finish that suits your lifestyle and maintenance preferences:
Oil finishes (tung oil, Danish oil):
- Natural appearance
- Easy to repair
- Requires regular reapplication
Polyurethane finishes:
- Durable and water-resistant
- Long-lasting protection
- Harder to repair
Apply the finish in thin, even coats, lightly sanding between coats with 320-grit sandpaper.
Creative Recycling Ideas for Unique Wood Countertops
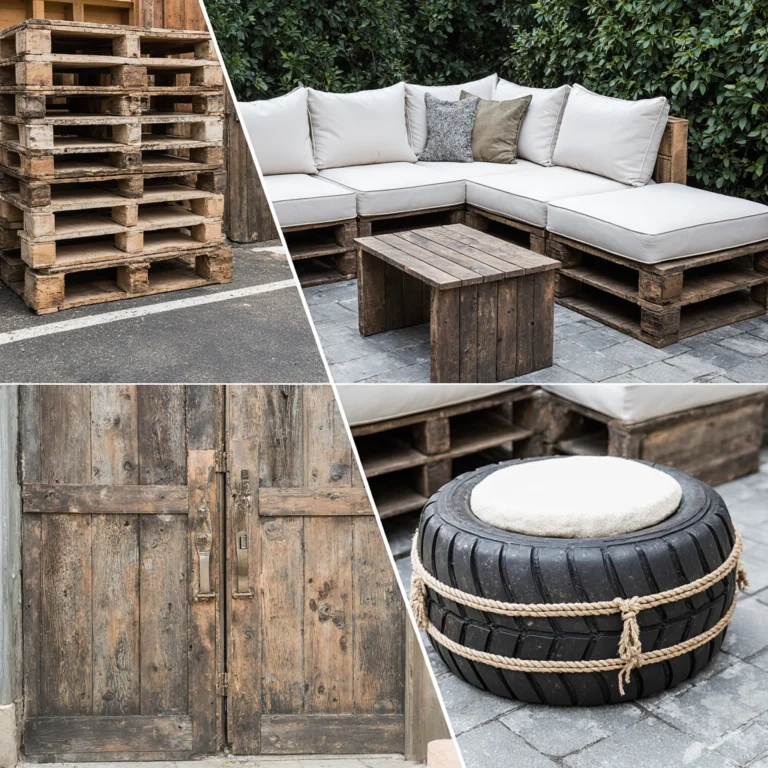
Reclaimed Wood Character
Turn recycled materials into stunning countertops with character. Old barn wood, shipping pallets (heat-treated only), or reclaimed architectural materials can all give your kitchen unique surfaces with a rich history.
Always inspect reclaimed wood for nails, screws, or other metal hardware. Use a metal detector to locate hidden fasteners that could damage your appliances.
Wood Design
Add interest by combining different wood types. Alternate light and dark wood strips, or create geometric patterns using contrasting materials. This technique allows you to use smaller pieces of expensive hardwood while keeping the cost within reach.
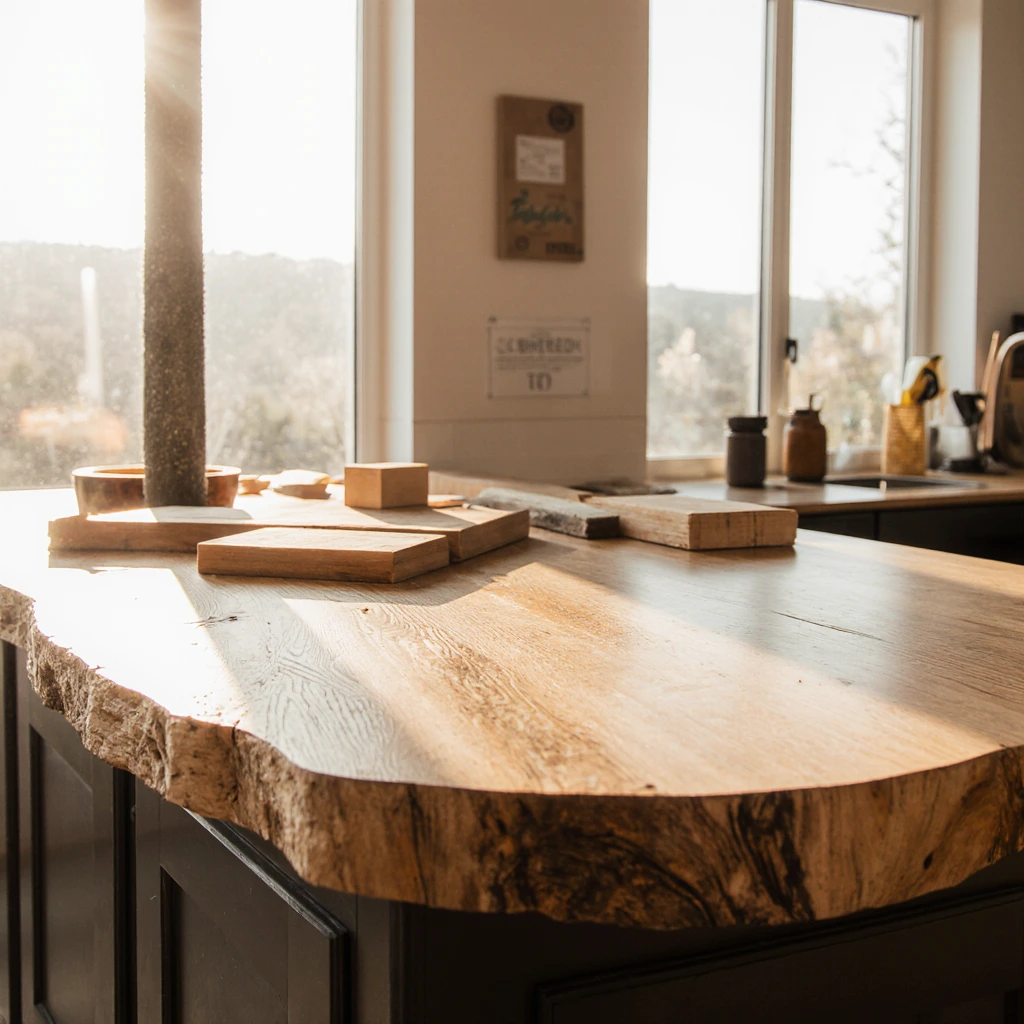
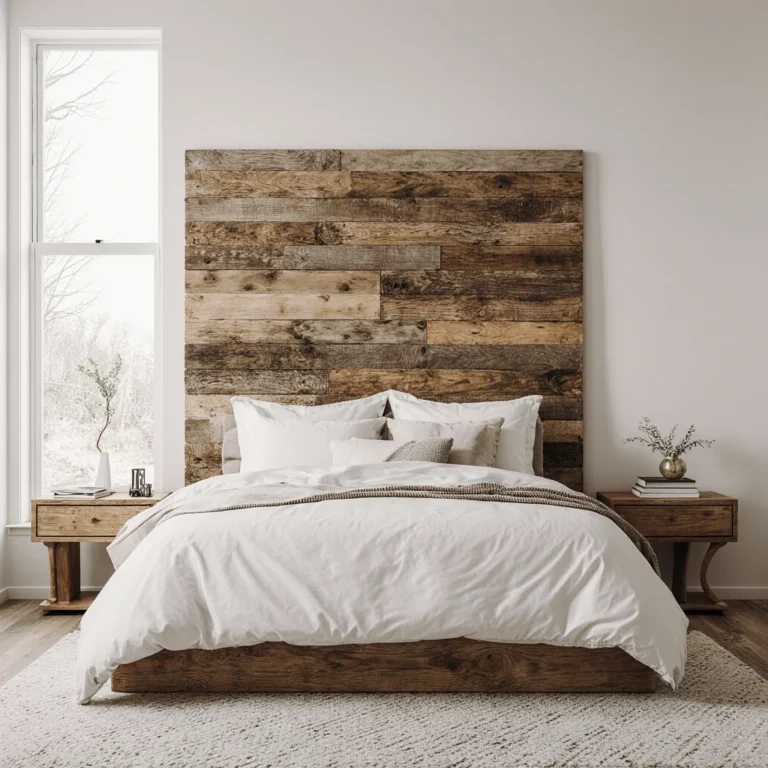
Natural Edge Countertops
Add natural edge panels for a rustic, natural look. These unique pieces highlight the natural growth patterns of trees and add a stunning aesthetic to modern kitchens.
Seasonal and Distinctive Wood Countertop Projects
Spring Decorating Ideas
Spring is ideal for light wood tones and fresh finishes. Consider whitewashing dark woods or using bleaching techniques to create farmhouse-style countertops that complement seasonal decor.
Summer Outdoor Kitchen Projects
Expand your countertop design skills to include outdoor spaces. Cedar and teak are ideal choices for outdoor applications, offering natural weather resistance for patio and deck kitchens.
Fall Harvest Ideas
Enjoy the rich, warm colors of fall. Walnut, cherry, and mahogany create a cozy atmosphere ideal for holiday entertaining and family gatherings.
Winter Workshop Time
Use the winter months to plan and prepare. It’s the perfect time to source materials, design layouts, and prepare your workspace for spring installation.
Common Mistakes in Home Wood Countertop Projects and How to Avoid Them
Moisture Problems
Mistake: Inadequate sealing leads to water damage and stains.
Solution: Apply several thin coats of a high-quality sealant, paying special attention to the wood grain and edges.
Choosing the Wrong Wood
Mistake: Using the wrong wood species or wood that isn’t well-dried.
Solution: Choose stable hardwoods from trusted suppliers. Avoid softwoods like pine in heavy-use areas.
Inadequate Support
Mistake: Inadequate cabinet support leads to sagging and cracking.
Solution: Ensure cabinets can support the weight. Add support brackets every 24 inches for lengths longer than 36 inches.
Rushing the Process
Mistake: Skipping steps or rushing processing times leads to poor results.
Solution: Allow enough time for each step. Patience during the gluing and finishing phases ensures professional results.
Maintenance Tips for Durable DIY Wood Countertops
Regular maintenance keeps your DIY wood countertops beautiful and functional:
Daily Care:
- Wipe up any spills immediately
- Use cutting boards for food preparation
- Clean with mild soap and water
Monthly Maintenance:
- Apply safe mineral oil to oil-finished surfaces
- Inspect for signs of wear or damage
- Touch up the finish as needed
Annual Deep Maintenance:
- Lightly sand and reapply the finish
- Check and tighten mounting hardware
- Assess the overall condition and address problems immediately
Transform Your Kitchen Today with DIY Wood Countertops
Creating beautiful DIY wood countertops isn’t just a home improvement project—it’s an opportunity to create something unique, develop valuable skills, and save significant amounts of money. The natural beauty, warmth, and character that wood adds to your kitchen creates an inviting space where memories are made and shared.
The journey from transforming raw wood into finished countertops teaches you patience, precision, and problem-solving skills that go beyond this project. Each step builds confidence and expertise that you’ll leverage in future DIY projects.
Don’t let the scale of the project intimidate you. Start with a small piece or practice piece to develop your skills and confidence. Remember that even experienced craftsmen started somewhere, and every expert was once a beginner.
Are you ready to start your own wood countertop transformation? Share your project plans in the comments below, and don’t forget to sign up for our newsletter for more inspirational, affordable DIY projects and step-by-step tutorials. We’d love to see your finished wood countertops—share your before-and-after photos with us on social media!
Best Amazon Picks :
FAQs
Q: What are the best types of wood for handmade countertops?
A: Hardwood maple and oak offer excellent durability and workability for beginners. They’re readily available, affordable, and hold up well to stain. For a more unique look, try cherry or walnut, although they tend to be more expensive.
Q: What thickness is suitable for laminate countertops?
A: The standard thickness is 1.5 inches (1×2 pieces of wood glued face-to-face). This thickness provides sufficient strength and ease of installation. Thicker countertops (2 inches and larger) provide a more attractive appearance but require stronger cabinet support.
Q: Can I install handcrafted laminate countertops over existing countertops?
A: This depends on the existing surface and structural support. Laminate countertops often support layers of wood if they are in good condition. However, removing the old laminate countertops usually provides better results and allows for a closer inspection of the cabinets.
Q: How do I cut sink holes in laminate countertops?
A: Use a power saw with a fine-tooth blade designed for wood. Make an initial hole with a drill, then carefully follow the template. Sand the cut edges smooth and seal them well to prevent water damage.
Q: What is the most durable finish for DIY wood countertops?
A: Polyurethane finishes provide the best protection against water, heat, and scratches. Choose marine-grade polyurethane for maximum durability. Oil finishes look more natural but require more maintenance.
Q: How much money can I save with DIY wood countertops?
A: Savings typically range from 60% to 80% compared to professional installation. A kitchen that might cost $5,000 to $8,000 can often be professionally completed for $800 to $1,500 in materials, plus your time and effort.
Q: Are DIY wood countertops safe for food preparation?
A: Yes, when properly finished and maintained. Wood has naturally antimicrobial properties, and a good finish produces a non-porous surface. Always use cutting boards and clean up any spills immediately.
Q: How long do handcrafted wood countertops last?
A: With proper care and maintenance, wood countertops can last 20 to 30 years or more. Regular refinishing every 3-5 years maintains their appearance and protects them.
Q: Can I repair damage to wood countertops myself?
A: Most damage can be repaired with basic carpentry skills. Small scratches are easily sanded, while deep gouges may require wood filler. Burns and stains often require more extensive sanding and refinishing.
One Comment
Comments are closed.