DIY Wood Headboard: Transform Your Bedroom on a Budget
Table of Contents
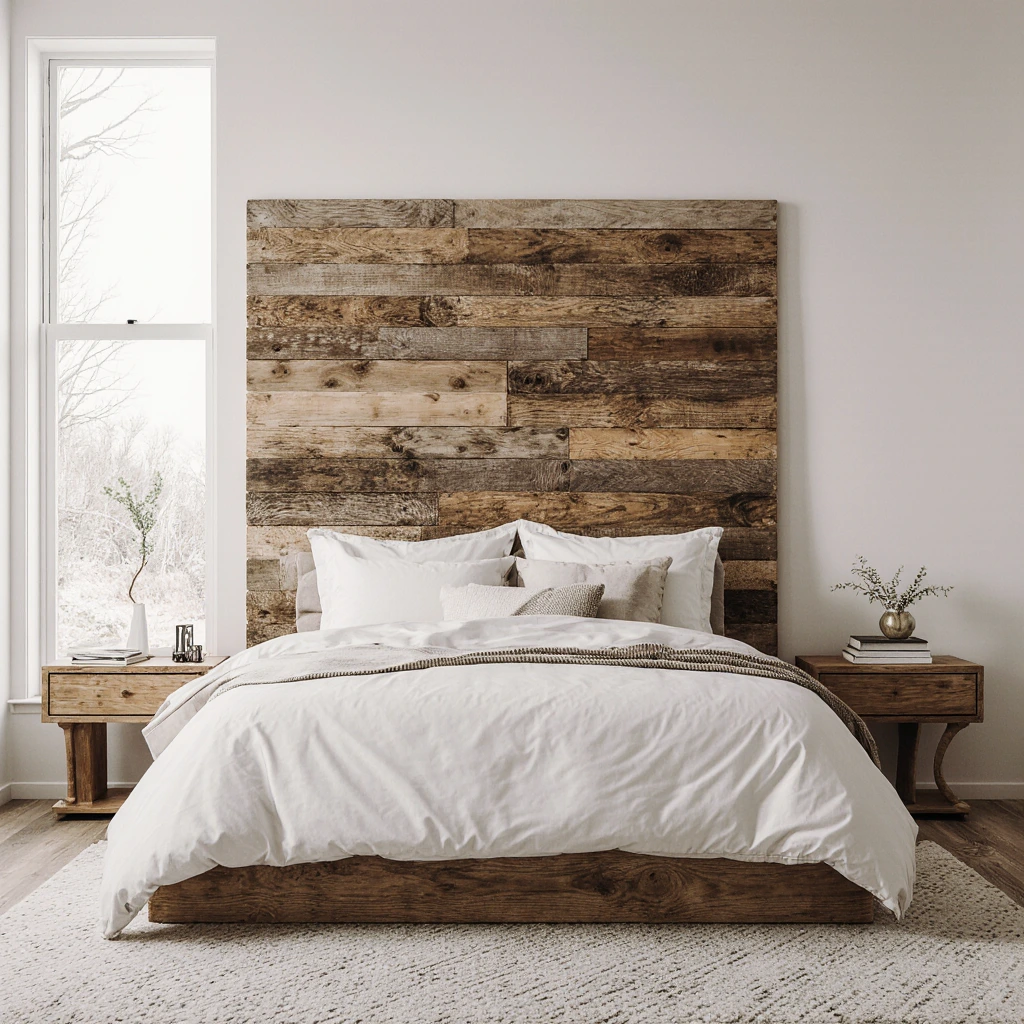
DIY Wood Headboard is one of the most cost-effective and efficient ways to enhance your bedroom’s aesthetic without breaking the bank. This budget-friendly project not only saves you hundreds of dollars compared to ready-made alternatives, but also allows you to customize every detail to perfectly suit your personal taste and the dimensions of your room.
Whether you’re a professional carpenter or a beginner, crafting your own wooden headboard opens up endless possibilities for creativity. From rustic farmhouse designs to sleek, contemporary designs, a handcrafted headboard becomes a focal point that transforms the entire feel of your bedroom. Plus, the joy of sleeping behind something you’ve crafted with your own hands is priceless.
Why Choose a DIY Wood Headboard Over Ready-Made Options?
The benefits of making your own wooden headboard go beyond saving money. When you embark on a DIY journey, you’re investing in quality, customization, and personal satisfaction that mass-produced furniture can’t match. Cost Savings That Really Make a Difference
Prefabricated wood headboards typically range in price from $200 to $800 or more, depending on size and quality. In contrast, a homemade wood headboard project typically costs $50 to $150 in materials, representing savings of up to 75%. These savings allow you to allocate your budget for high-quality wood or additional bedroom enhancements.
Complete Creative Control
Unlike prefabricated headboards with limited size options, you can design your own headboard to fit any bed size, ceiling height, or room layout. Want an extra-wide headboard that extends beyond your mattress? No problem. Prefer a taller design that reaches your ceiling? You can easily achieve it with your own design.
Superior Material Quality
Many commercial headboards use particleboard or low-quality wood with a thin veneer. When building your own wooden headboard, you can choose solid wood, reclaimed wood, or high-quality plywood that will last for decades, not years.
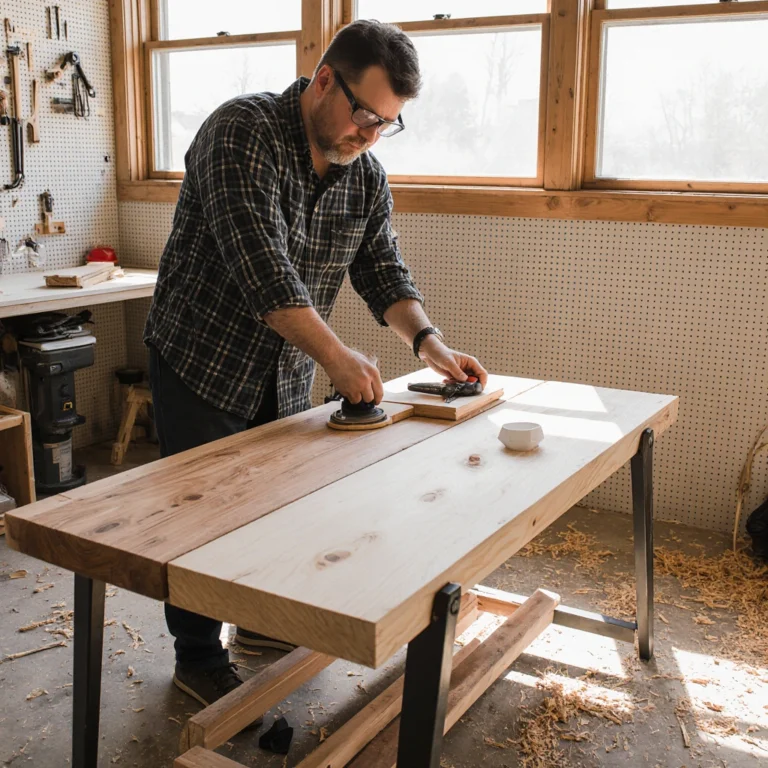
Essential Tools and Materials for Your DIY Wooden Headboard Project

The success of any woodworking project begins with proper preparation. Having the right tools and materials before you begin ensures a smooth construction process and professional results.
Essential Tools
Power Tools:
- Circular saw or miter saw for precise cuts
- Drill/screwdriver with various bit sizes
- Orbital sander for smooth finishes
- Jigsaw for curved cuts (optional)
Hand Tools:
- Tape measure and pencil
- Level for perfect alignment
- Clamps for secure installation
- Safety goggles and a dust mask
Essential Tools:
- Wood screws (2.5-inch and 1.25-inch lengths)
- Wall mounting brackets
- Sandpaper (120, 150, and 220 grit)
- Wood glue for reinforcement
Choosing the Right Wood Materials
The choice of wood greatly impacts the appearance of your headboard and the budget for your project. Here are the most popular options for making your own wooden headboard:
Reclaimed wood is known for its distinctive character and sustainable performance. Barn wood, old fence posts, or reclaimed wood make stunning rustic headboards with a built-in antique feel. Expect to pay $3 to $8 per square foot, and always check for nails or chemical treatments.
Pine boards offer an affordable starting point for beginners. At $2 to $4 per square foot, pine is easy to work with and readily available. It takes stain well but requires careful sanding to avoid splinters.
Plywood is ideal for painted finishes or when budget is at a premium. High-quality birch plywood ($40 to $60 for a 4×8 board) produces smooth, stable surfaces ideal for modern designs.
Hardwoods like oak or maple offer excellent results at $6 to $12 per square foot. These woods beautifully showcase natural grain patterns and, with proper care, will last for generations.
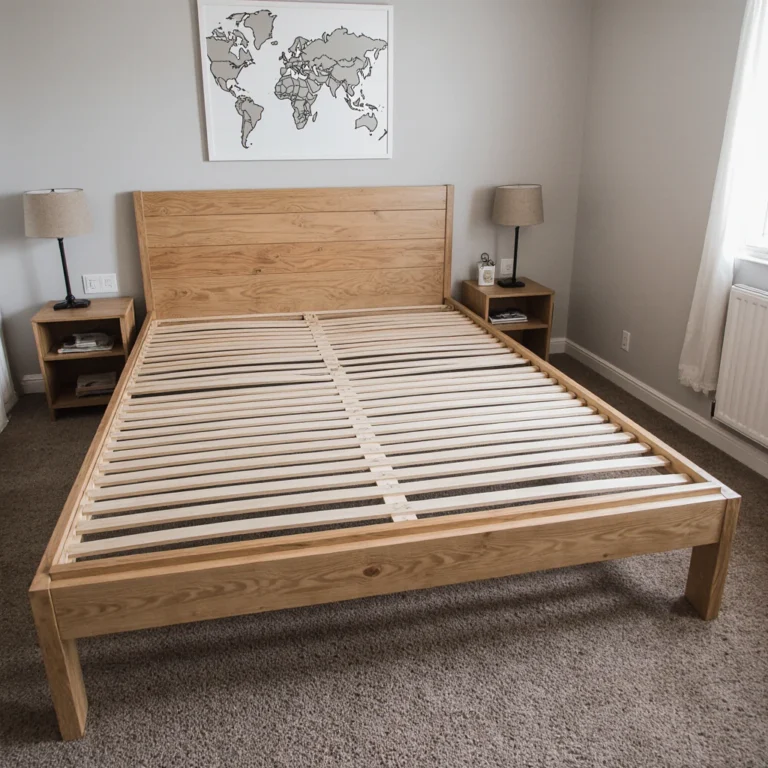
Step-by-Step Guide: Making Your First DIY Wooden Headboard
This comprehensive guide will walk you through how to make a classic slatted headboard that will fit perfectly in any bedroom. The finished headboard measures 152 cm wide and 91 cm high, perfect for a queen-size bed.
Step One: Planning and Preparing
Start by measuring your bed and determining the required headboard dimensions. Standard headboards extend 5 to 15 cm above each side of the mattress and rise 60 to 120 cm above the mattress surface. Record these measurements clearly on a piece of paper before purchasing materials.
Create a cutting list based on your design. For the headboard model, you will need:
- 5 pieces of 1×8 pine, each 91 cm long (headboards)
- 2 pieces of 1×4 pine, each 137 cm long (horizontal supports)
- 1 piece of 1×4 pine, each 120 cm long (center supports)
Stage Two: Cutting and Prepping the Wood
Safety First: Always wear protective equipment when using power tools. Measure twice, cut once to avoid costly mistakes.
Cut all pieces according to the cut list, ensuring square, clean pieces. Sand all pieces, starting with 120-grit sandpaper, then 150-grit, and finishing with 220-grit sandpaper for a silky-smooth surface. Pay close attention to edges and any rough spots.
Clean all sawdust from the pieces using a tack cloth or compressed air. Any remaining dust will hinder the adhesion of the stain or paint.
Stage Three: Assembly
Lay the five vertical boards face down on a flat surface, arranging them so that their joints are tight. Place the two horizontal supports on their backs: one 15 cm from the top and the other 15 cm from the bottom. Mark screw locations every 8 inches along each post.
Pre-drill holes to prevent splitting of the wood, then secure the posts with wood screws. Add the center post vertically for added stability, centering it in the headboard.
Check the assembly square by measuring the diagonals—they should be even. Make any necessary adjustments before the glue dries.
Step 4: Finishing Touches
Sand the entire assembly with 220-grit sandpaper, paying attention to any rough joints or screw holes. Fill any visible screw holes with wood putty if desired, then sand them smooth after they dry.
Apply your chosen finish—whether stain, paint, or clear coat—following the manufacturer’s instructions. Multiple thin coats produce better results than a single thick coat.
Creative Designs to Suit Every Style
You don’t have to follow traditional patterns for your DIY wooden headboard. These creative combinations showcase the versatility of wooden headboards:
Rustic Country Charm
Add a distinctive touch to your look using reclaimed barn wood or new wood distressed using chains, hammers, and sandpaper. Use a gray or white stain that highlights the natural wood texture while maintaining a distinctive rustic aesthetic.
Modern Geometric Patterns
Arrange wood strips in herringbone, chevron, or geometric patterns for a modern touch. Contrasting wood tones or alternating grain directions add visual interest without requiring complex carpentry skills.
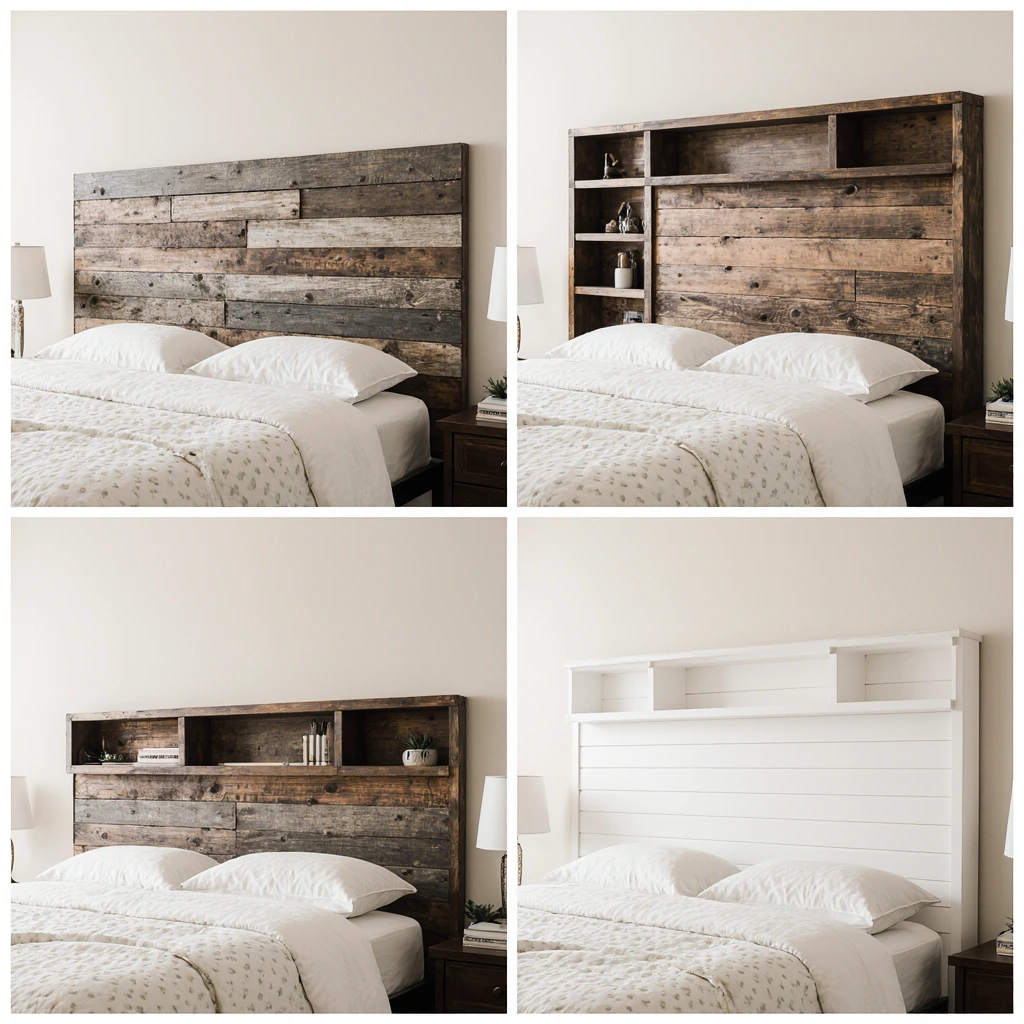
Incorporate Floating Shelves
Add built-in floating shelves for bedside storage. These practical additions eliminate the need for separate nightstands while maintaining sleek, simple lines throughout your bedroom design.
Choose Materials Smartly and Optimize Your Budget
Stretching your project budget requires strategically choosing material sources. These proven strategies can help you maximize your purchasing power:
Sources of Recycled Materials: Construction sites, renovation projects, and demolition companies often discard usable lumber. Facebook Marketplace and Craigslist regularly offer deals on recycled lumber at prices well below retail.
Lumber Yard Relationships: Develop relationships with local lumber yards to get better prices on quality materials. Many yards offer discounts on bulk purchases or boards with minor defects, ideal for DIY projects.
Seasonal Shopping: Lumber prices fluctuate seasonally, and spring typically brings higher costs due to increased construction activity. Shopping in the fall and winter often offers better deals on quality materials.
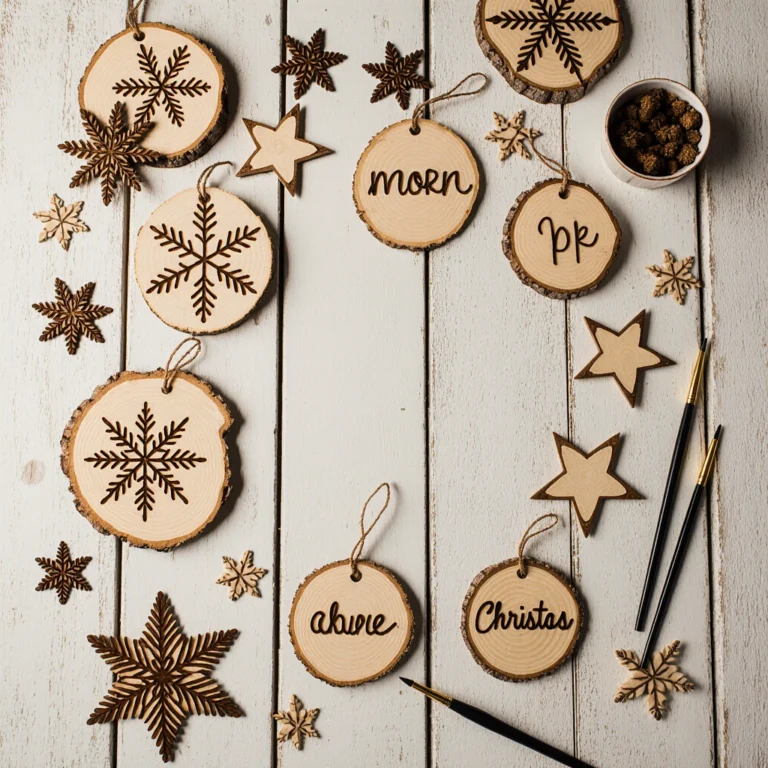
Seasonal and Seasonally Designed Headboard Projects
Adapting your DIY wooden headboard to seasonal designs will give your bedroom a fresh feel all year round:
Holiday-Inspired Designs
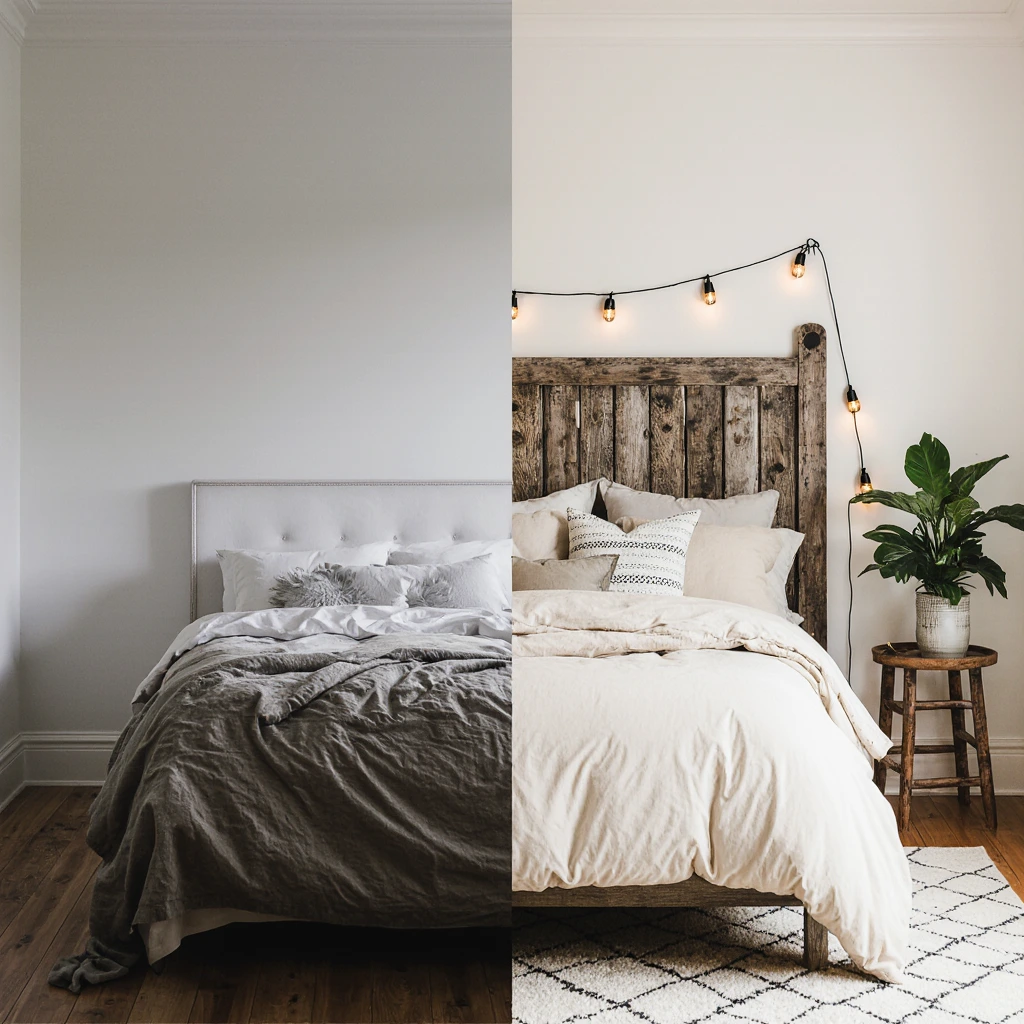
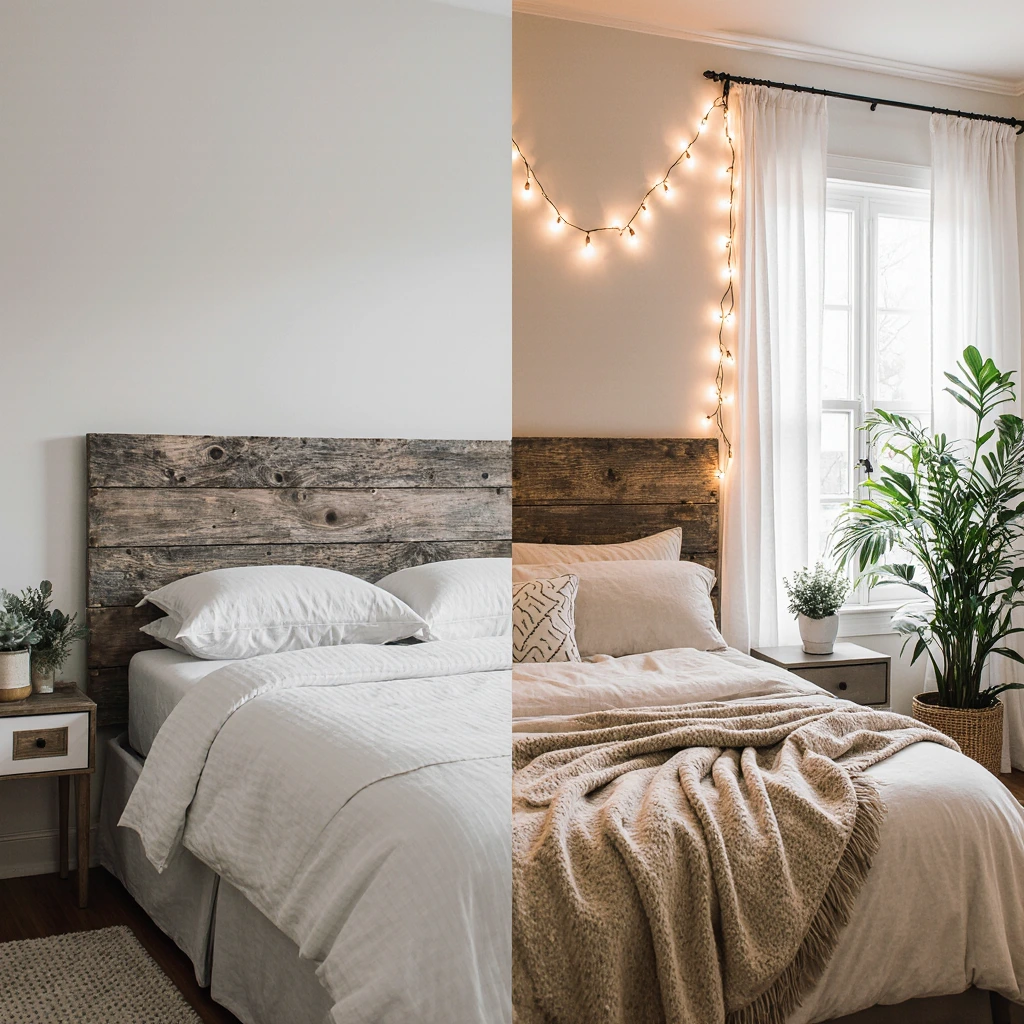
Winter headboards can feature white finishes with built-in string lights for a warm and cozy atmosphere. Spring designs benefit from light, natural finishes that complement fresh bedding colors. Summer headboards add a touch of driftwood or beachy aesthetics. Fall designs feature rich, warm colors that mimic the hues of autumn foliage.
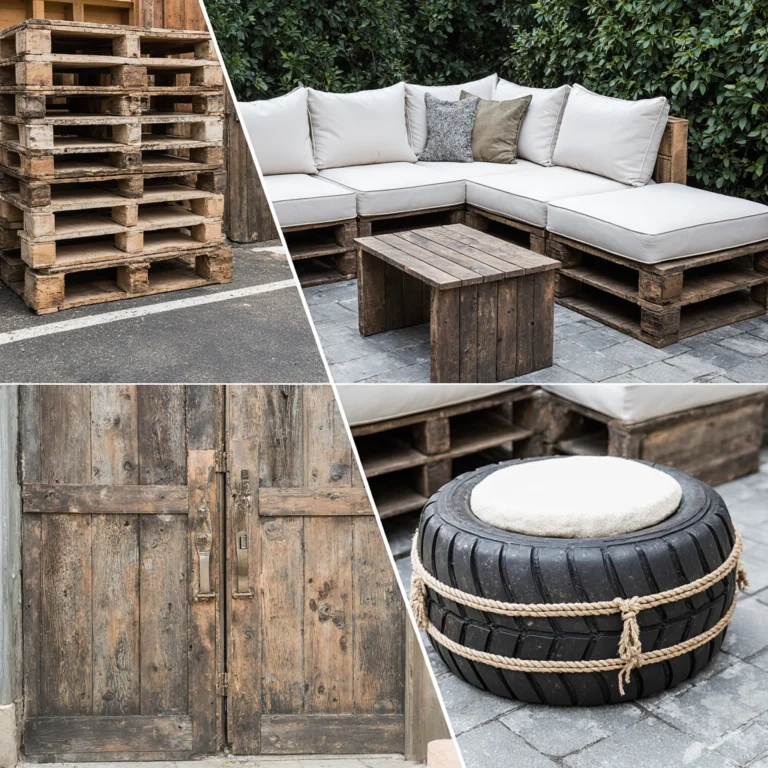
Upcycling Opportunities
Turn everyday items into unique headboard elements:
Old Doors: Antique doors make stunning headboards with minimal modifications. Sort, stain, and install them for an instant statement that tells a story.
Shipping Pallets: Free pallets from local businesses can transform into rustic headboards with proper cleaning and treatment. Always ensure the pallets are heat-treated (marked “HT”) rather than chemically treated for safety.
Fence Pickets: New or used fence pickets, arranged vertically, create rustic-style headboards at budget-friendly prices. Their uniform size makes installation easy and delivers professional results.
Common DIY Headboard Mistakes and Prevention Strategies
Learning from others’ experiences saves time, money, and effort. These common mistakes can derail your DIY wood headboard project:
Measuring and Layout Mistakes
Mistake: Rushing to cut without proper planning leads to improper cuts and wasted materials.
Solution: Draw detailed plans with accurate measurements. Double-check the bed dimensions, considering mattress thickness, bed frame height, and wall irregularities before cutting any wood.
Improper Wall Installation
Mistake: Underestimating installation requirements leads to unsafe or unstable installations.
Solution: Mark wall stud locations using a reliable stud finder. Use fasteners appropriate for the weight of the headboard plus a safety margin. Anchor screws are suitable for drywall installation only, but they require higher weight ratings.
Inappropriate Wood Selection
Mistake: Choosing wood species or grades that are not appropriate for your skill level and tools.
Solution: Match the wood selection to your experience level. Beginners are advised to start with pine or poplar before trying hardwoods. Avoid warped, twisted, or heavily knotted boards that complicate the construction process.
Finishing Defects
Mistake: Rushing the finishing process results in patchy spots, brush marks, or poor adhesion.
Solution: Patience pays off with finishing. Sand gradually with a finer grit, clean thoroughly between coats, and allow adequate drying time. Test stains on scrap pieces before attaching them to the finished headboard.
Installation and Safety Considerations
Proper installation ensures that your DIY wooden headboard will remain stable and secure for years of use. Follow these professional installation practices:
Wall Preparation
Select and mark the wall stud locations using a high-quality stud locator. The standard 16-inch spacing between studs will fit most headboard mounting brackets, but be sure to check the actual spacing in the installation area.
Check the wall surface for evenness using a 4-foot spirit level. Minor irregularities can be addressed with shims, but larger variations may require wall preparation before installation.
Choosing Mounting Hardware
Choose the right mounting hardware for your wall type and headboard weight. Drywall anchors are suitable for lightweight headboards under 30 pounds, but wood-to-joist mounting provides superior security for heavier structures.
French cleat systems provide excellent support and easy removal for cleaning or room remodeling. These interlocking brackets distribute the weight evenly across multiple wall joists.
Electrical Safety
When installing lighting elements, use low-voltage LED systems instead of standard household electrical outlets. Battery-powered options eliminate electrical problems altogether while providing flexible installation options.
Consult qualified electricians for any wiring installations. Building codes often require GFCI protection for bedroom electrical outlets. Additional.
Maintenance and Long-Term Care
Protecting your investment ensures decades of great service for your DIY wooden headboard:
Regular Cleaning
Dust weekly with a microfiber cloth to prevent dirt from accumulating in the wood grain. Avoid harsh chemicals that may damage finishes or leave residue.
For deep cleaning, use wood-specific cleaners, using a soft cloth and sparingly. Always test cleaners on inconspicuous areas first.
Finish Maintenance
Inspect finishes annually for signs of wear or damage. Refinish small areas immediately to prevent moisture intrusion and wood damage.
Plan a full refinish every 5-10 years, depending on wear patterns and environmental conditions. Proper pre-finishing significantly extends these periods.
Transform Your Bedroom Today
Building your own wooden headboard combines practicality and personal satisfaction in ways few other projects can match. The skills you gain in building your first headboard translate to countless other furniture projects, making this an investment in your bedroom and your abilities.
Your bedroom deserves to be a centerpiece that reflects your personality and taste. Mass-produced headboards don’t achieve the perfect symmetry or personal connection that handcrafted furniture designed specifically for your space provides.
Are you ready to start the transformation process? Gather your materials, set aside a weekend, and get ready to create something truly special. The satisfaction of sleeping behind a headboard you’ve crafted yourself, one that perfectly fits your space and taste, makes every step of this project worthwhile.
Take action today: Share photos of your DIY wooden headboard project in the comments below, and don’t forget to subscribe for more inspiring, affordable DIY projects that will transform your home without breaking the bank.
Best Amazon Picks :
FAQs
Q: How much does it cost to make a DIY wooden headboard?
A: Material costs typically range from $50 to $150, depending on the type and size of the wood. Pine or plywood projects typically run under $75, while high-end hardwood or reclaimed wood projects can cost up to $150. This represents a savings of 60-75% compared to similar store-bought headboards.
Q: What is the best type of wood for first-time builders?
A: Pine boards offer the perfect combination of affordability, ease of workmanship, and ease of use for beginners. They are easy to sand, hold up well to stains, and tolerate minor mistakes better than hardwoods.
Q: How do I ensure my headboard is securely attached to the wall?
A: Always attach it to the wall studs using suitable screws (at least 3 inches long for studs). For drywall installation only, use screws that hold at least twice the weight of the headboard. French fastening systems provide excellent security and adjustability.
Q: Can I build a headboard without power tools?
A: Yes, but it requires more time and effort. Purchase pre-cut lumber to your specifications, use hand saws to make minor adjustments, and hand-sand it. Many lumber yards offer cutting services for a small fee.
Q: What paint is suitable for headboards in a bedroom?
A: Water-based polyurethane provides excellent protection with a light odor—which is important for bedroom furniture. Oil-based stains provide richer color penetration, while milk paint creates a beautiful matte finish ideal for country house styles.
One Comment
Comments are closed.