The Complete Guide: How to Remove Paint from Wood Like a Pro
Table of Contents
When you need to remove paint from wood surfaces, choosing the right method can mean the difference between a successful restoration project and a frustrating disaster. Whether you’re restoring antique furniture, preparing trim for a new finish, or refinishing your wood, understanding how to remove paint from wood safely and effectively is an essential skill that will save you time and money while preserving the natural beauty of your wood surfaces.
This comprehensive guide will walk you through proven techniques, professional tips, and safety considerations to help you achieve perfect results every time you tackle a paint removal project.
Understanding the Different Types of Paint on Wood
Before delving into removal methods, it’s essential to determine what type of paint you’re dealing with, as this will determine your approach and the safety precautions you take.
Latex Paint (Water-Based)
Latex paints are generally easier to remove and pose fewer health risks. These modern paints respond well to thermal methods and some chemical paint strippers. These paints are commonly found on surfaces painted after the 1980s and are often identified by their slight elasticity when scraped.
Oil-Based Paints
Oil-based paints provide a harder, more durable finish, but require more effective removal methods. These paints are typically used on antique furniture and trim, and often require chemical strippers or extensive sanding to fully remove them.
Lead-Based Paints
Any paint used before 1978 may contain lead, requiring special handling and disposal procedures. If you suspect lead-based paint, consider professional testing and removal to avoid serious health risks.
Multiple Coats of Paint
Older wood surfaces often contain multiple coats of paint that have accumulated over decades. Each coat may be of a different type, requiring a strategic approach that addresses the most difficult layers first.
Professional Paint Removal Methods
Heat Paint Removal Method
Heat paint removal uses controlled temperature to soften the paint, making it easier to remove. This method achieves excellent results in removing multiple layers of paint from flat wood surfaces. Needed Tools:
- Heat gun (adjustable temperature)
- Paint scraper (various sizes)
- Protective cloth
- Safety goggles and a respirator
Step-by-Step Method:
- Set the heat gun to a medium temperature (approximately 500-600°F)
- Hold the gun 15-20 cm from the surface, moving it continuously.
- When the paint begins to crystallize and soften, immediately scrape it off with a putty knife.
- Work in small sections to maintain the ideal paint temperature.
- Clean up any residue with fine sandpaper.
Pros: Effective on multiple layers, no harsh chemicals, reusable tools.
Pros: Effective on multiple layers, no harsh chemicals, reusable tools. Cons: Risk of wood burning, time-consuming, and requires constant manual control.
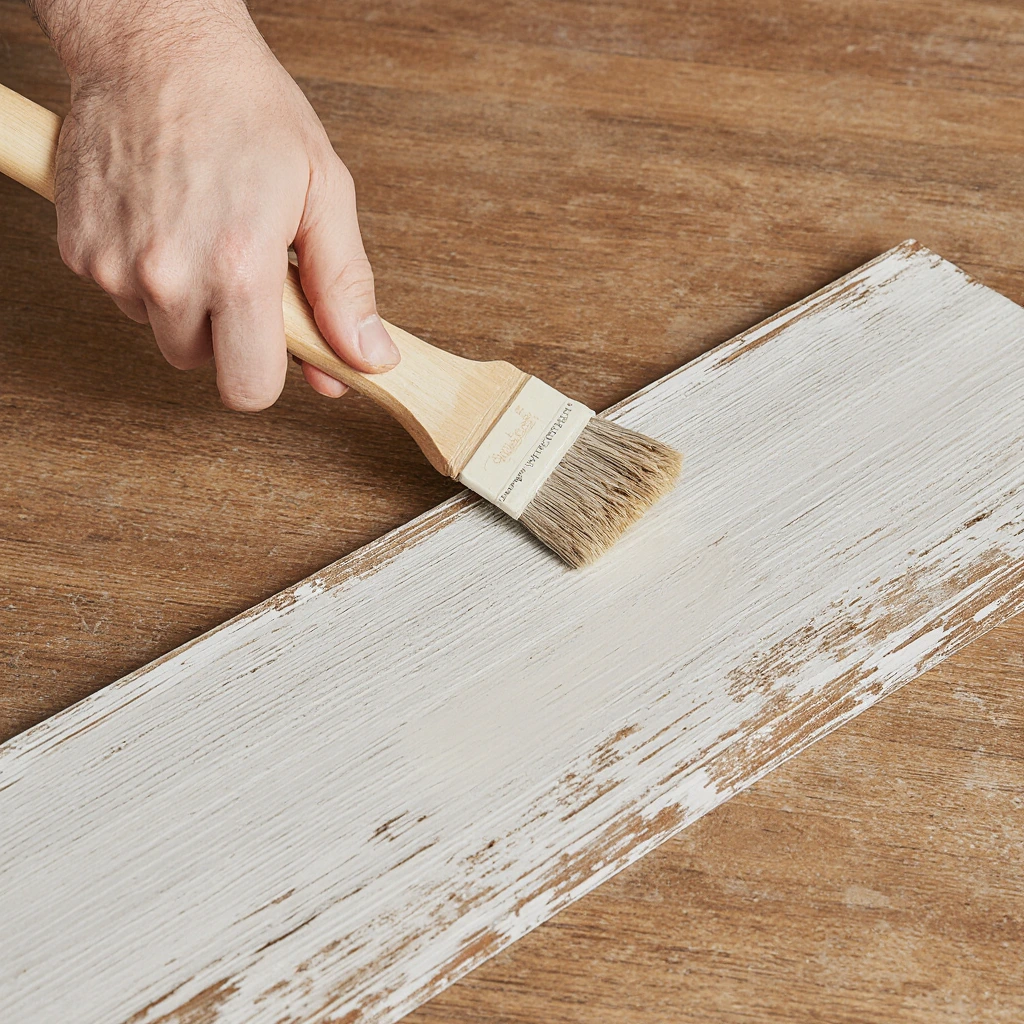
Chemical Paint Strippers
Chemical paint strippers dissolve the paint bonds, making them easier to remove. Modern formulations offer safer alternatives to traditional methylene chloride-based products.
Caustic Paint Strippers (Sodium Hydroxide)
Best for quickly removing multiple coats of paint. These strippers work by dissolving the paint’s bonding materials, but they may darken the color of some wood species.
Solvent-Based Paint Strippers
Effective on oil-based paints and varnishes. Look for safer formulations containing benzyl alcohol or N-methylpyrrolidone (NMP).
Biochemical Paint Strippers
Made from natural ingredients such as citrus oils, they are safer for indoor use, but they work more slowly than traditional chemicals.
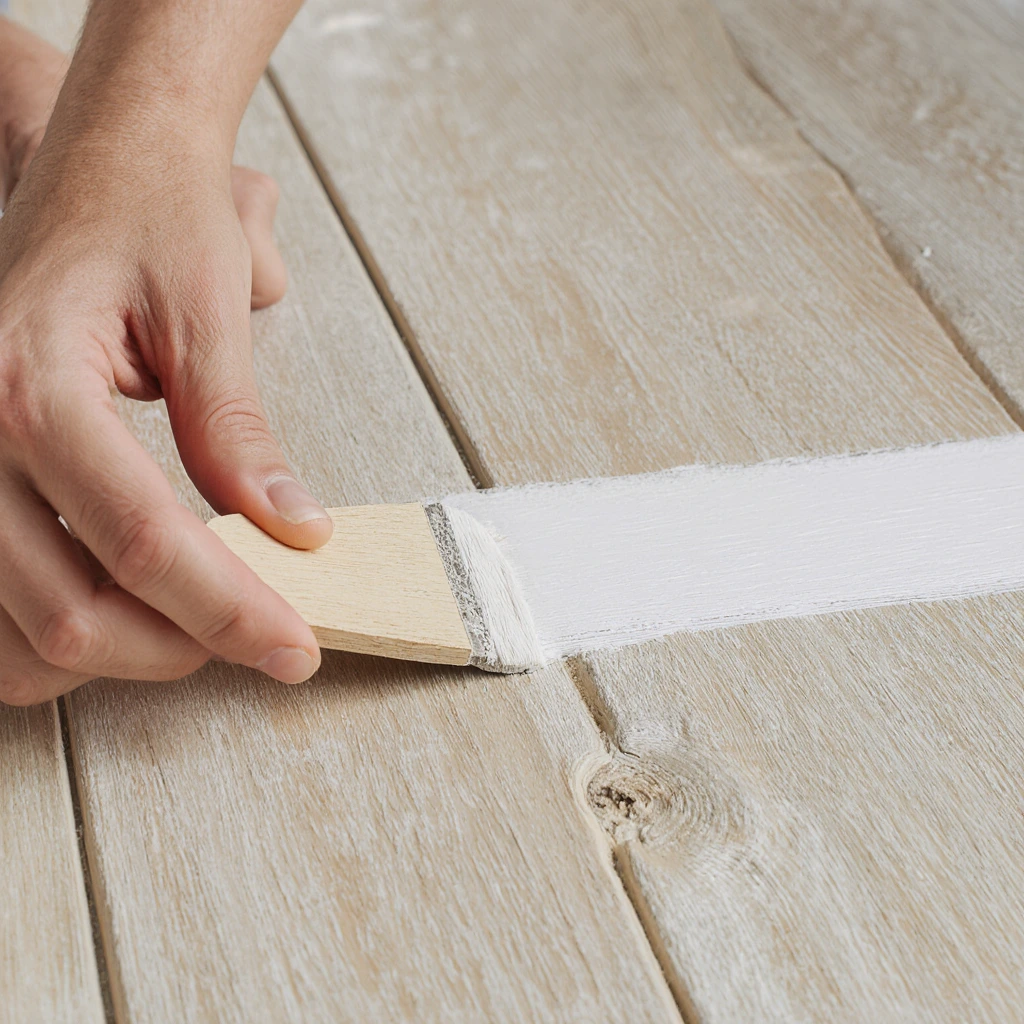
Directions for Use:
- Apply the paint stripper using a natural bristle brush in thick, even layers. 2. Cover the surface with plastic wrap to prevent evaporation.
- Wait the recommended setting time (usually 15 to 30 minutes).
- Test a small area by gently scraping.
- Remove the diluted paint with a scraper, taking into account the direction of the wood grain.
- Clean up the residue with the recommended neutralizer.
Sanding Methods
Sanding physically removes the paint through abrasion. Although it requires considerable effort, it is often the most thorough method for complete paint removal.
Hand Sanding
Start with coarse grits (60-80) and then progress to finer grits (120-220). Ideal for delicate work and sensitive surfaces.
Electric Sanders
- Orbital Sanders:** Suitable for flat surfaces, with minimal wood removal.
- Belt Sanders:** Quickly removes material, but requires skill to avoid scratching.
- Detail Sanders: Ideal for corners and intricate woodwork.
Sandblasting (Media Sanding)
Professional removal using compressed air and abrasives. Ideal for larger projects, but requires specialized equipment and expertise.
DIY Paint Removal Step-by-Step

Preparation Step
Prepare Your Workspace
Create a well-ventilated work area with adequate lighting. Install protective covers and ensure easy access to all sides of the workpiece. Remove metal parts such as hinges, handles, and decorative elements before beginning.
Safety Equipment
- N95 or P100 respirator mask
- Safety goggles
- Chemical-resistant gloves
- Long sleeves and pants
- First aid kit readily available
Implementation Stage
Test Area First
Always test your chosen removal method on an inconspicuous area. This helps you evaluate its effectiveness and identify any potential damage to the wood before applying it to the entire surface.
Work Methodically
Divide large surfaces into easy-to-handle sections. Complete each section completely before moving on to the next to ensure consistent results and prevent the stripper from drying out.
Grain Direction Matters
Always scrape and sand in the direction of the wood grain to avoid scratching the new finish.
Post-Strip Cleaning
Neutralization
If using chemical strippers, follow the manufacturer’s instructions for neutralizing the wood surface. This typically involves wiping with a specialized solvent or water-based solution.
Final Sanding
Even after successful paint removal, a light sanding with 220-grit sandpaper ensures a smooth surface ready for a new coat of paint.
Dust Removal
Use sticky pads or a microfiber rag to remove all sanding dust. Compressed air helps remove dust from fine areas and crevices.
Troubleshooting Common Paint Removal Problems
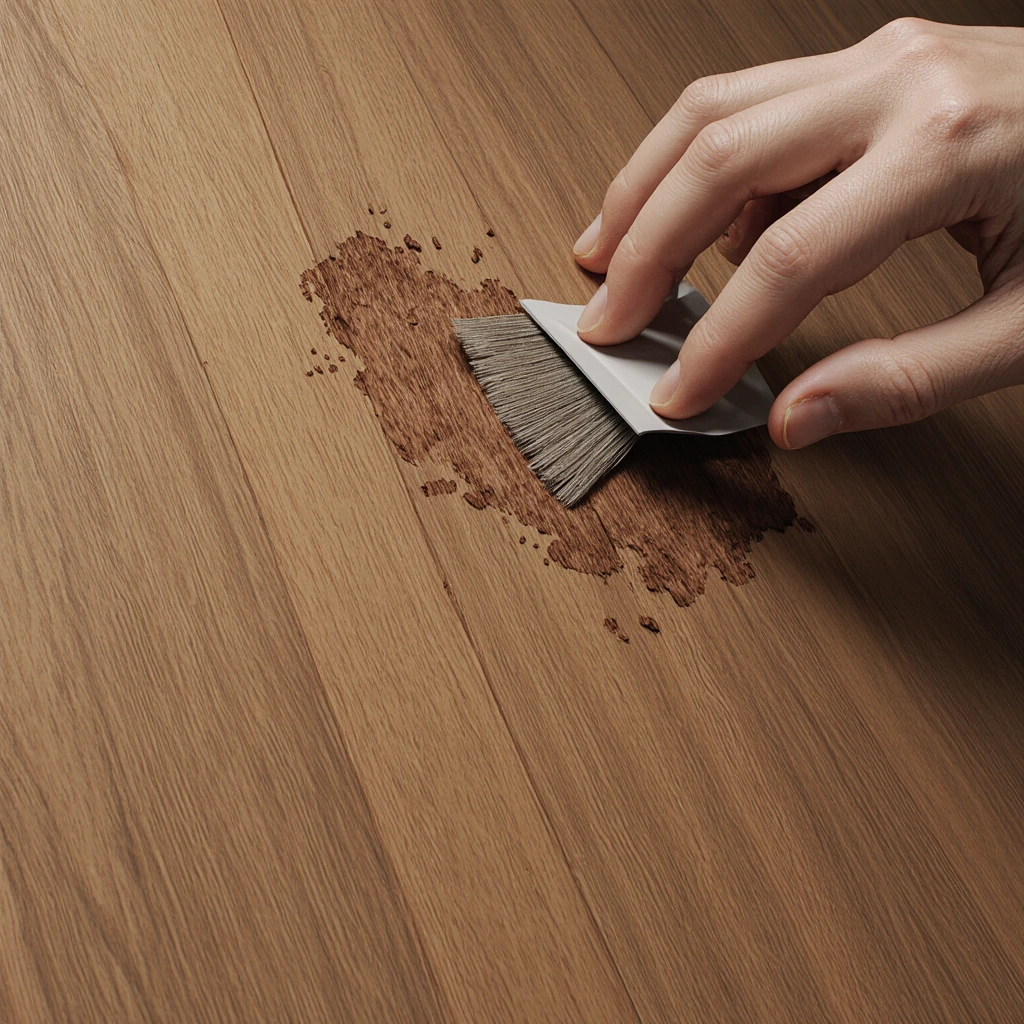
Stubborn Paint in Detail and Crevices
Intricate woodwork presents unique challenges that require specialized techniques.
Detail Scrapers
Invest in a set of scrapers shaped to fit common wood molds. These tools allow you to follow the curves of the wood without damaging fine details.
Dental Tools
Clean toothpicks and scrapers are excellent for removing paint from small crevices and carved details.
Toothbrush Technique
After applying chemical paint stripper, use an old toothbrush to remove the softened paint from grooves and decorative elements. ### Paint Saturated Deeply in the Wood Grain
Some types of paint penetrate deeply into the wood pores, making them difficult to remove.
Multiple Uses for Paint Stripper
Apply chemical paint stripper in successive coats, allowing each coat to work effectively before removing. Deep penetration requires patience and repeated applications.
Steam Method
Using a wallpaper steamer can help push moisture deep into the paint layers, softening them and making them easier to remove.
Preventing Wood Damage
Recognizing Heat Damage
Monitor color changes in the wood, which indicate excessive heat exposure. Immediately reduce the temperature or increase your distance if you notice browning.
Preventing Chemical Burns
Some paint strippers can brown or damage certain types of wood. Test them first, and consider gentler alternatives for valuable antiques.
Grain Removal Solutions
Chemical paint strippers often remove wood grain. Light sanding with fine sandpaper (220+) after it dries will smooth the surface.
Cost Analysis and Budget Planning
DIY vs Professional Costs
Professional Service Costs
- Furniture: $200-800 depending on size and complexity
- Door or window refinishing: $150-400 per opening
- Cabinet refinishing: $2000-5000 for a typical kitchen
DIY Material Costs
- Chemical paint stripper: $25-50 per quart (covers 75-100 square feet)
- Heat gun: $50-150 (one-time)
- Sandpaper and accessories: $30-60 per project
- Safety equipment: $40-80 (reusable)
Money-Saving Strategies
Tool Sharing
Consider borrowing or renting expensive tools like heat guns or electric sanders for one-time projects.
Bulk Chemical Purchasing
If multiple items are used, purchasing paint stripper in bulk often significantly reduces the unit cost.
Timing Your Project
Paint removal is often easier in moderate temperatures and humidity, reducing material waste and improving results.
Environmental and Safety Considerations
Eco-Friendly Options
Biodegradable Paint Strippers
Modern paint strippers made from soybeans and citrus fruits provide effective paint removal with a lower environmental impact.
Dust Collection
Using sanders with built-in dust collectors reduces airborne particles and facilitates cleanup.
Waste Disposal
Never pour chemical paint strippers down drains. Contact your local hazardous waste facility for proper disposal methods.
Lead Paint Safety Protocol
Professional Testing
Use EPA-approved lead test kits before beginning any paint removal on surfaces painted before 1978.
Containment Procedures
If lead is present, adequate containment must be provided using plastic sheeting and specialized ventilation systems.
RRP Certification
For large-scale lead paint removal, use EPA-certified professionals (RP) (Renovation, Repair, and Painting) to ensure compliance with safety standards.
Advanced Techniques and Professional Advice
Wood Species Considerations
Hardwood vs. Softwood
Hardwoods such as oak and maple withstand more effective removal methods, while softwoods such as pine require gentler methods to prevent damage.
Open-Grain vs. Closed-Grain Wood
Open-grain wood (oak and ash) may require extra care to remove the stain from the pores, while closed-grain wood (maple and cherry) typically cleans more easily.
Finish Preparation
Stain Penetration Test
After removing the stain, test the stain penetration in an inconspicuous area to ensure even absorption across the entire surface.
Grain Revealing Technique
Gently wetting the wood after final sanding and allowing it to dry lifts any remaining grain fibers for permanent removal.
Tanin Preventer
Some woods may require a tannin-preventing primer to prevent stains from showing through new finishes, especially when transitioning from dark to light colors.
Long-Term Maintenance and Care
Preventing Future Paint Problems
Choosing a Quality Primer
Using a primer appropriate for the wood type and desired finish will prolong the life of the paint and make it easier to remove in the future if needed.
Periodic Inspection
An annual inspection of painted wood surfaces allows for early detection of problems before extensive paint stripping is required.
Proper Surface Preparation
Taking the time for thorough cleaning and light sanding before refinishing ensures better adhesion and long-lasting results.
Touch-up Strategies
Stain Removal Techniques
Small paint problems often require only spot removal rather than complete removal, saving significant time and effort.
Color Coordination
When dealing with partially removed paint, careful color coordination can sometimes eliminate the need for complete removal.
Conclusion
Successfully removing paint from wood requires the right combination of technique, patience, and safety awareness. Whether you choose heat paint removal, chemical stripping, or sanding, understanding your condition and wood type will guide you to the best approach.
Remember, paint removal is often just the first step in a larger restoration project. Taking the time to do it properly will leave you with beautiful, clean wood surfaces ready for any finish you choose.
Ready to transform your painted wood surfaces? Start with a small test area to perfect your technique, then confidently tackle your major project. Share your paint removal success stories in the comments below, and subscribe to our blog for more expert guides and home improvement tips!
Best Amazon Picks :
FAQs
What is the safest way to remove paint from antique furniture?
For valuable antiques, start as gently as possible. Try biochemical paint strippers first; they are less likely to damage delicate wood or affect the original stains underneath. Always test on an inconspicuous area, and consider consulting a professional restorer for pieces that cannot be replaced.
How do I know if I need to remove all layers of paint or just the top?
Carefully examine the condition of the paint. If only the top layer is damaged while the underlying layers are well adhered, you may only need to remove loose paint and lightly sand. However, if you’re switching from dark to light colors, or if multiple layers are affected, complete removal usually provides the best results.
Can I use a pressure washer to remove paint from exterior wood surfaces?
While pressure washing can remove loose paint, it often forces water deeper into the wood fibers, which can cause damage or rot. It is also ineffective with well-adhered paint. Pressure washing is best used as a preliminary step, followed by appropriate scraping and sanding.
What should I do if chemical paint stripper doesn’t work?
If the first application doesn’t work, try reapplying the paint stripper while covering the surface with plastic wrap to prevent evaporation. Some paints require multiple applications. If chemical paint strippers continue to fail, the paint may be particularly resistant and require heat or sanding instead.
How long should I wait between removing paint and applying a new coat?
After removing chemical paint, wait at least 24 to 48 hours for the solvent to completely evaporate, even if the surface is dry. Using heat or sanding, you can usually proceed immediately after removing the dust. Always ensure the wood moisture content is appropriate for the desired finish before application.


2 Comments
Comments are closed.