Wood Ornaments DIY: Your Complete Guide to Handcrafted Holiday Decor on a Budget
Table of Contents
Creating your own wood ornaments DIY projects adds a unique touch to your holiday decorating experience, keeping costs low and adding a touch of personality. Whether you’re a beginner or a seasoned crafter, handmade wooden ornaments add warmth, character, and sustainable beauty to any seasonal celebration without breaking the bank.
The growing trend toward eco-friendly, custom-designed holiday decorations has fueled the popularity of wooden ornaments. Unlike mass-produced plastic alternatives, handmade wooden ornaments offer durability, natural beauty, and the satisfaction of creating something truly unique with your own hands.
Why Choose Wood Ornaments DIY Projects?
Wooden ornaments represent the perfect blend of sustainability, affordability, and timeless appeal. Recent surveys show that 73% of homeowners prefer handmade ornaments to pre-made ones, citing personal satisfaction and cost savings as the primary motivations.
Wood offers amazing versatility for ornaments. From rustic barn wood to smooth birch slats, different wood species add a distinctive beauty. Pine is affordable and easy to carve, while hardwoods like oak and maple are durable and produce beautiful patterns.
Wood also offers significant environmental benefits. Using reclaimed wood or fallen branches reduces waste while creating valuable ornaments. Many crafters report that their DIY wood ornament projects become cherished family heirlooms that can be passed down through generations.
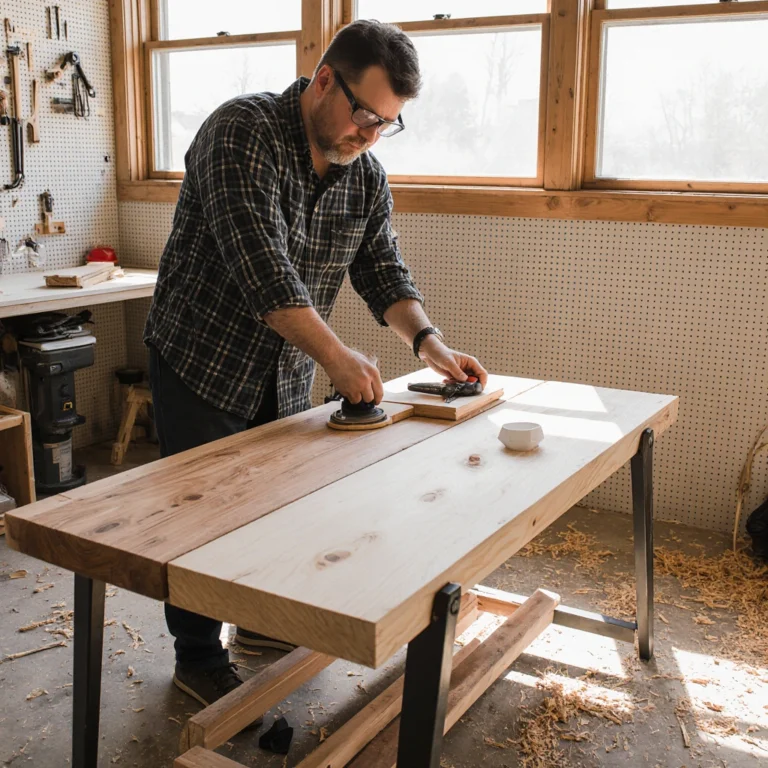
Basic Materials and Tools for Making Wooden Ornaments
Basic Materials You’ll Need
Beginning your wood ornament journey requires a small investment in high-quality materials. Here’s what every beginner should have:
Wood Options:
- Wood strips (preferably 2-4 inches in diameter)
- Balsa wood planks for lightweight projects
- Reclaimed fence posts or barn wood for a rustic feel
- Hand-cut wood from hobby stores
- Natural tree branches (well-dried)
Finishing Supplies:
- Fine sandpaper (220-320 grit)
- Wood stain or natural wood stain
- Acrylic paint in various colors
- Clear sealant
- String, ribbon, or wire for hanging loops
Basic Tools
Professional results that don’t require expensive equipment. These basic tools will work well for most DIY woodworking projects:
- Handsaw or miter saw for cuts
- Drill bits with various bit sizes
- Woodburning pen for decorative details
- Fine brushes for painting
- Tape measure and pencil for marking
- Safety goggles and a dust mask
Experienced crafters may invest in a scroll saw for precise cuts or a rotary tool for precise carving, but these tools aren’t necessary for great results.
5 Simple DIY Woodworking Projects for Beginners
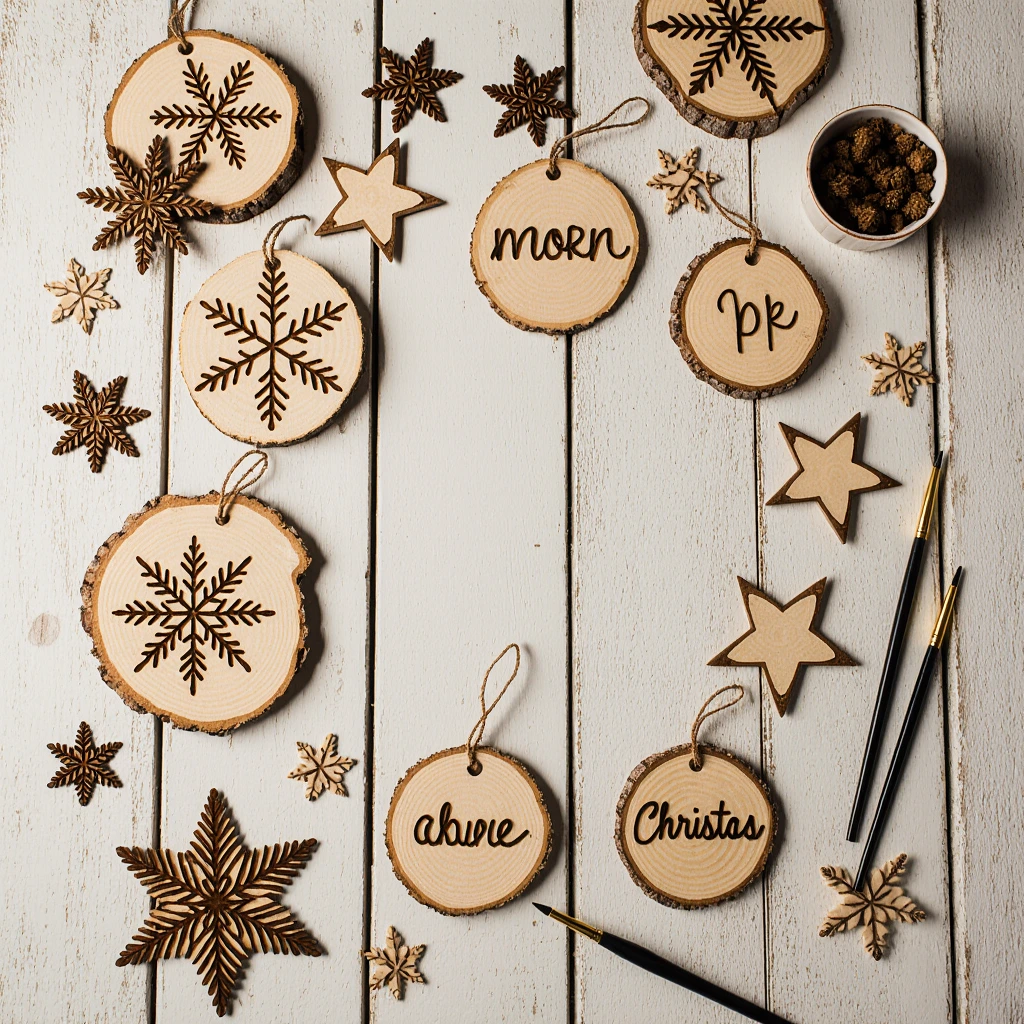
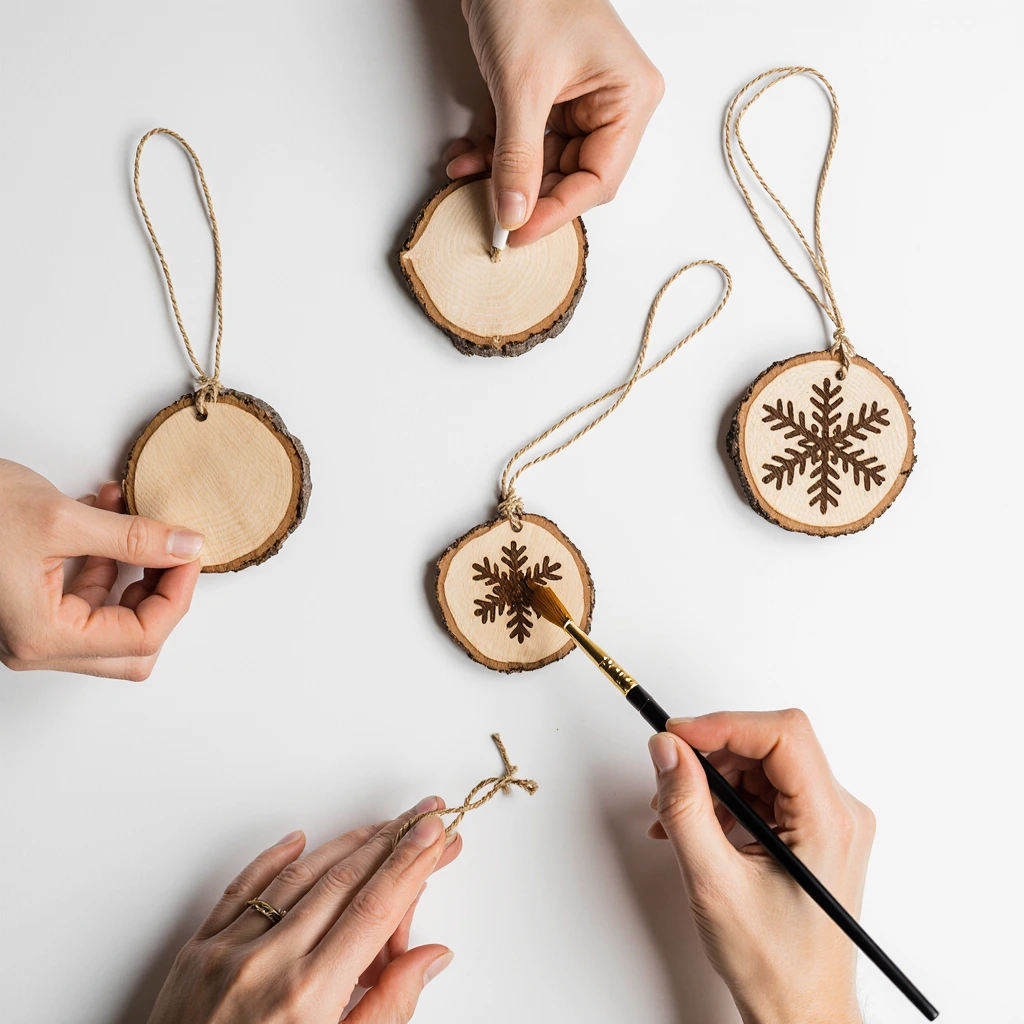
Project 1: Classic Wood Slice Ornaments
This timeless ornament showcases the natural beauty of wood without requiring extensive skill.
Step-by-Step Instructions:
- Select wood slices 2 to 4 inches in diameter and 1/2 inch thick.
- Sand the surfaces until smooth, starting with a coarse grain and working your way up to a fine grain.
- Drill a small hole near the top edge of the hanging hardware.
- Apply wood stain or leave it natural, allowing it to dry thoroughly.
- Add decorative elements such as painted snowflakes or burnt designs.
- Thread a string or ribbon through the hole for hanging.
Pro Tip: Seal both sides with a clear finish to prevent cracking and prolong the life of the ornament.
Project 2: Geometric Wood Stars
Modern geometric shapes make a great contemporary ornament, perfect for simple holiday decor.
Materials Needed:
- Thin wood strips (1/4-inch thick, 15 cm long)
- Wood glue
- Clips or rubber bands
- Gold or silver paint (optional)
Assembly Instructions:
- Cut five identical wood strips at precise angles.
- Arrange the strips in a star shape, overlapping the ends.
- Apply wood glue to the connection points.
- Secure with clips until the glue dries completely.
- Sand any rough edges smooth.
- Paint or stain as desired.
- Attach hanging hardware.
Project 3: Personalized Name Ornaments

Personalized name ornaments make perfect gifts that showcase your DIY wood ornament skills.
Design Steps:
- Cut rectangular pieces of wood (4 x 2 inches works well).
- Sand the surfaces to a smooth finish.
- Lightly trace the names with a pencil.
- Use a wood burning pen to create permanent letters.
- Paint the letters in contrasting colors, if desired.
- Apply a protective coating.
- Drill a hole for the hanging mechanism.
Personalization Ideas:
- Add family birth dates.
- Add small decorative touches.
- Use different fonts for a decorative touch.
- Add birthstones or small painted details.
Project 4: Rustic Twig Ornaments
Turn fallen twigs into charming rustic ornaments that showcase the beauty of nature.
Materials Used:
- Small, straight twigs (as thick as a pencil)
- String or thin wire
- Optional: Small faux berries or pine cones
- Clear spray paint
Assembly Instructions:
- Gather and clean the twigs, removing any loose bark.
- Cut the pieces to the desired lengths (usually 3 to 5 inches).
- Arrange them in geometric shapes (triangles, stars, or squares).
- Tie the corners with string, tying them securely together.
- Add natural elements like berries for a pop of color.
- Spray paint with clear spray paint for added durability.
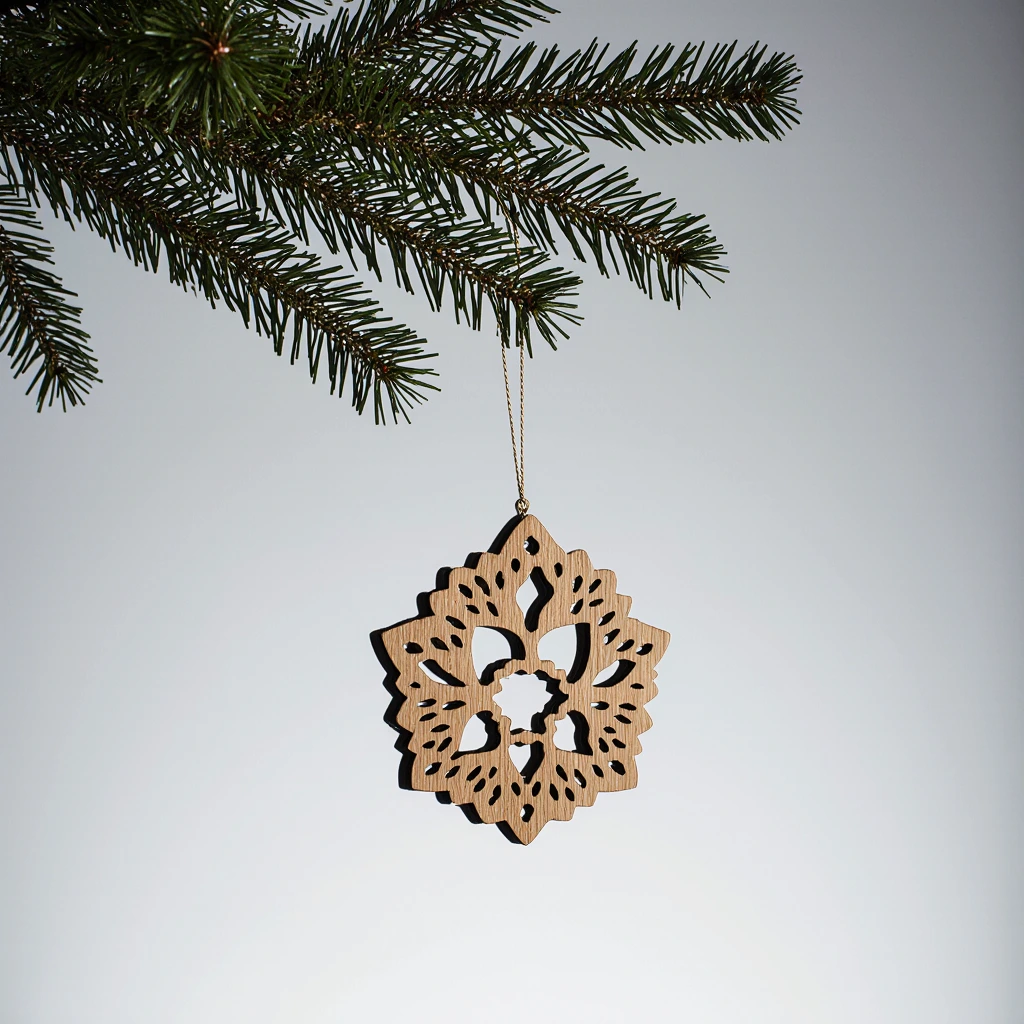
Project 5: Layered Wood Ornaments
Add a unique aesthetic by layering different pieces of wood for sophisticated results.
Design Process:
- Cut base shapes from thicker wood (1/2 inch)
- Make small accent pieces from thinner wood (1/4 inch)
- Sand all pieces thoroughly
- Stain or paint in coordinating colors
- Glue small pieces onto larger bases
- Add finishing touches
- Install hanging hardware
Advanced Techniques for Impressive Results
The Art of Woodburning
Woodburning transforms simple wood decorations into detailed masterpieces. Start with simple designs like snowflakes or holly leaves before attempting intricate patterns.
Temperature Control: Different wood types require different heat settings. Softwoods burn faster than hardwoods, so adjust the temperature of your woodburning pen accordingly.
Design Transfer: Use carbon paper to transfer intricate patterns onto wood surfaces before burning, ensuring professional results.
Distinctive Painting Techniques
Dry Brush Painting: Load your brush with paint, then remove most of it onto a paper towel before gently wiping the wood surface. This technique highlights the wood grain while adding subtle color.
Ombré Effects: Blend colors from light to dark using wet-blending techniques to create gradations that add visual depth.
Stenciling: Create consistent patterns using homemade or purchased stencils for professional-looking repeating designs.
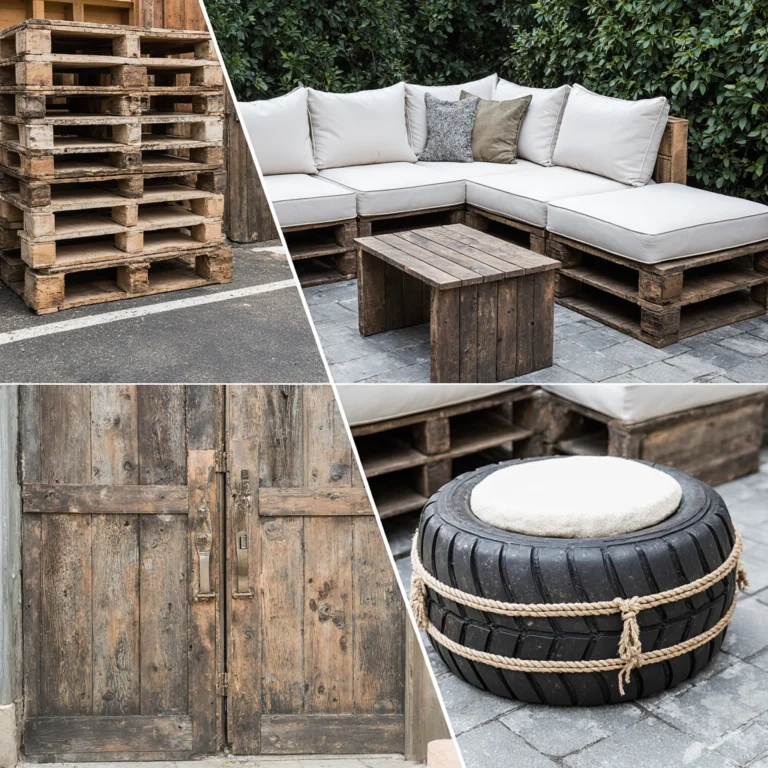
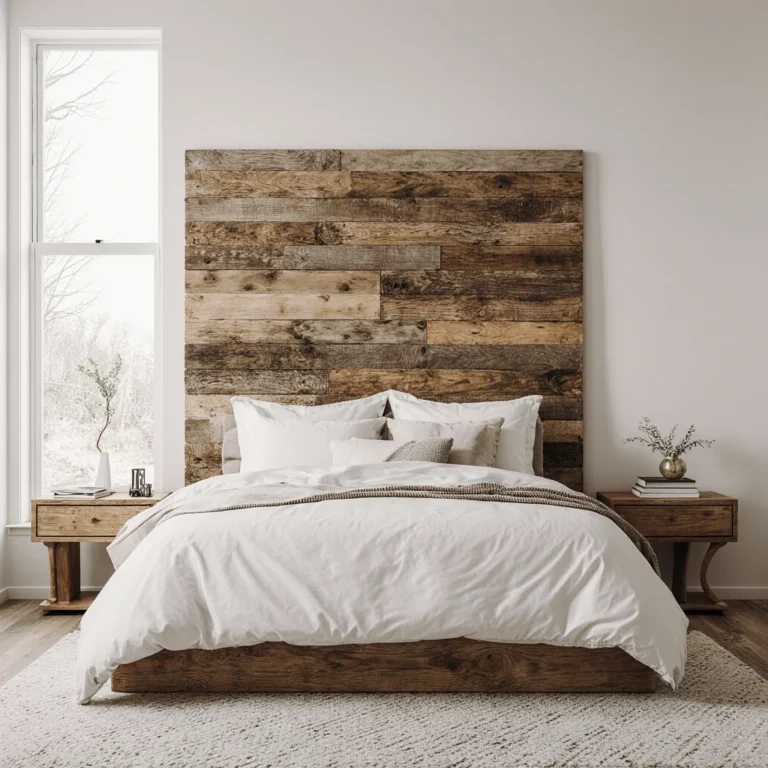
Upcycling and Upgrading Ideas for Eco-Friendly Decorations
Sustainable crafts reduce environmental impact and create unique decorative pieces. Consider these creative ways to recycle your DIY wood decorating projects:
Recycled Wood Sources
- Old picket fences add character to your home decor
- Shipping pallets provide a variety of wood species
- Fallen tree branches create natural, organic shapes
- Discarded furniture pieces can be reused
- Construction waste often yields high-quality hardwood lumber
Creative Upcycling Ideas
Turn everyday wood pieces into treasures for your home. Old cutting boards become the backing for layered decorative designs. Wooden spoons can be carved into unique sculptural pieces. Even broken wooden furniture provides material for small decorating projects.
Safety Considerations: Always inspect recycled wood for nails, screws, or chemical treatments before starting to craft it. Some pressure-treated wood contains chemicals that are not suitable for interior decoration.
Seasonal and Themed Project Ideas
Holiday Designs
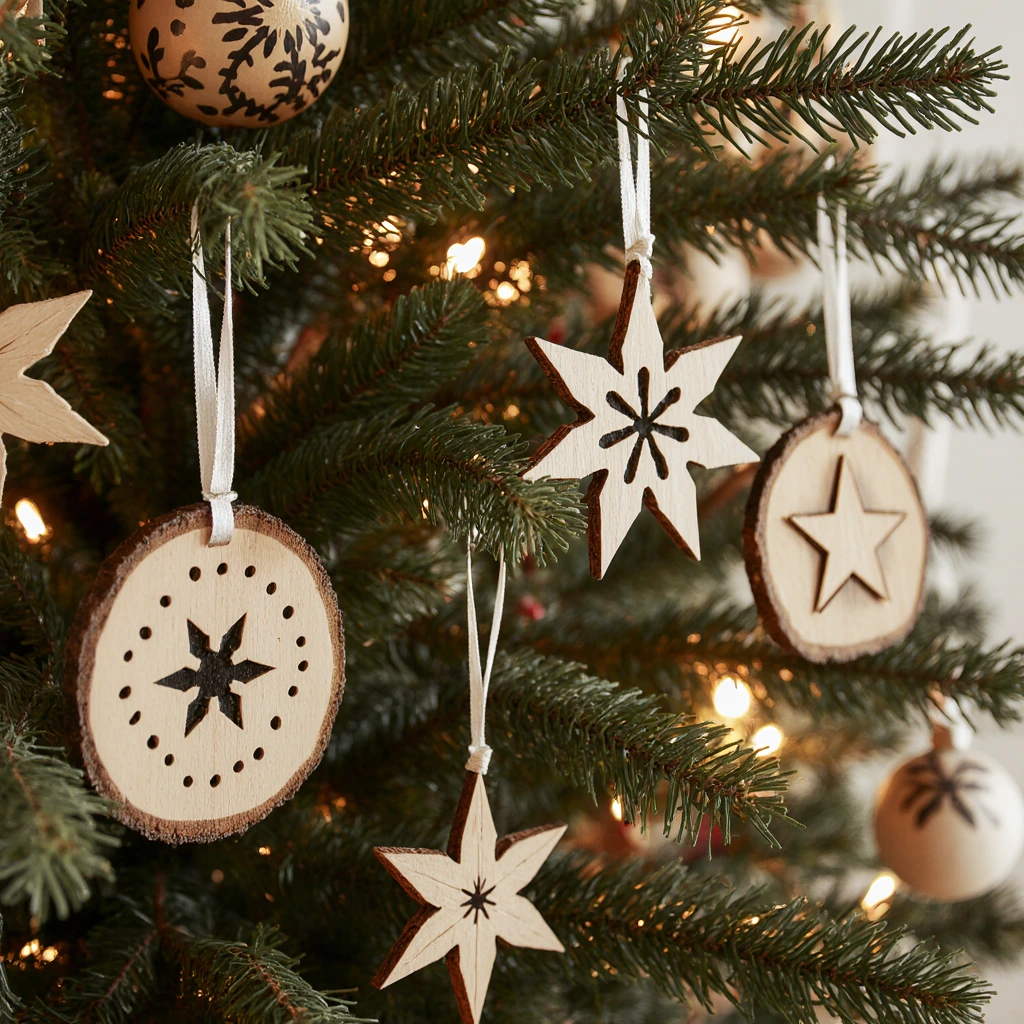
Christmas Ornaments:
- Traditional candy cane shapes
- Miniature Christmas tree shapes
- Angel shapes with simple carved details
- Snowman designs using stacked circles
Fall/Thanksgiving Themes:
- Leaf shapes that highlight the natural wood grain
- Replicas of acorns and pine trees
- Pumpkins with carved details
- Turkey shapes for family fun
Year-Round Variety
Many DIY wood ornament projects are perfect for the holidays. Hearts for Valentine’s Day, shamrocks for St. Patrick’s Day, or simple geometric shapes add a touch of beauty year-round.
Consider creating seasonal collections that fit all seasons, enhancing your craft investment while keeping your decor fresh and attractive.
Common Craft Mistakes and How to Avoid Them
Planning and Preparation Mistakes
Inadequate Sanding: Quick sanding creates rough surfaces that absorb stain unevenly. Always progress from coarse to fine.
Going Beyond the Grain: Always sand with the grain, not against it. Scratches from crossed grain will remain visible even after staining.
Incorrect Wood Selection: Green or underdried wood will crack and warp. Use kiln-dried or well-dried natural wood.
Finishing Mistakes
Over-Staining: Apply stain in thin, even coats rather than heavy coats. Multiple light coats provide better control and more even coverage.
Insufficient Drying Time: Quick sanding results in sticky finishes and poor durability. Allow adequate drying time between coats as indicated in the manufacturer’s specifications.
Mixing incompatible products: Oil-based finishes do not mix well with water-based finishes. Use one type throughout your project for best results.
Design and Assembly Problems
Hanging Weaknesses: Drill pilot holes for screws or eye hooks to prevent splitting. Reinforce thin areas with additional wood if necessary.
Proportional Weakness: Sketch designs before cutting to ensure satisfactory proportions. Small ornaments require bolder, simpler designs than larger pieces.
Storage and Maintenance Tips
Proper storage significantly extends the life of ornaments. Wrap each piece individually in tissue paper, avoiding plastic bags that trap moisture. Store in cool, dry places away from direct sunlight.
Annual maintenance includes light dusting and occasional reapplying of a protective coating. Well-maintained DIY wood ornament projects can last for decades with minimal maintenance.
Conclusion
Creating DIY wood ornament projects combines creativity, sustainability, and budget-consciousness into rewarding craft experiences. Whether you’re crafting simple wood slice ornaments or intricate carved designs, each project expands your skills and creates meaningful decorations.
The joy of displaying your handmade ornaments, knowing you made them with your own hands and creativity, outweighs any off-the-shelf alternative. Plus, you can invest the money saved in better materials or additional craft supplies for future projects.
Ready to get crafting? Gather your materials, set up a workspace, and start with simple projects before moving on to more complex designs. Share photos of your DIY wood ornament creations on social media using #WoodOrnamentDIY to inspire others and connect with fellow crafters.
Sign up for our newsletter for weekly DIY project ideas, seasonal crafting tips, and exclusive tutorials to keep your creative inspiration flowing year-round!
Best Amazon Picks :
FAQs
Q: What type of wood is best for DIY ornaments?
A: Pine and basswood are excellent choices for beginners due to their softness and affordability. For added durability, hardwoods like maple or birch are recommended. Avoid using treated wood for interior ornaments.
Q: How do I prevent wood ornaments from cracking?
A: Use well-dried wood and apply a finish to all surfaces, including the edges. Store ornaments at a constant temperature and humidity. Seal the grain well to prevent moisture absorption.
Q: Can I make wooden ornaments without power tools?
A: Absolutely! Hand saws, sandpaper, and simple hand tools produce great results. Consider purchasing pre-cut wood from craft stores to avoid the need for cutting.
Q: What is the best finish for long-lasting wooden ornaments?
A: Polyurethane provides excellent durability for highly used ornaments. For a natural look, use Danish oil or tung oil. Always apply thin, even coats and allow sufficient time to dry. Q: How do I safely add color to wooden ornaments?
A: Use water-based acrylic paints or wood stains specifically designed for interior use. Avoid lead-based paints or finishes with strong chemical odors. Always use a clear coat.
Q: Where can I find affordable wood for ornaments?
A: Look in craft stores for small pieces of wood, visit local lumberyards for scrap wood, or search online for recycled wood. Tree services sometimes offer free branches after storm cleanup.
Q: How long do homemade wooden ornaments typically last?
A: With proper finishing and storage, wooden ornaments can last more than 20 years. Light maintenance and occasional refinishing significantly extend their lifespan compared to mass-produced alternatives.
One Comment
Comments are closed.